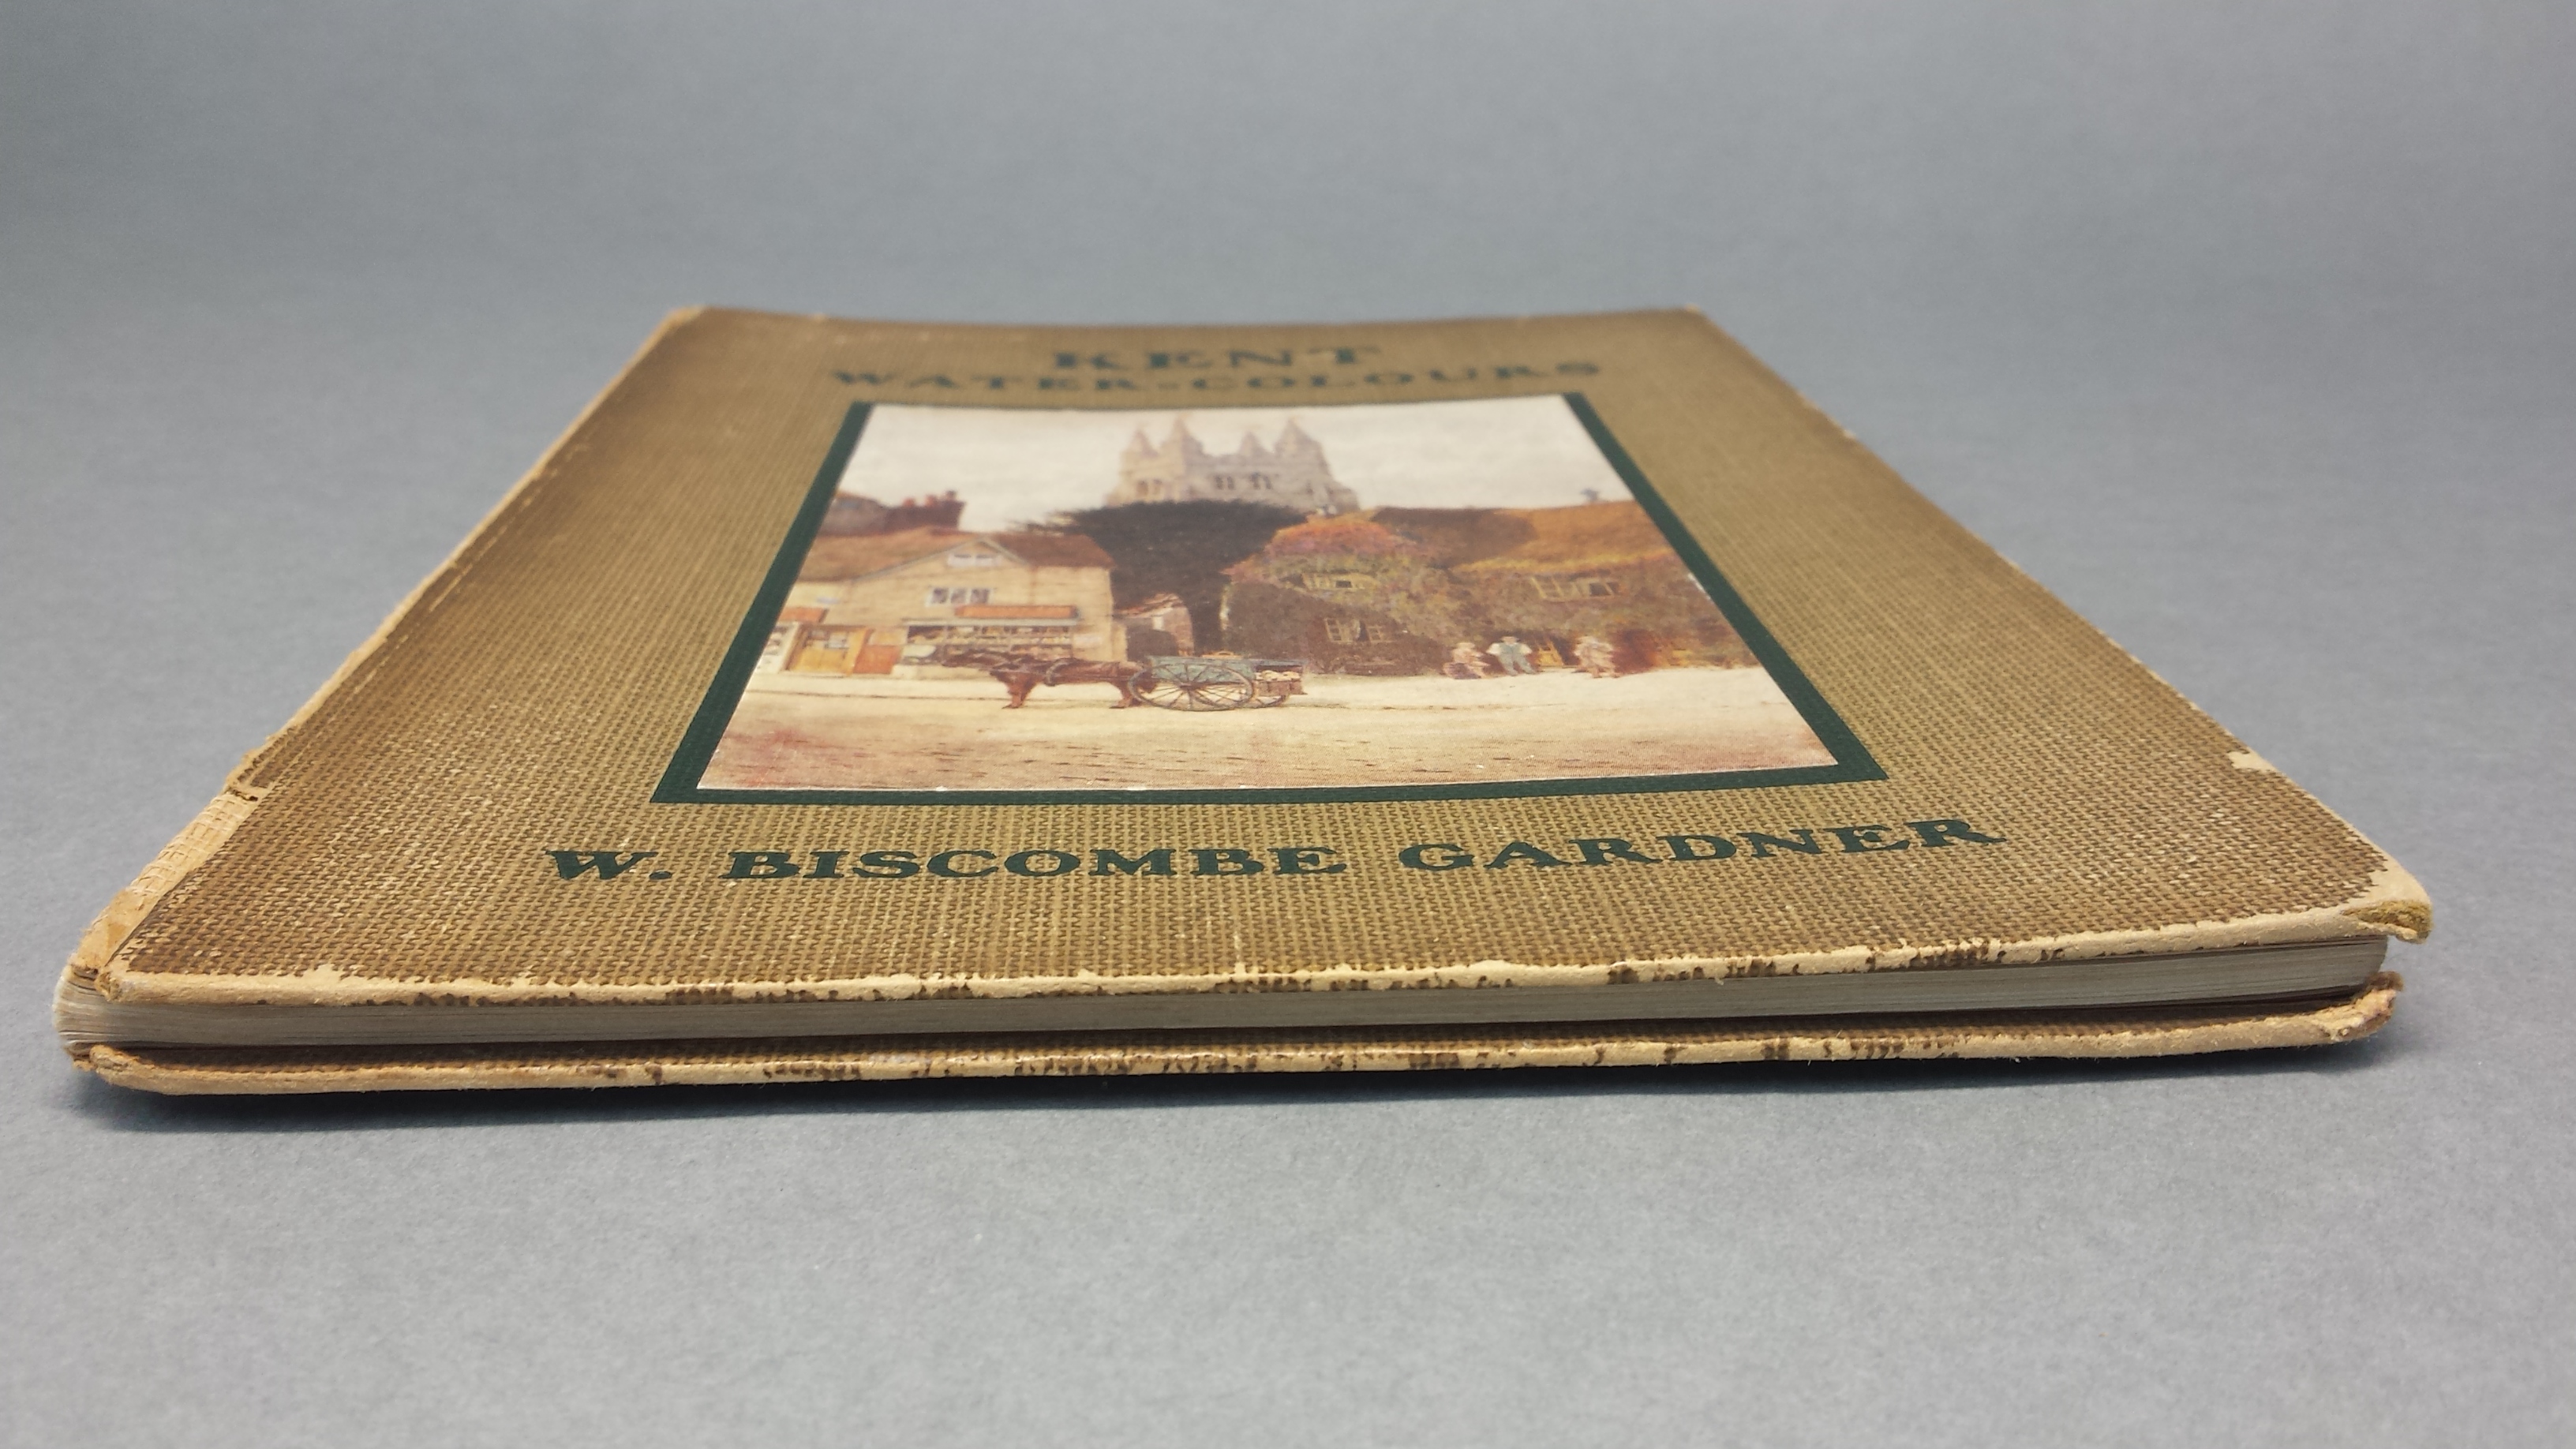
This was supposed to be a very quick and simple paper re-back, but turned out to be more complicated because of the texblock structure.
The strawboards were warped, so I used the Gortex pack method to flatten them gently, yet quickly.
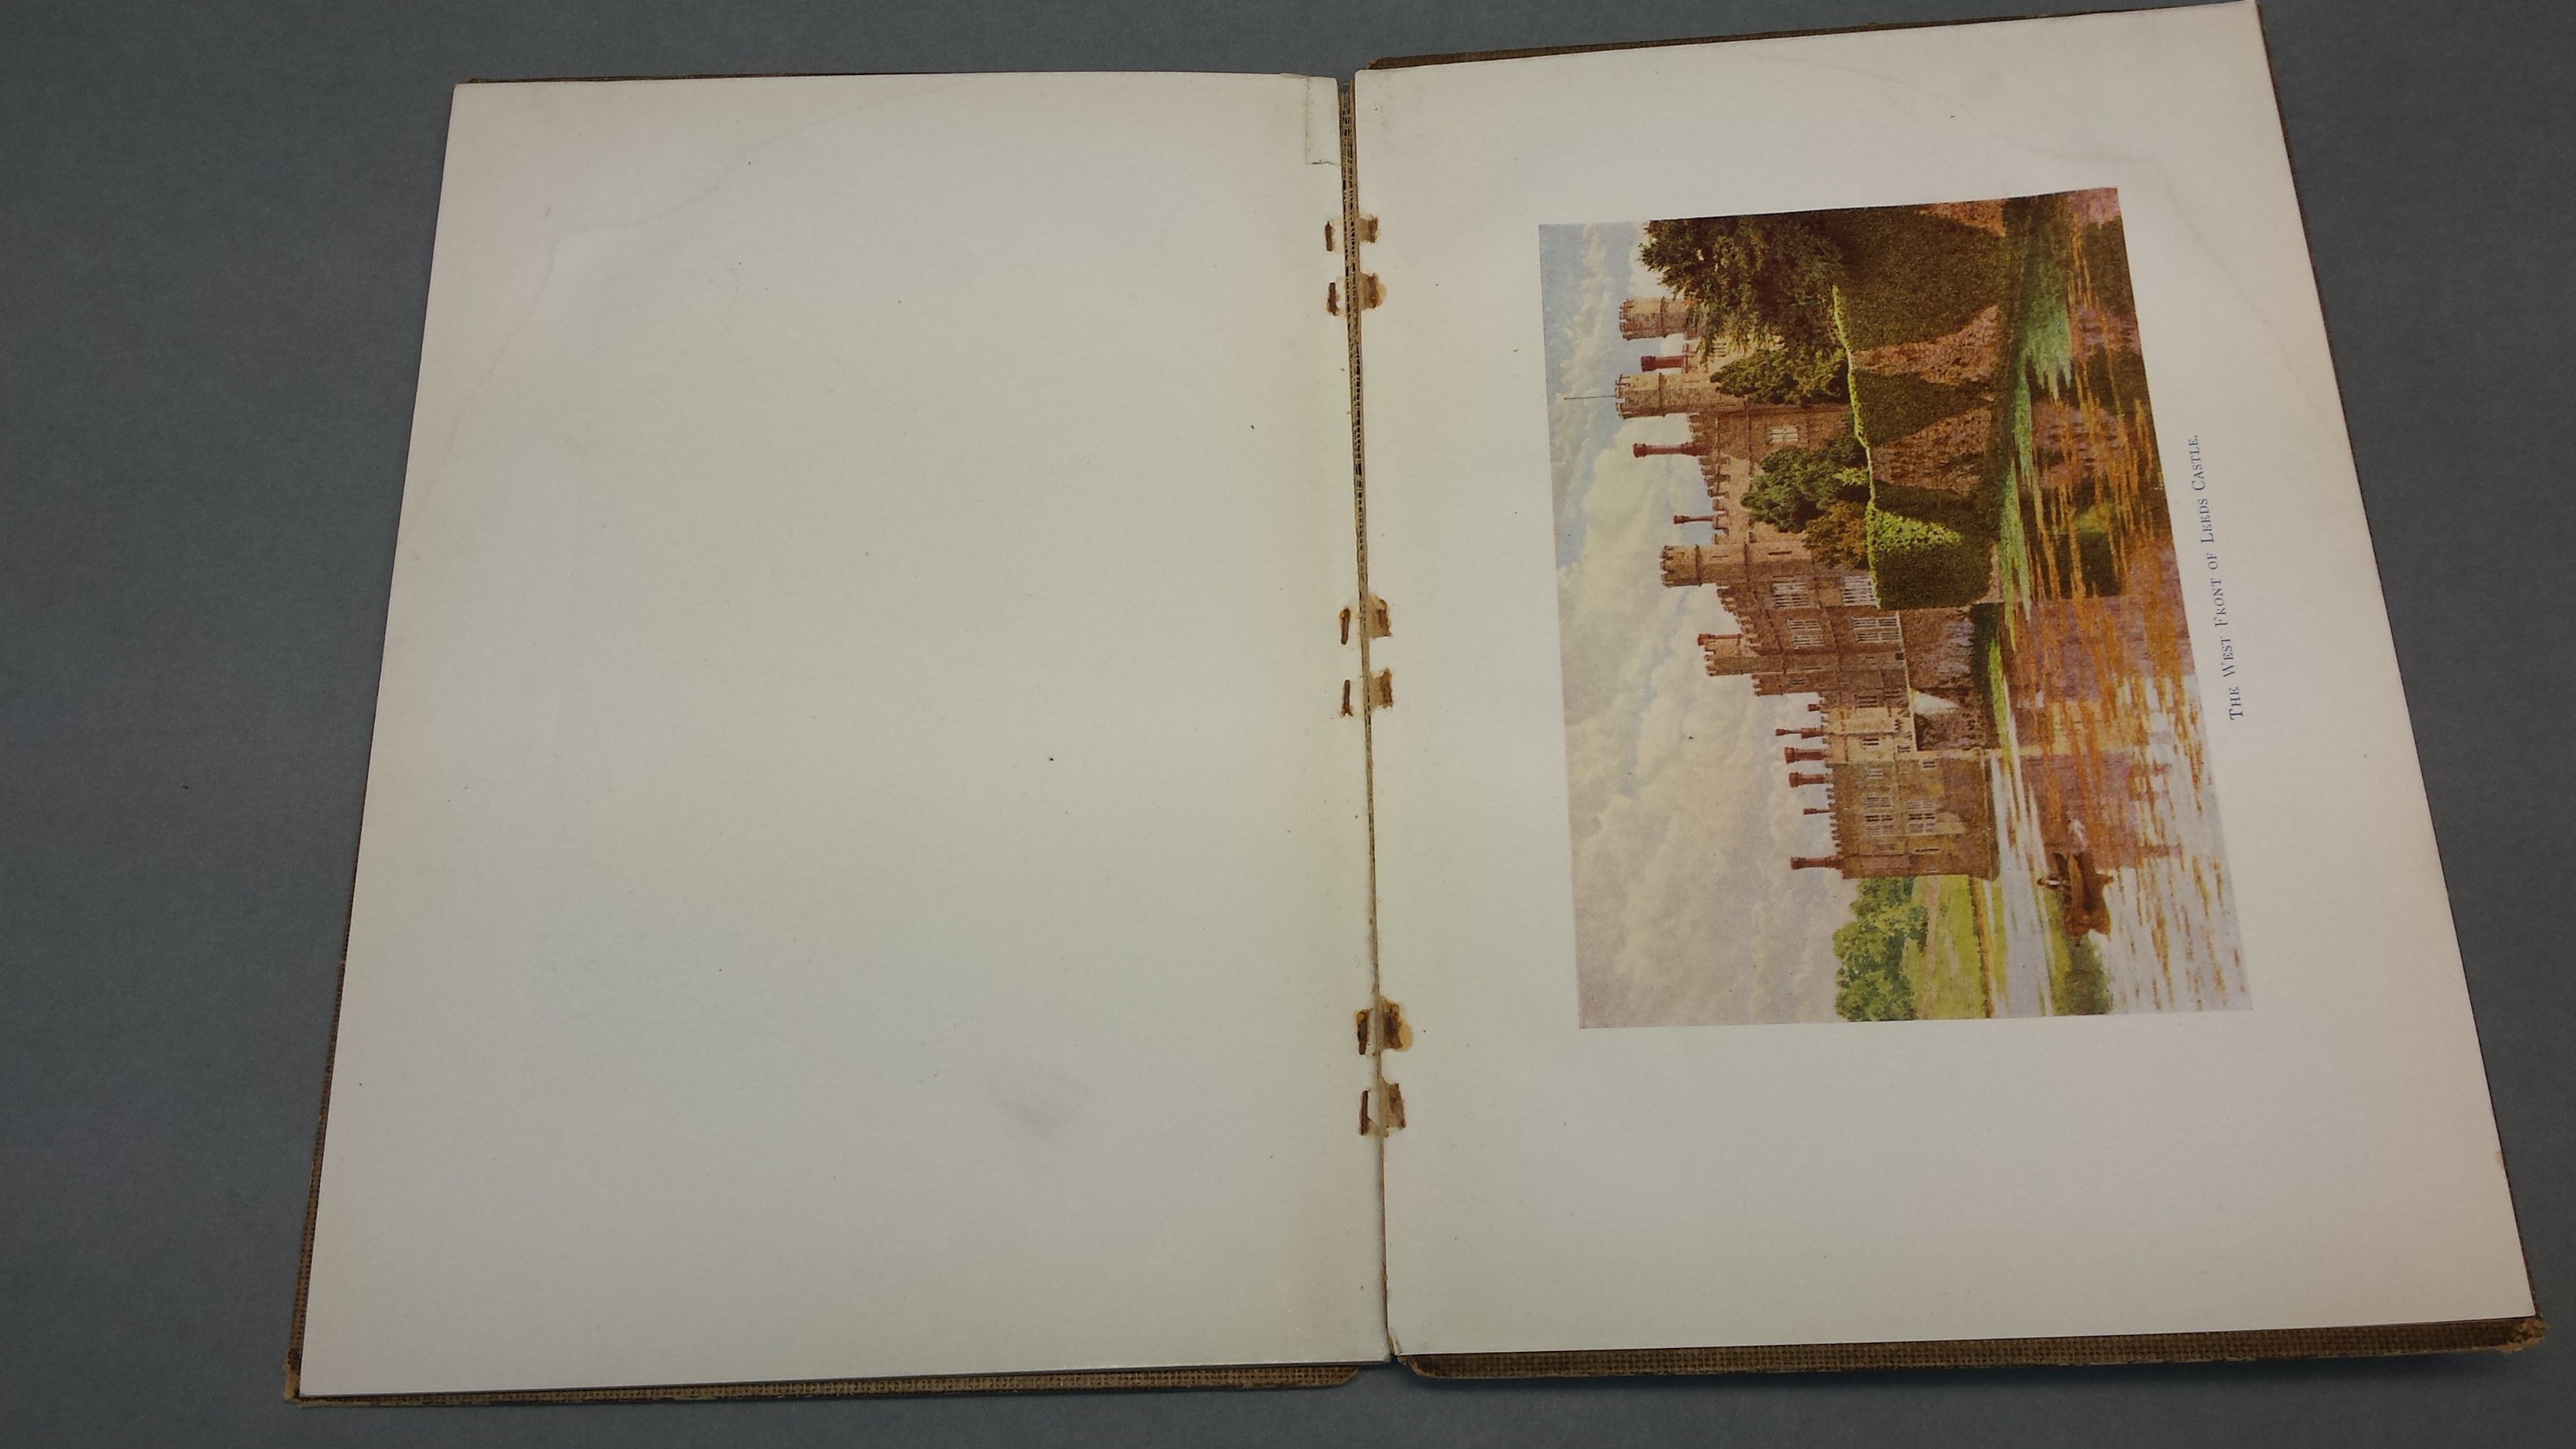
It turned out that the texblock comprised of single sheet plates that were stapled together. The staples had ripped through the last plate, which was still tipped to the flyleaf and pastedown.
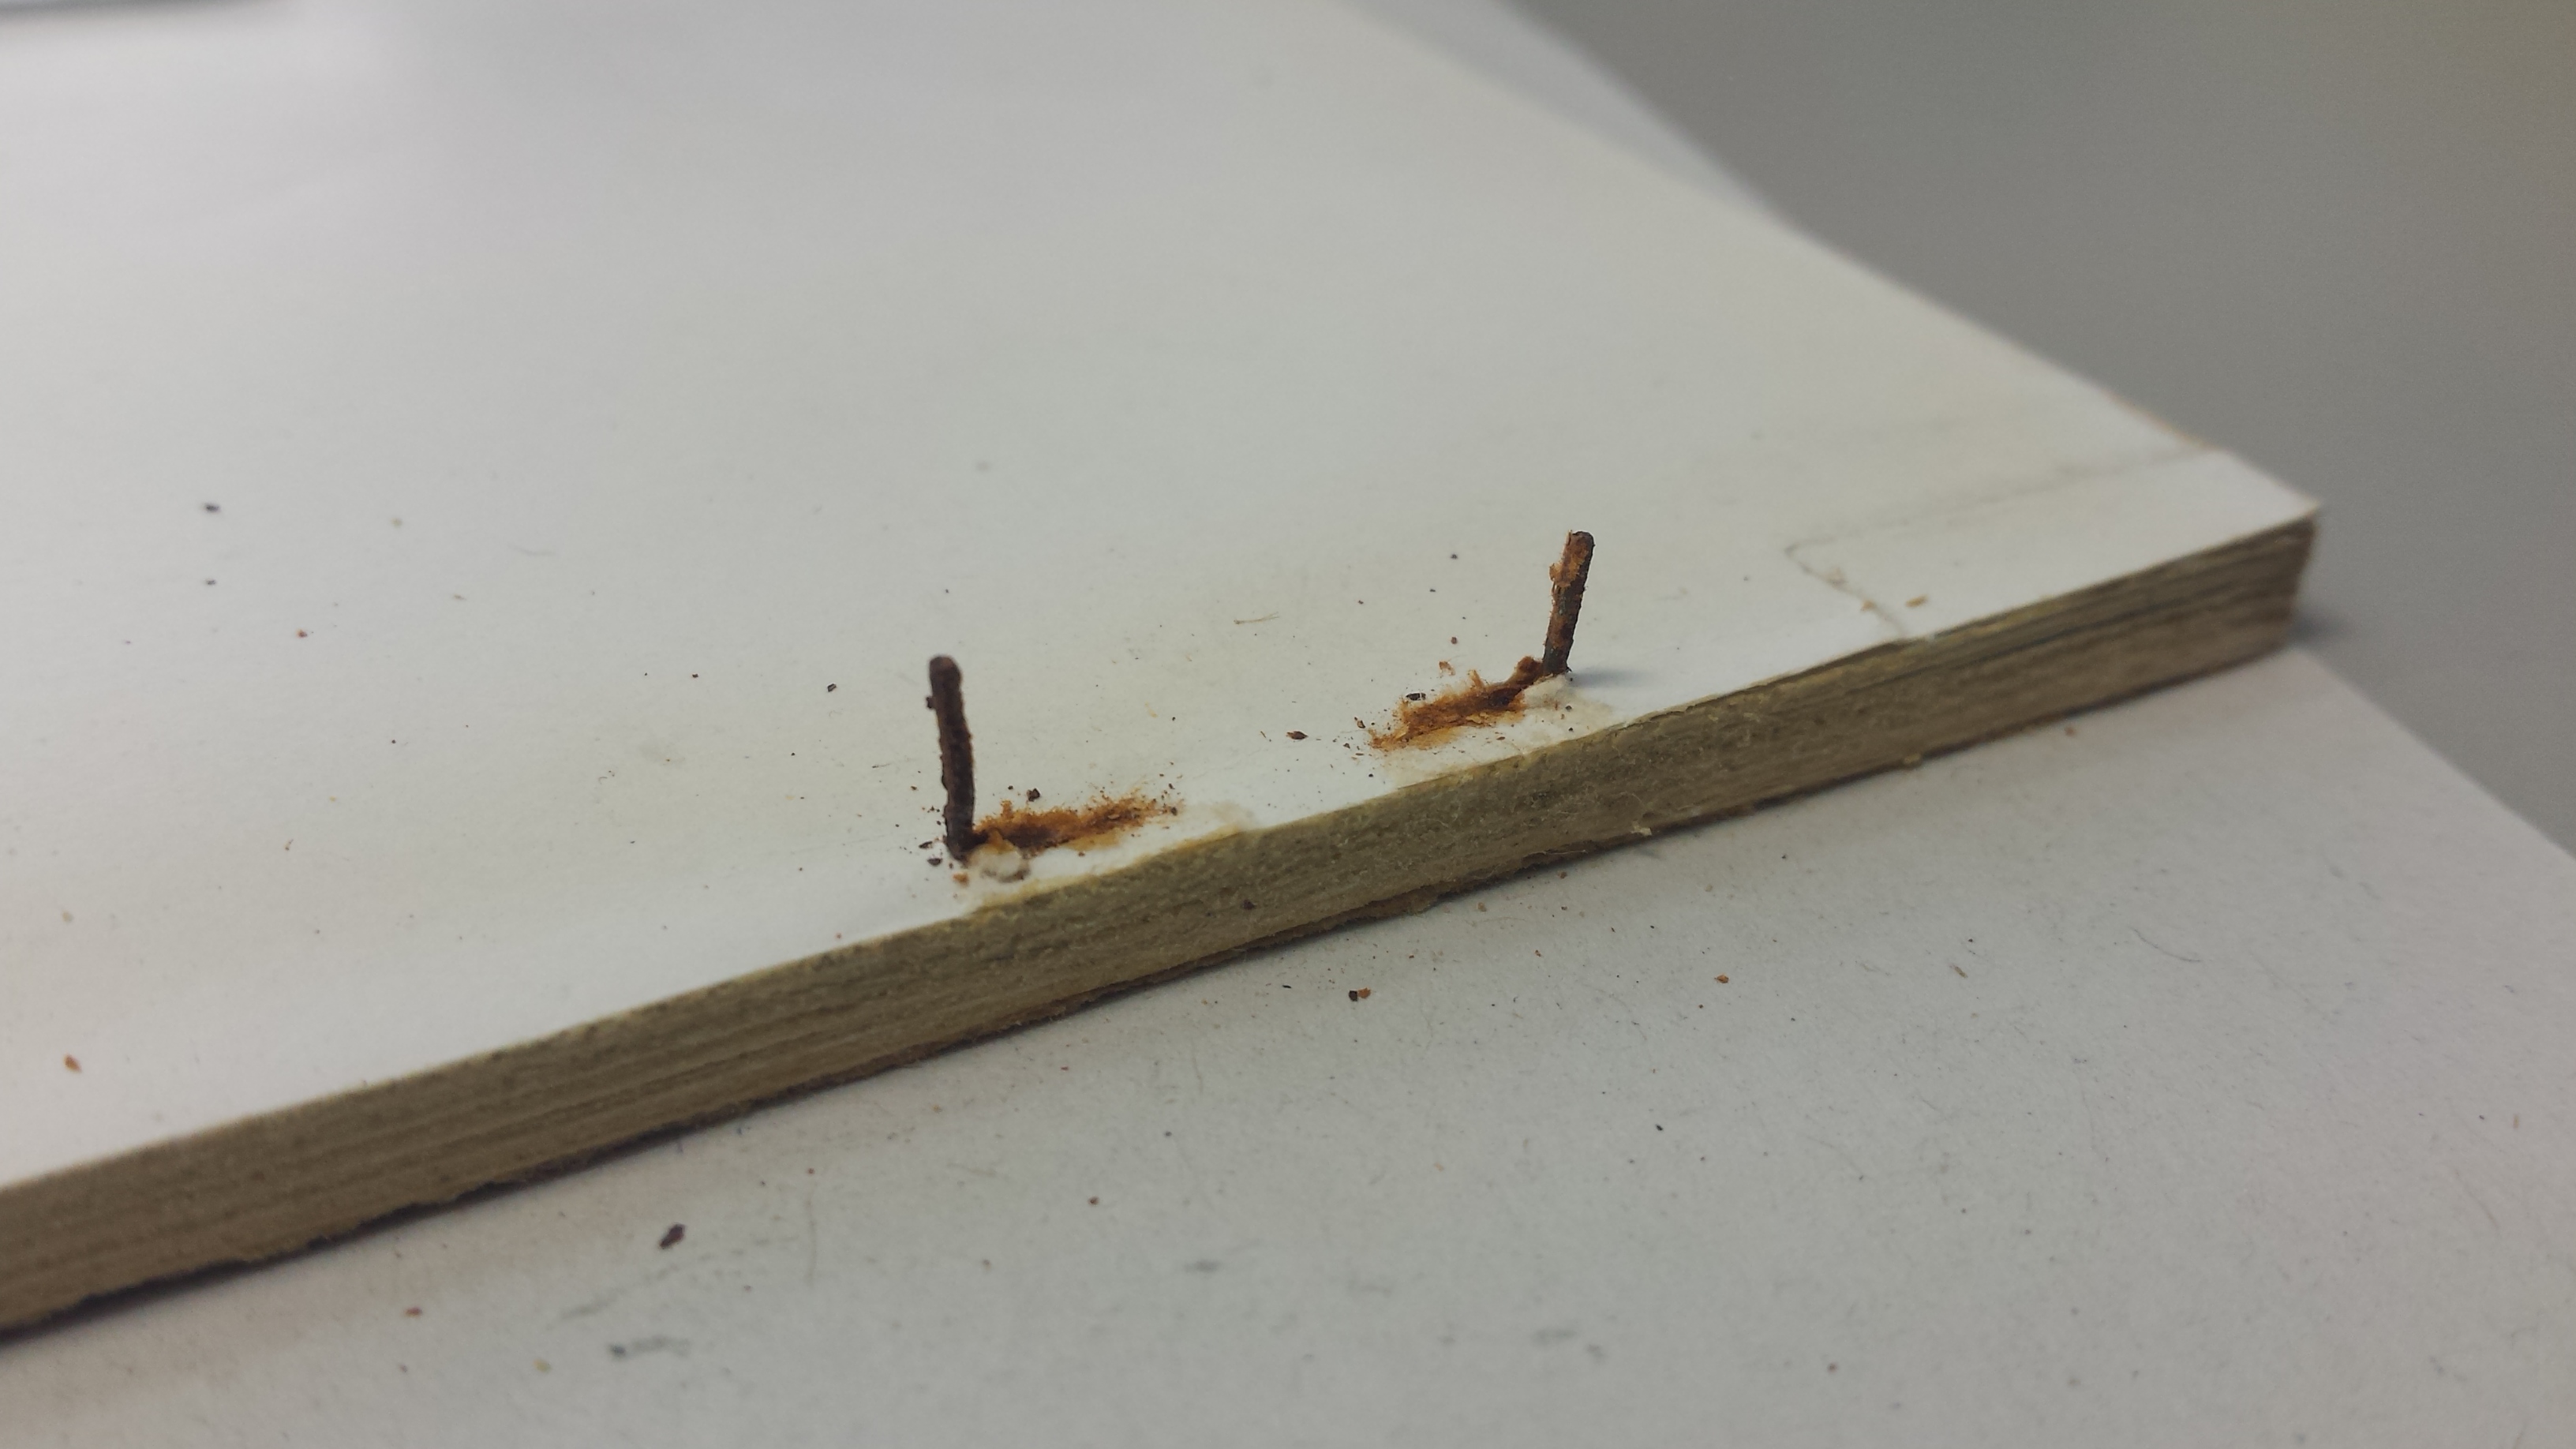
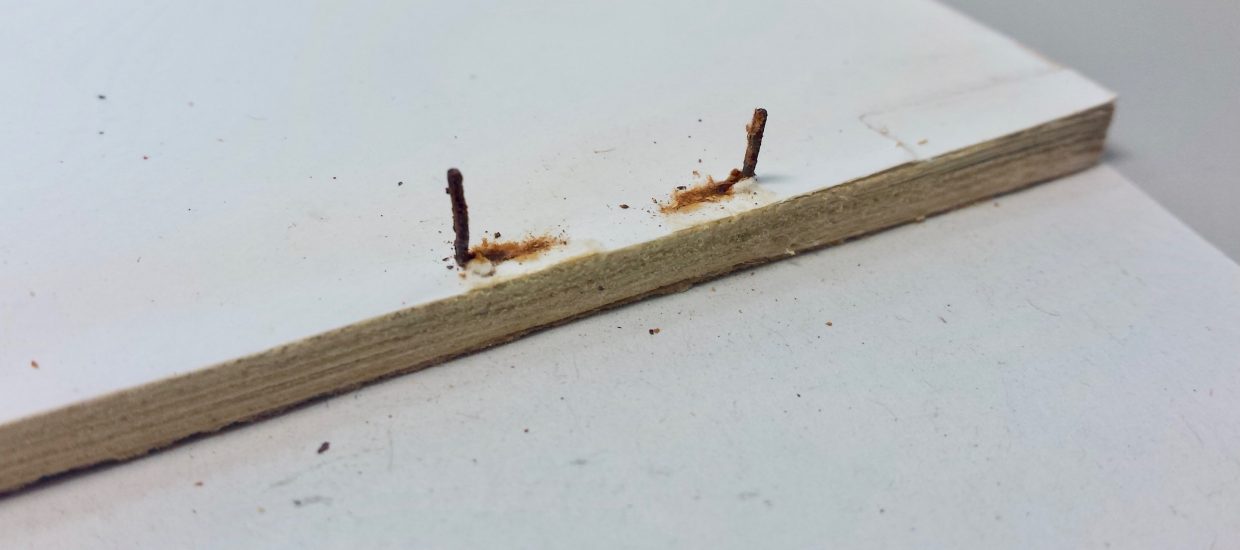
The staples needed to be removed, because they were rusting and had started to crosslink. I did this by bending up the prong ends and “popping” the plates up and off.
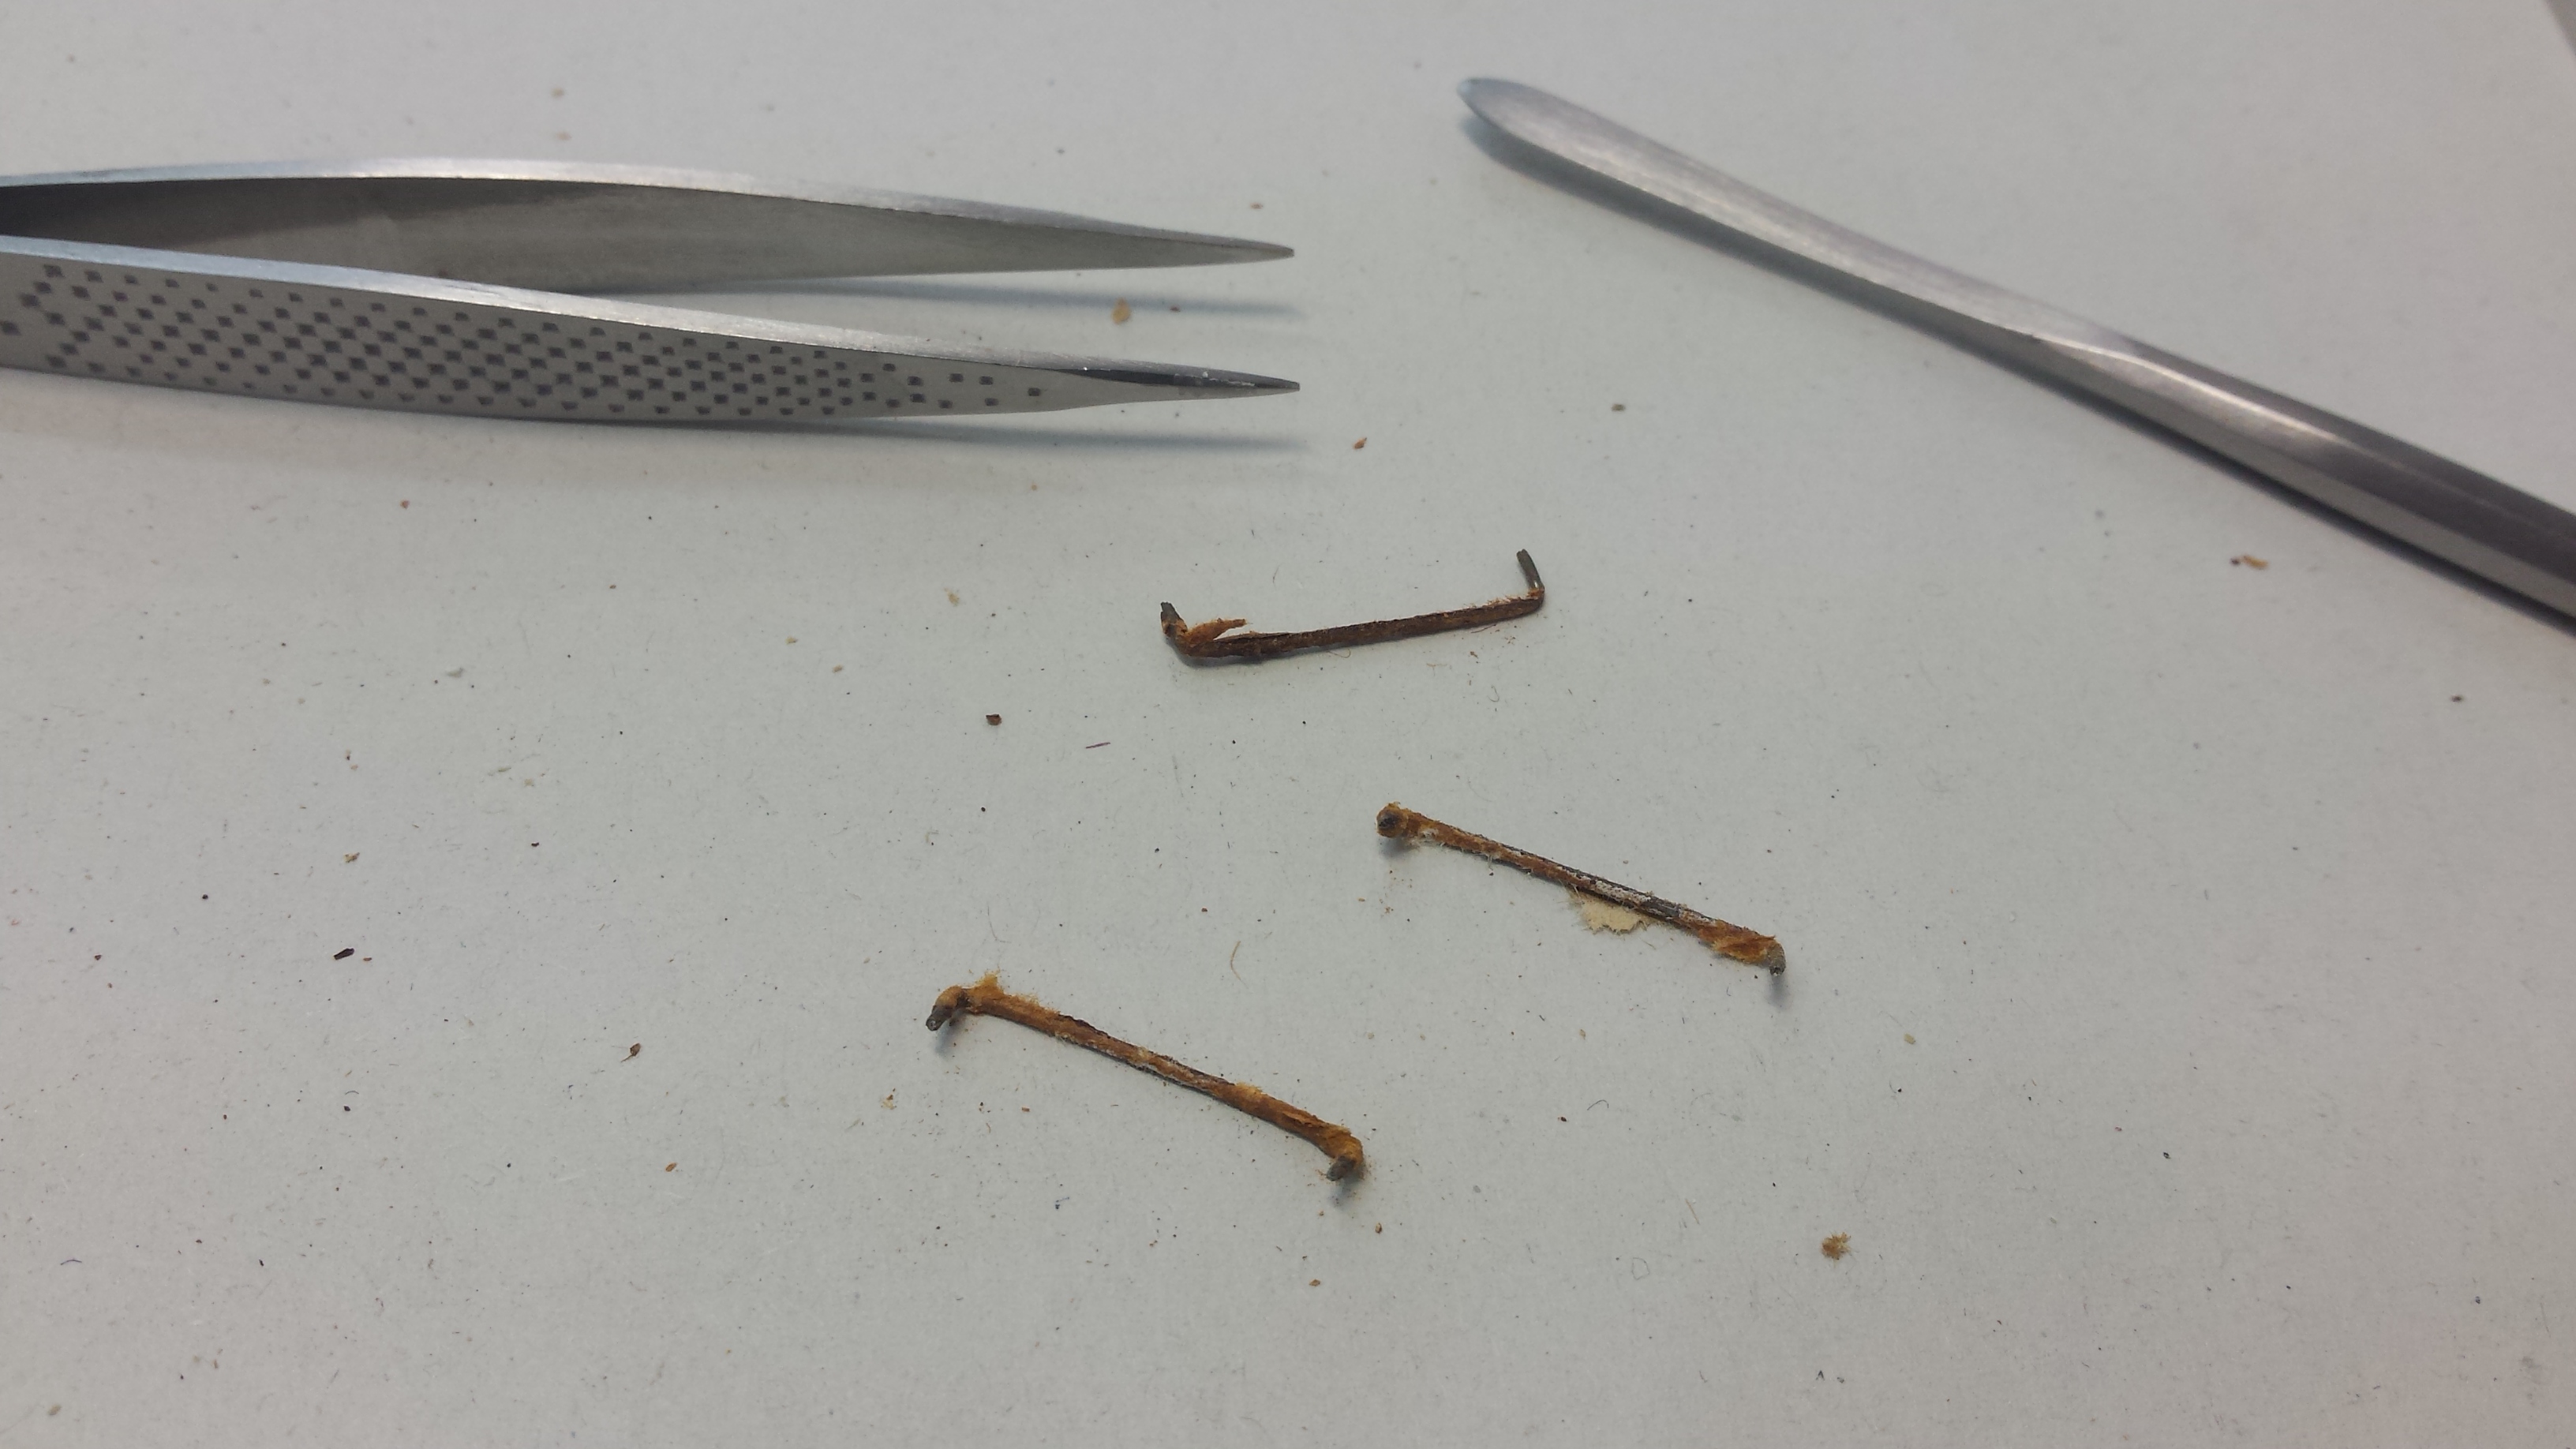
Because of the crosslinking, the paper around the staples had crystallized and stayed attached to the staples. This meant I needed to guard each plate with a very thin re-moistenable tissue. I made the tissue using 3% bovine gelatin.
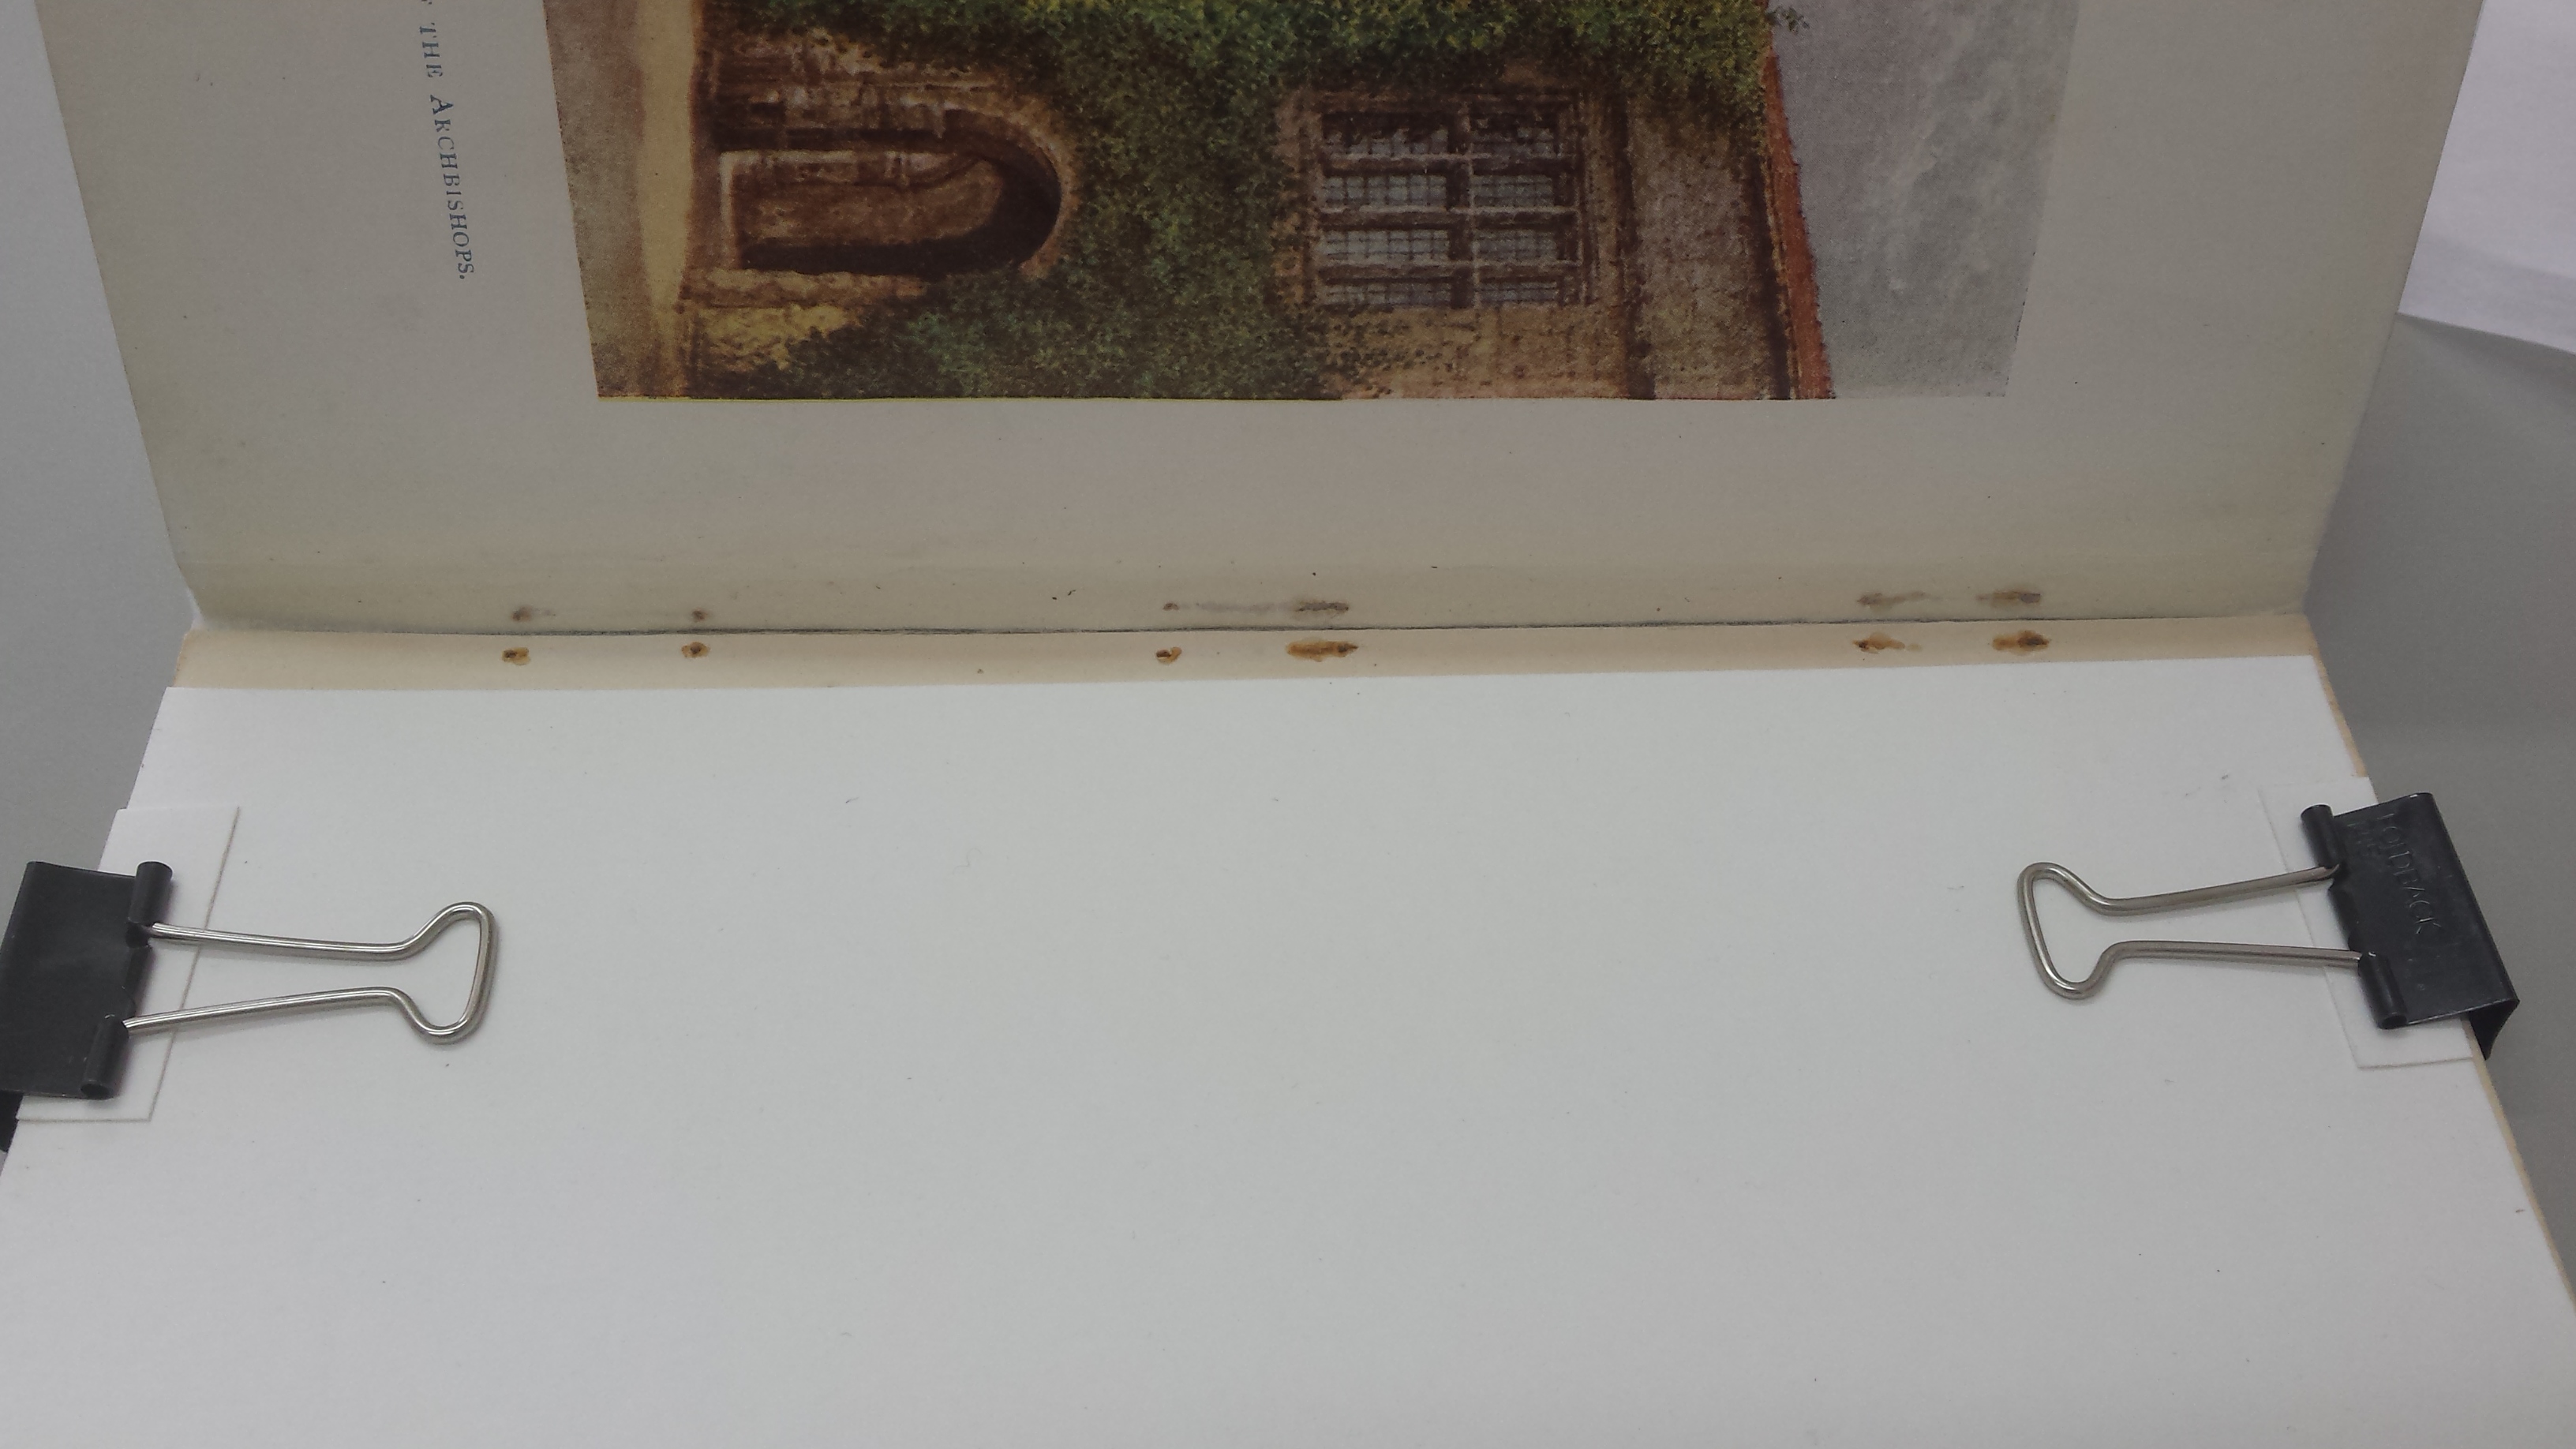
I wanted to replicate the original binding structure as closely as possible, so I developed a stab-type sewing technique that used the original staple holes. I started the sewing in the middle of the texblock vertically and horizontally, to avoid bumps or knots being visible once the re-back was complete.
The picture above shows the plates ready for sewing. I clipped everything together before sewing, with two layers of blotting paper to avoid denting the textblock, to ensure the sewing would hold the plates tightly together, as the staples did.
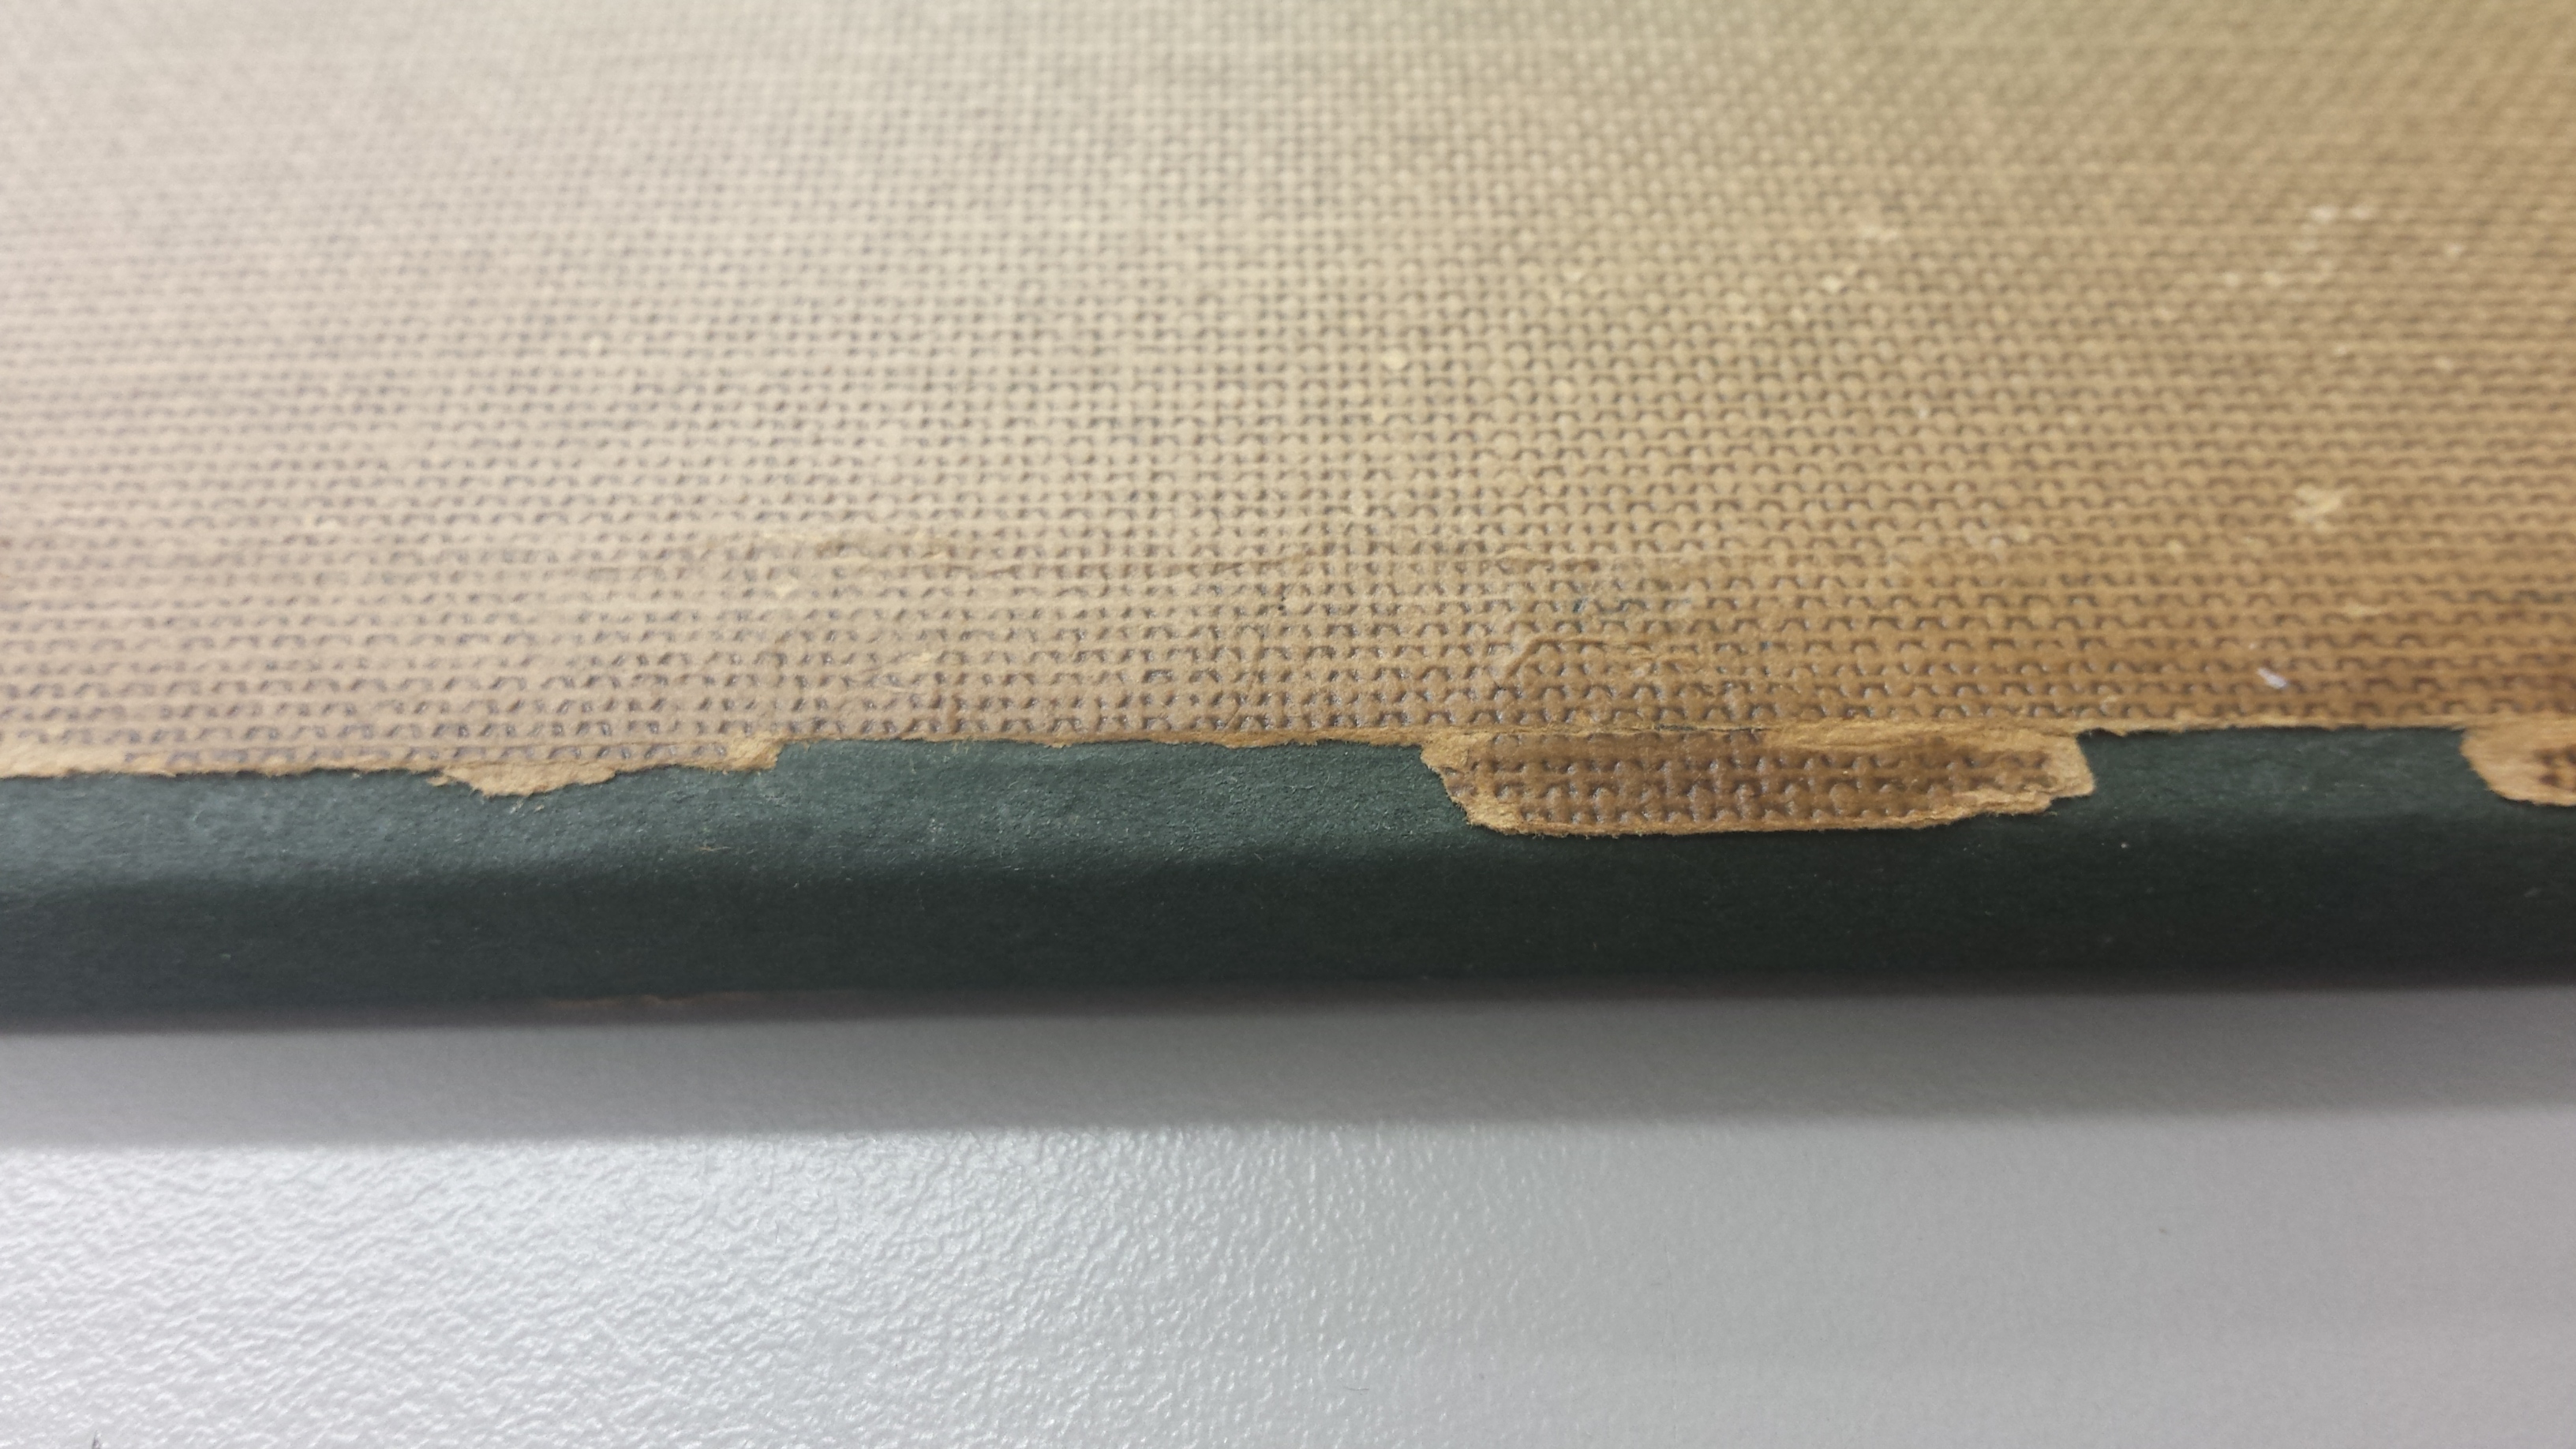
I toned the Japanese paper to match the accents on the cover, instead of trying to replicate the cloth-like pattern stamped into the paper.
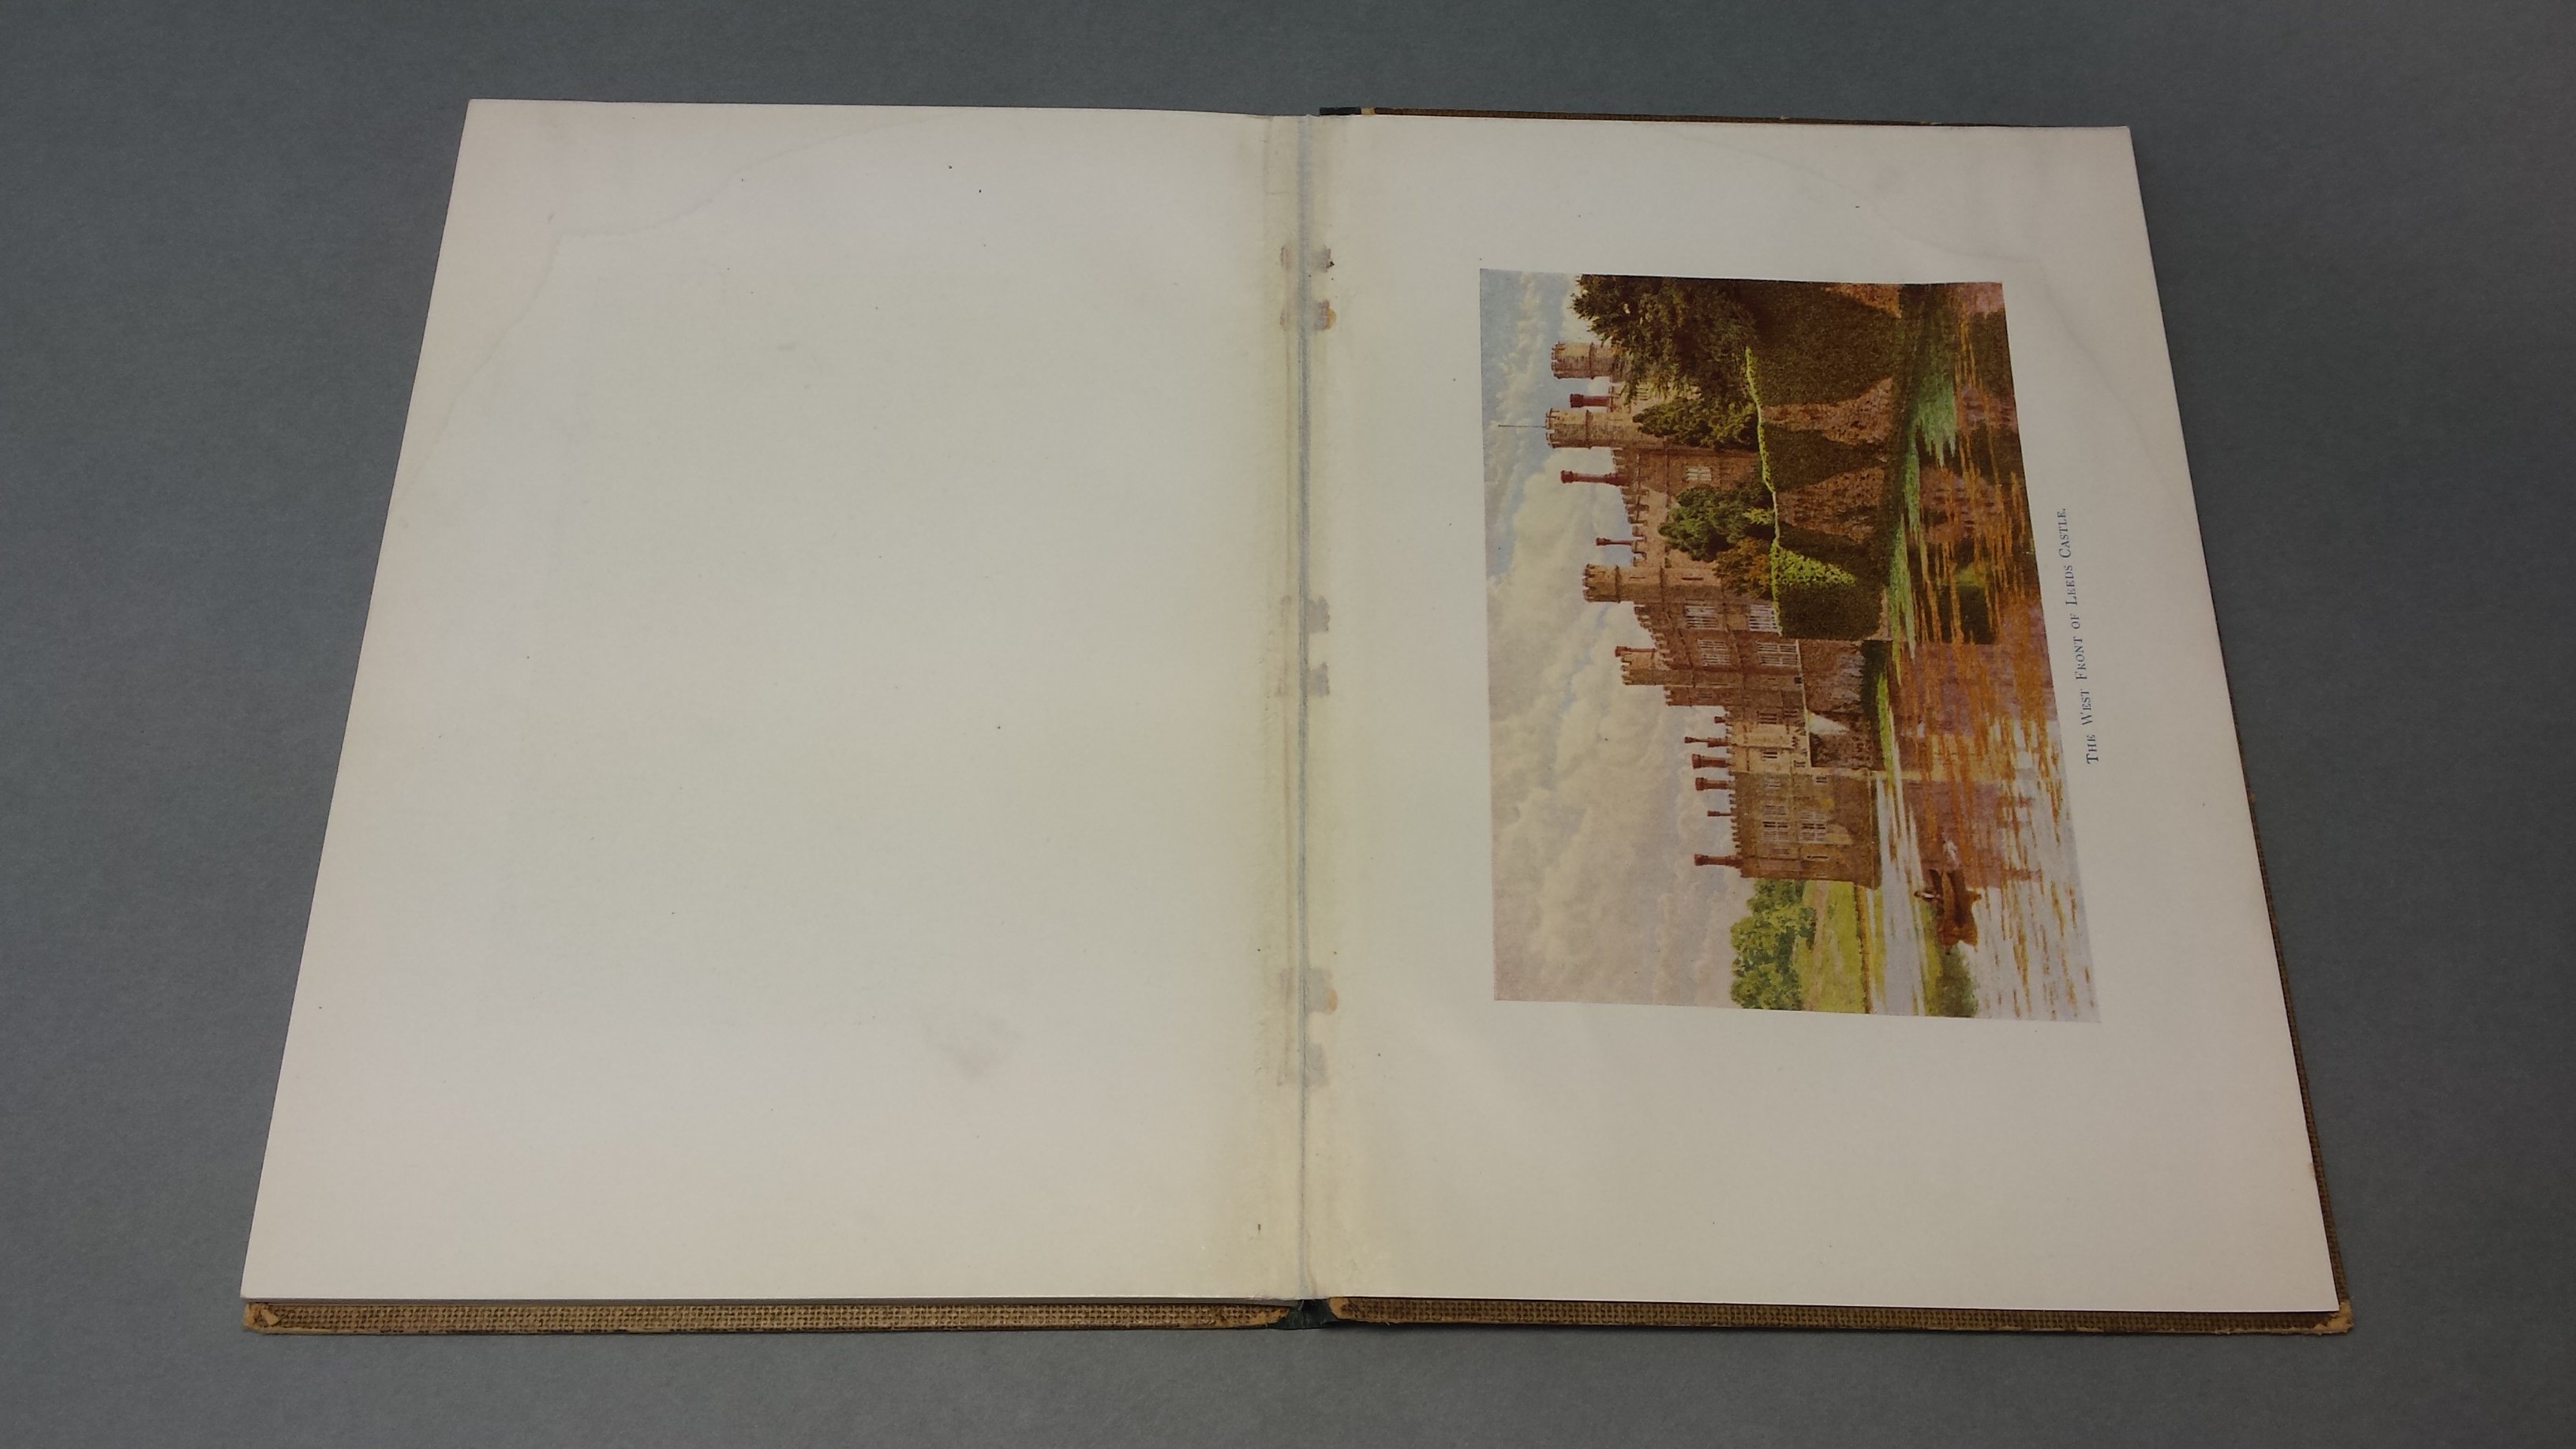
Once the textblock was attached to the boards and the new spine was in place, I put a hinge between the final plate and its predecessor. This alters the original binding style slightly, but I like that the evidence of the original staple binding is clearly visible.
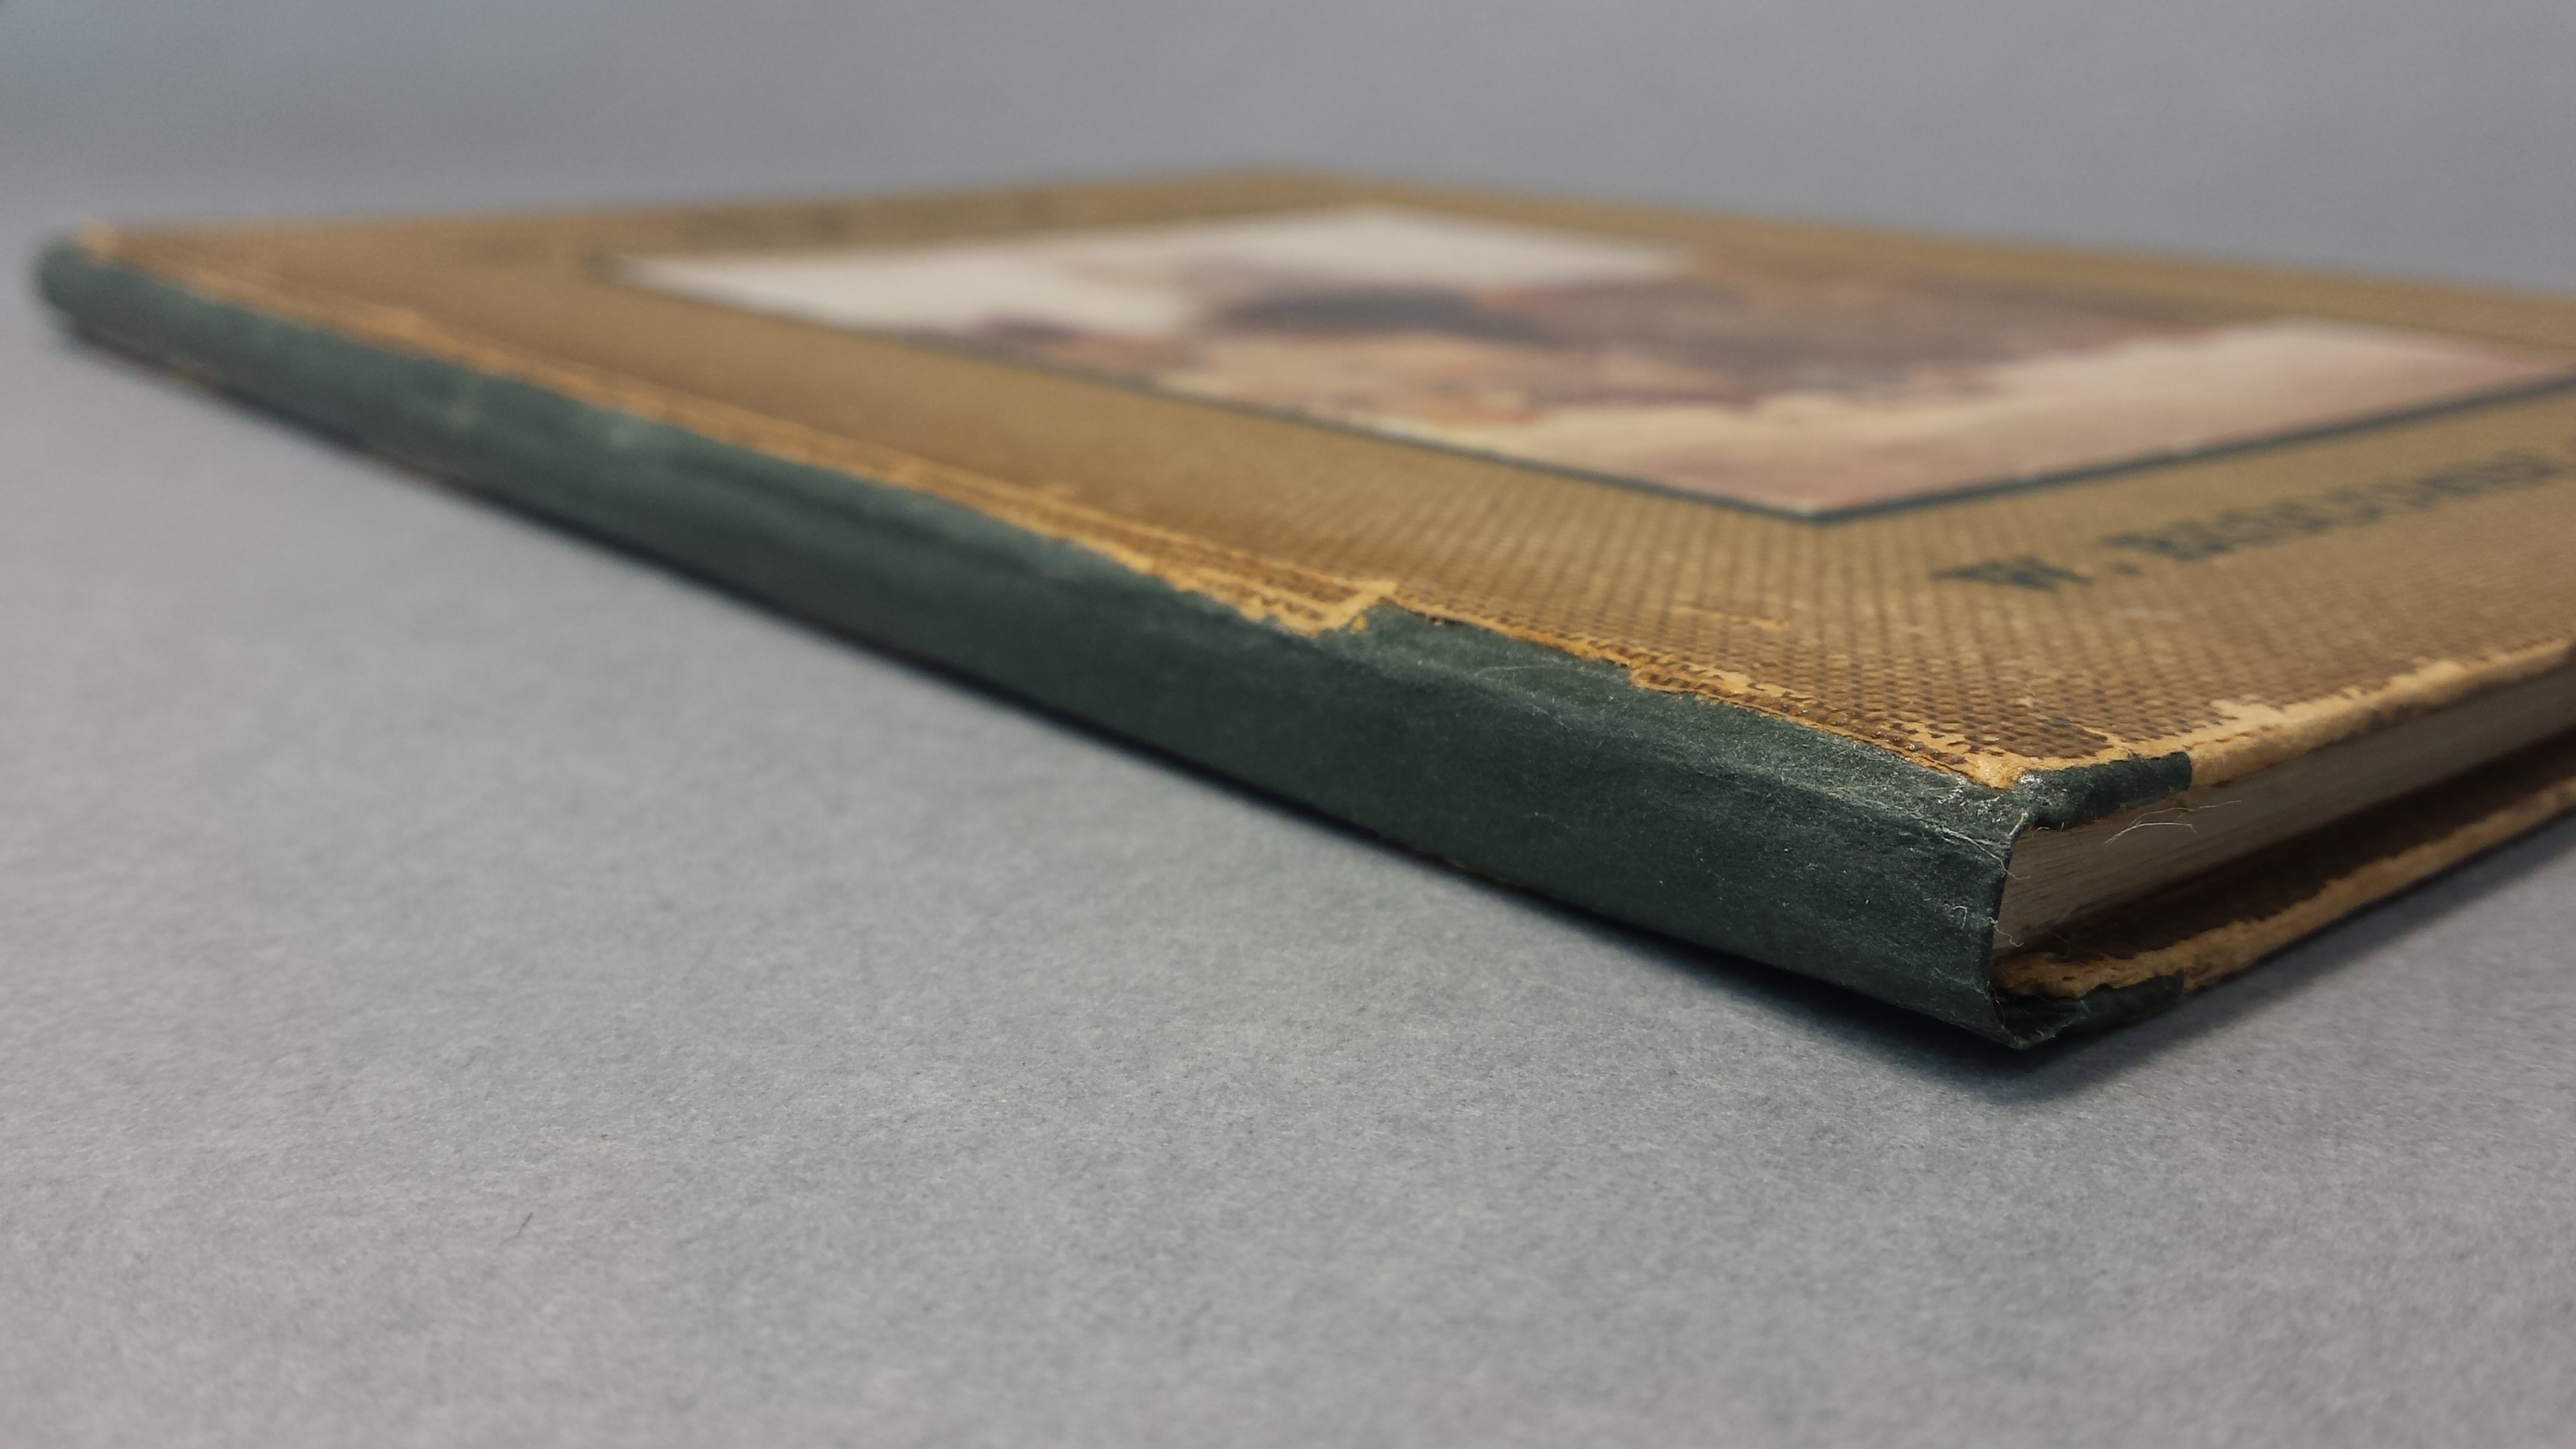
The final step was to put a thin layer of SC6000 on the spine so it tied in better with the shiny paper of the boards.
