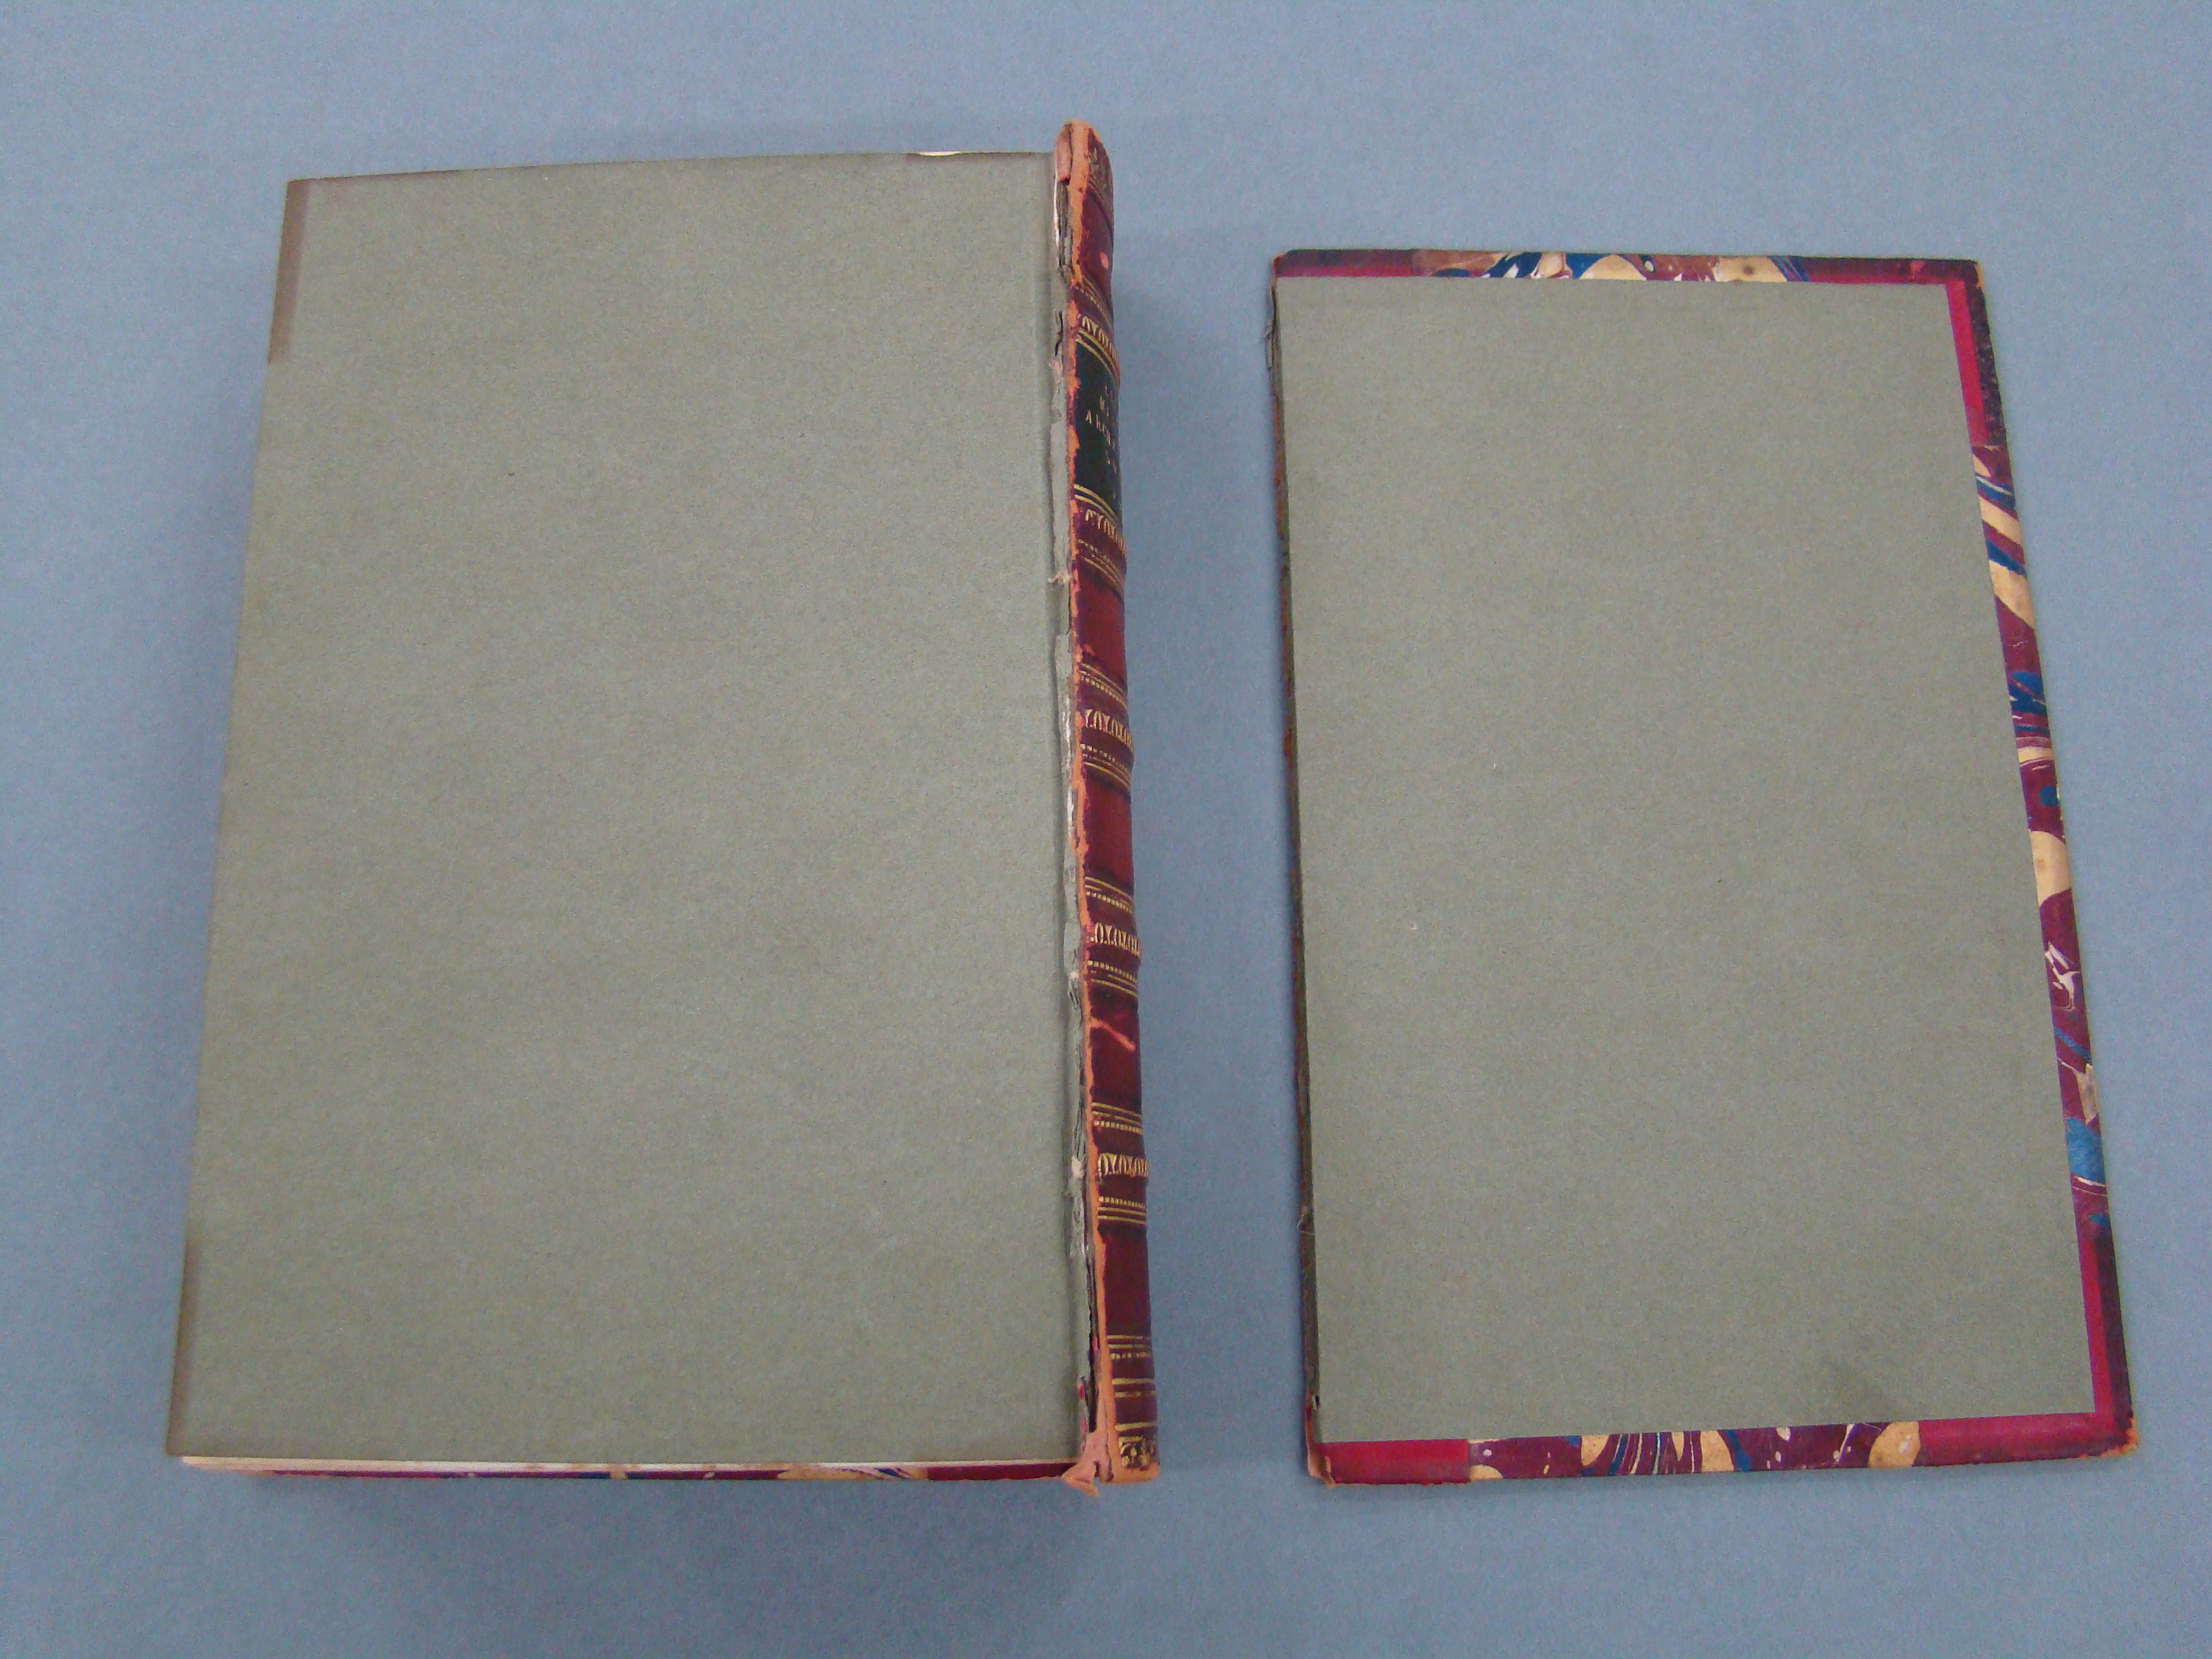
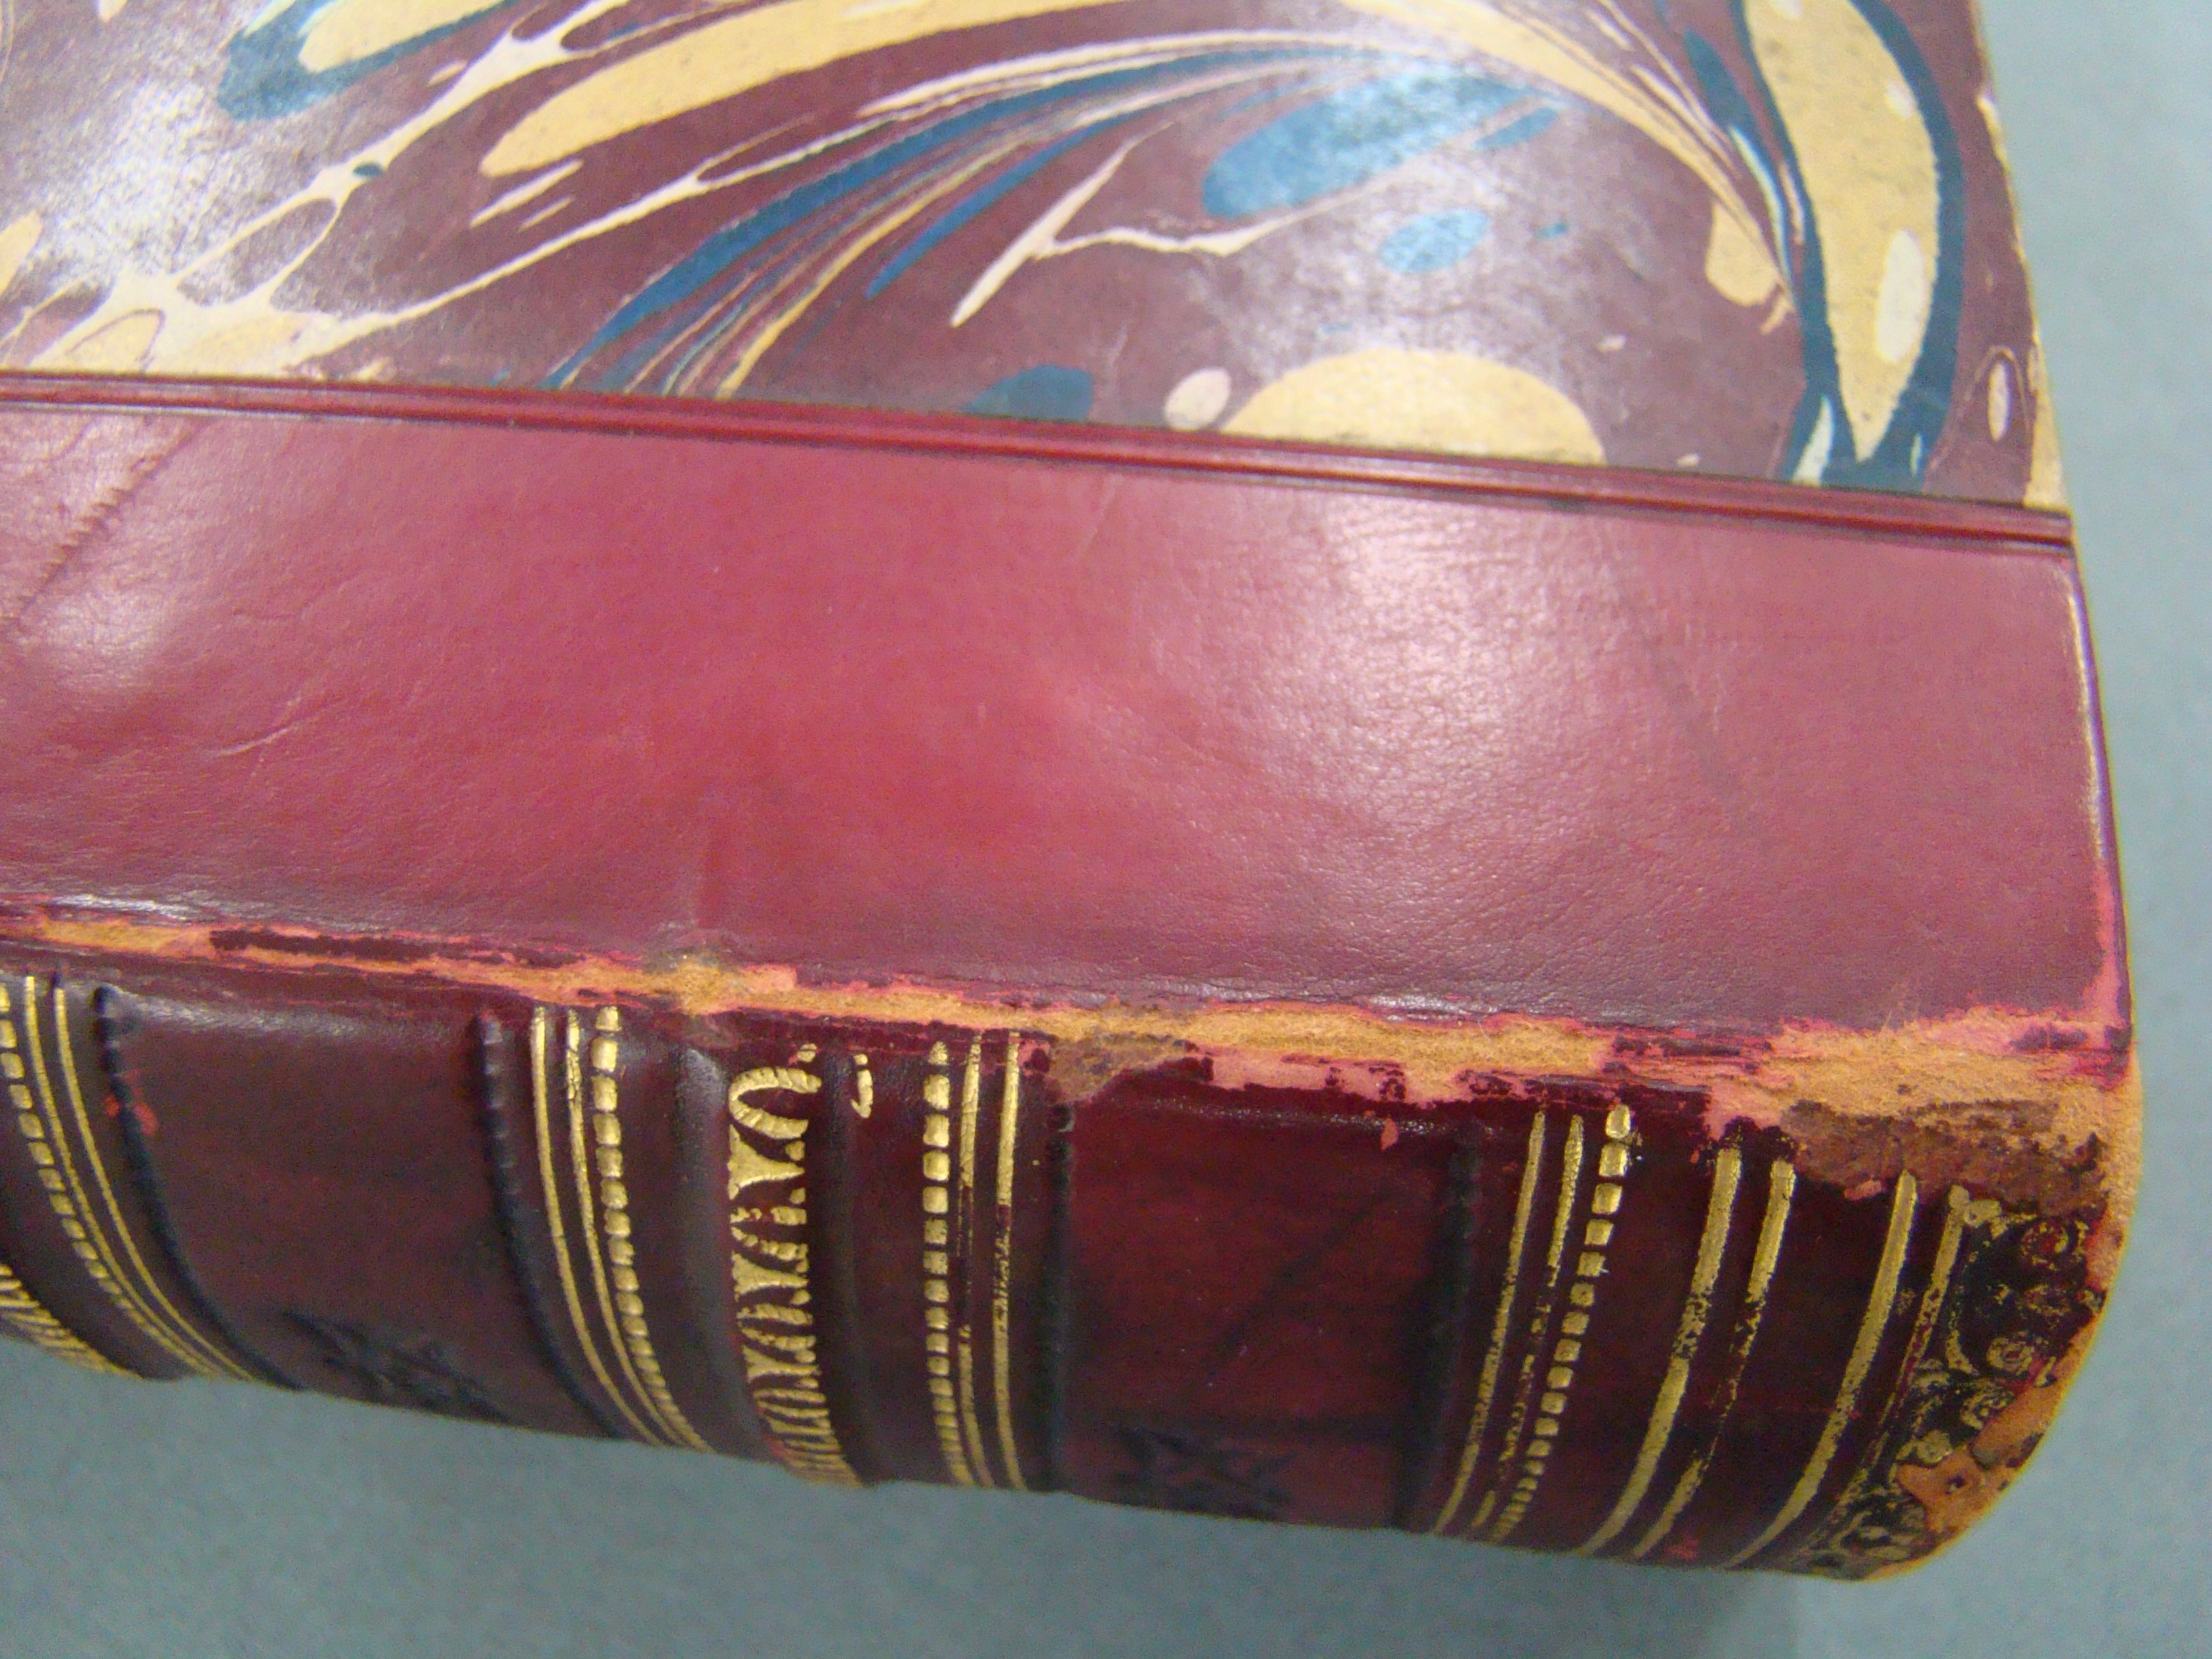
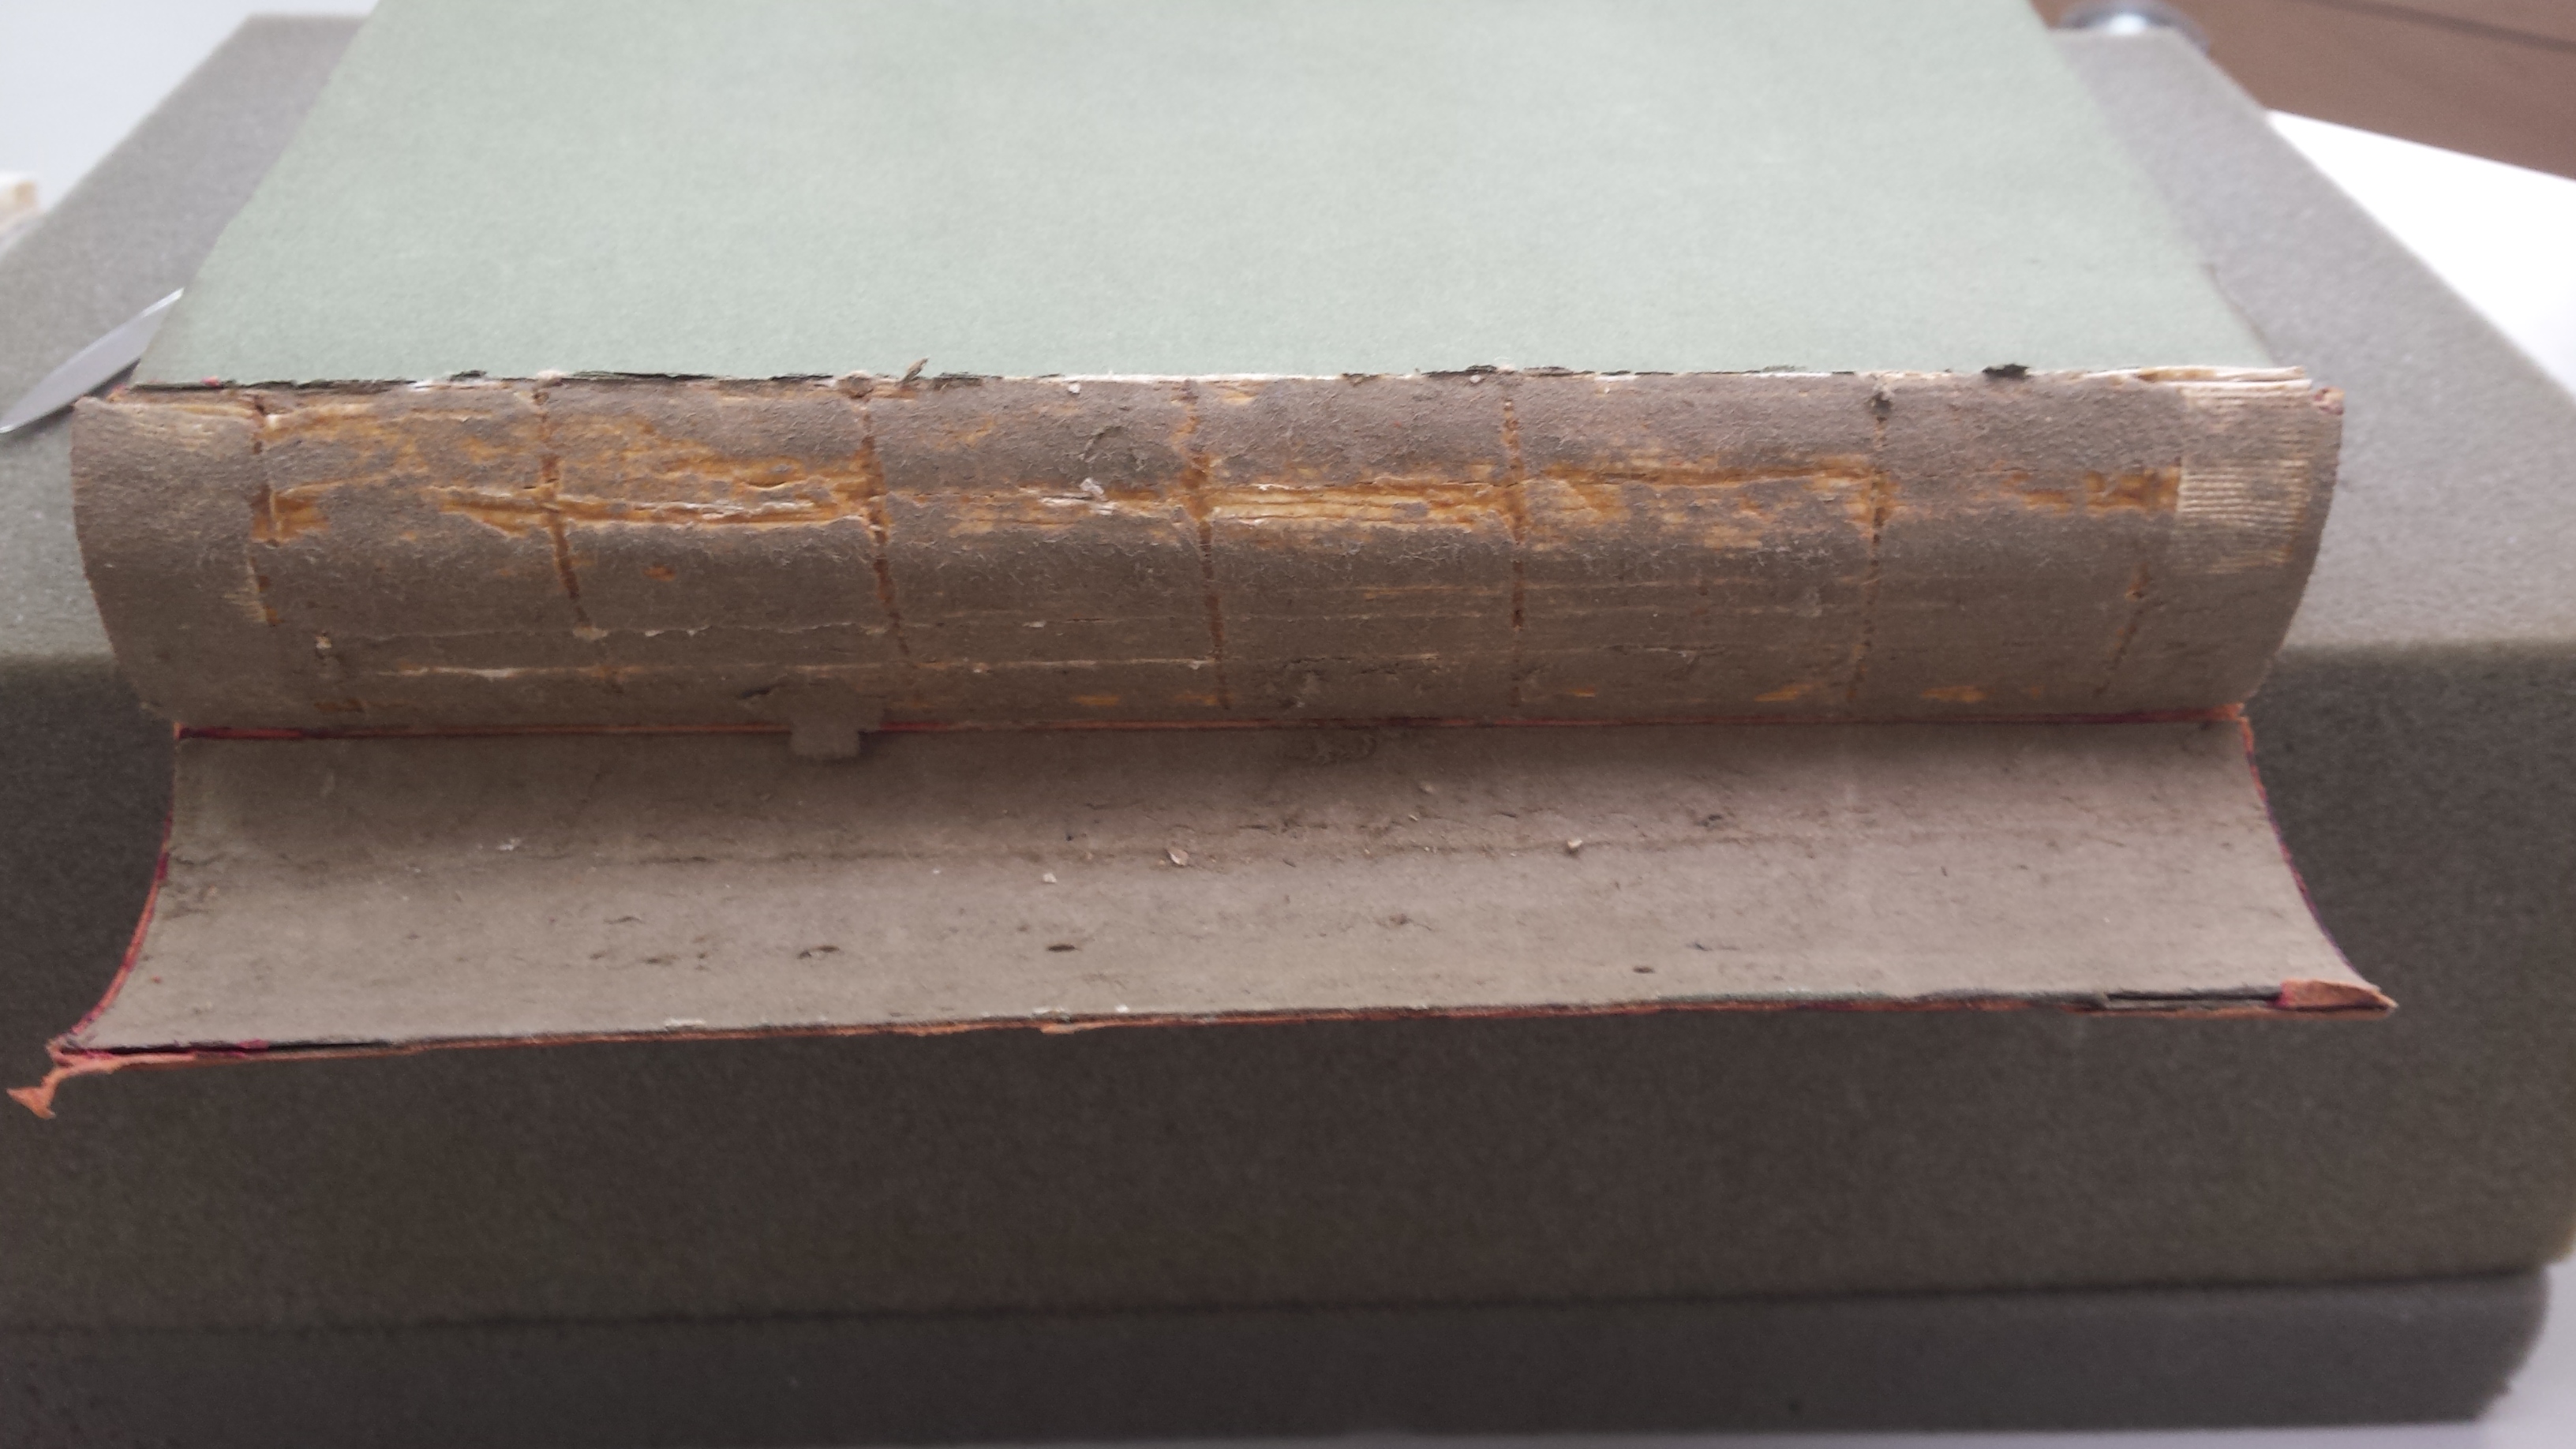
This was my first conservation project. It is a half leather bound book with a tube hollow. As you can see the right board was completely detached. It was decided that the best method of board reattachment for it would be an Etherington Hinge Repair. This is a technique developed by Don Etherington.
The left board hinge was very worn and fragile, so even though it was still attached I decided to do a modified Etherington repair on it as well. This was done as a preventative treatment.
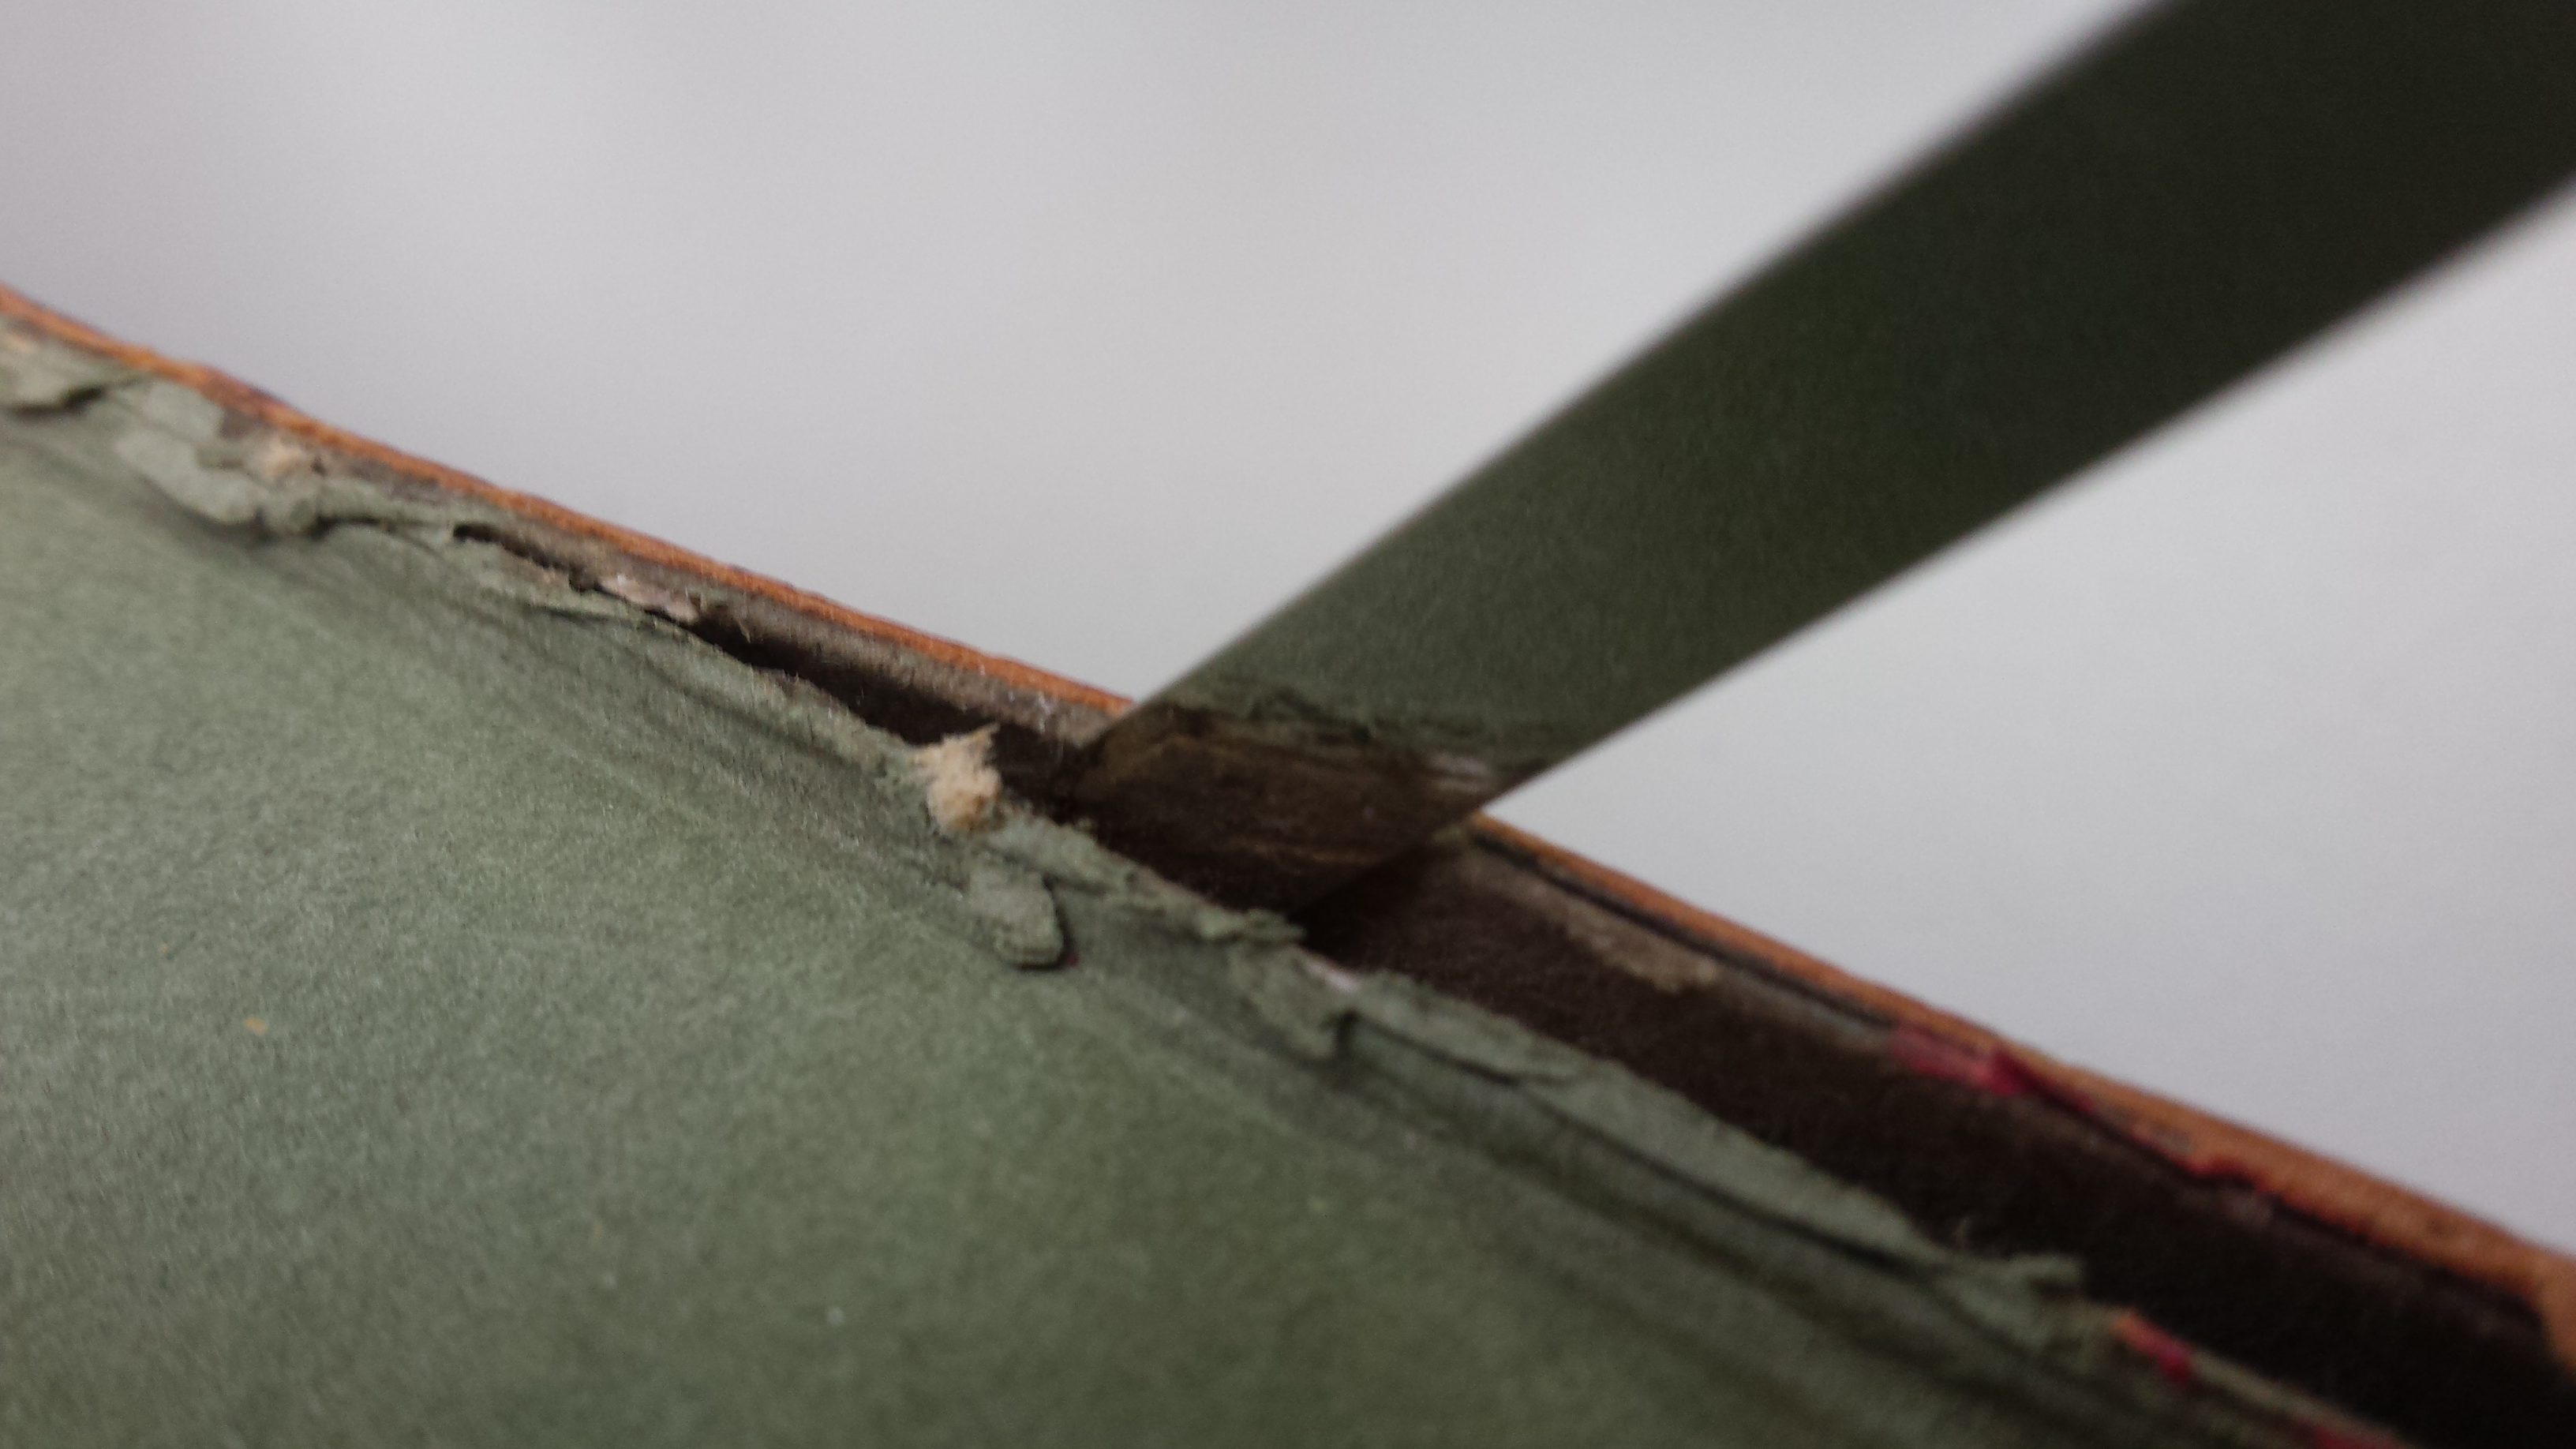
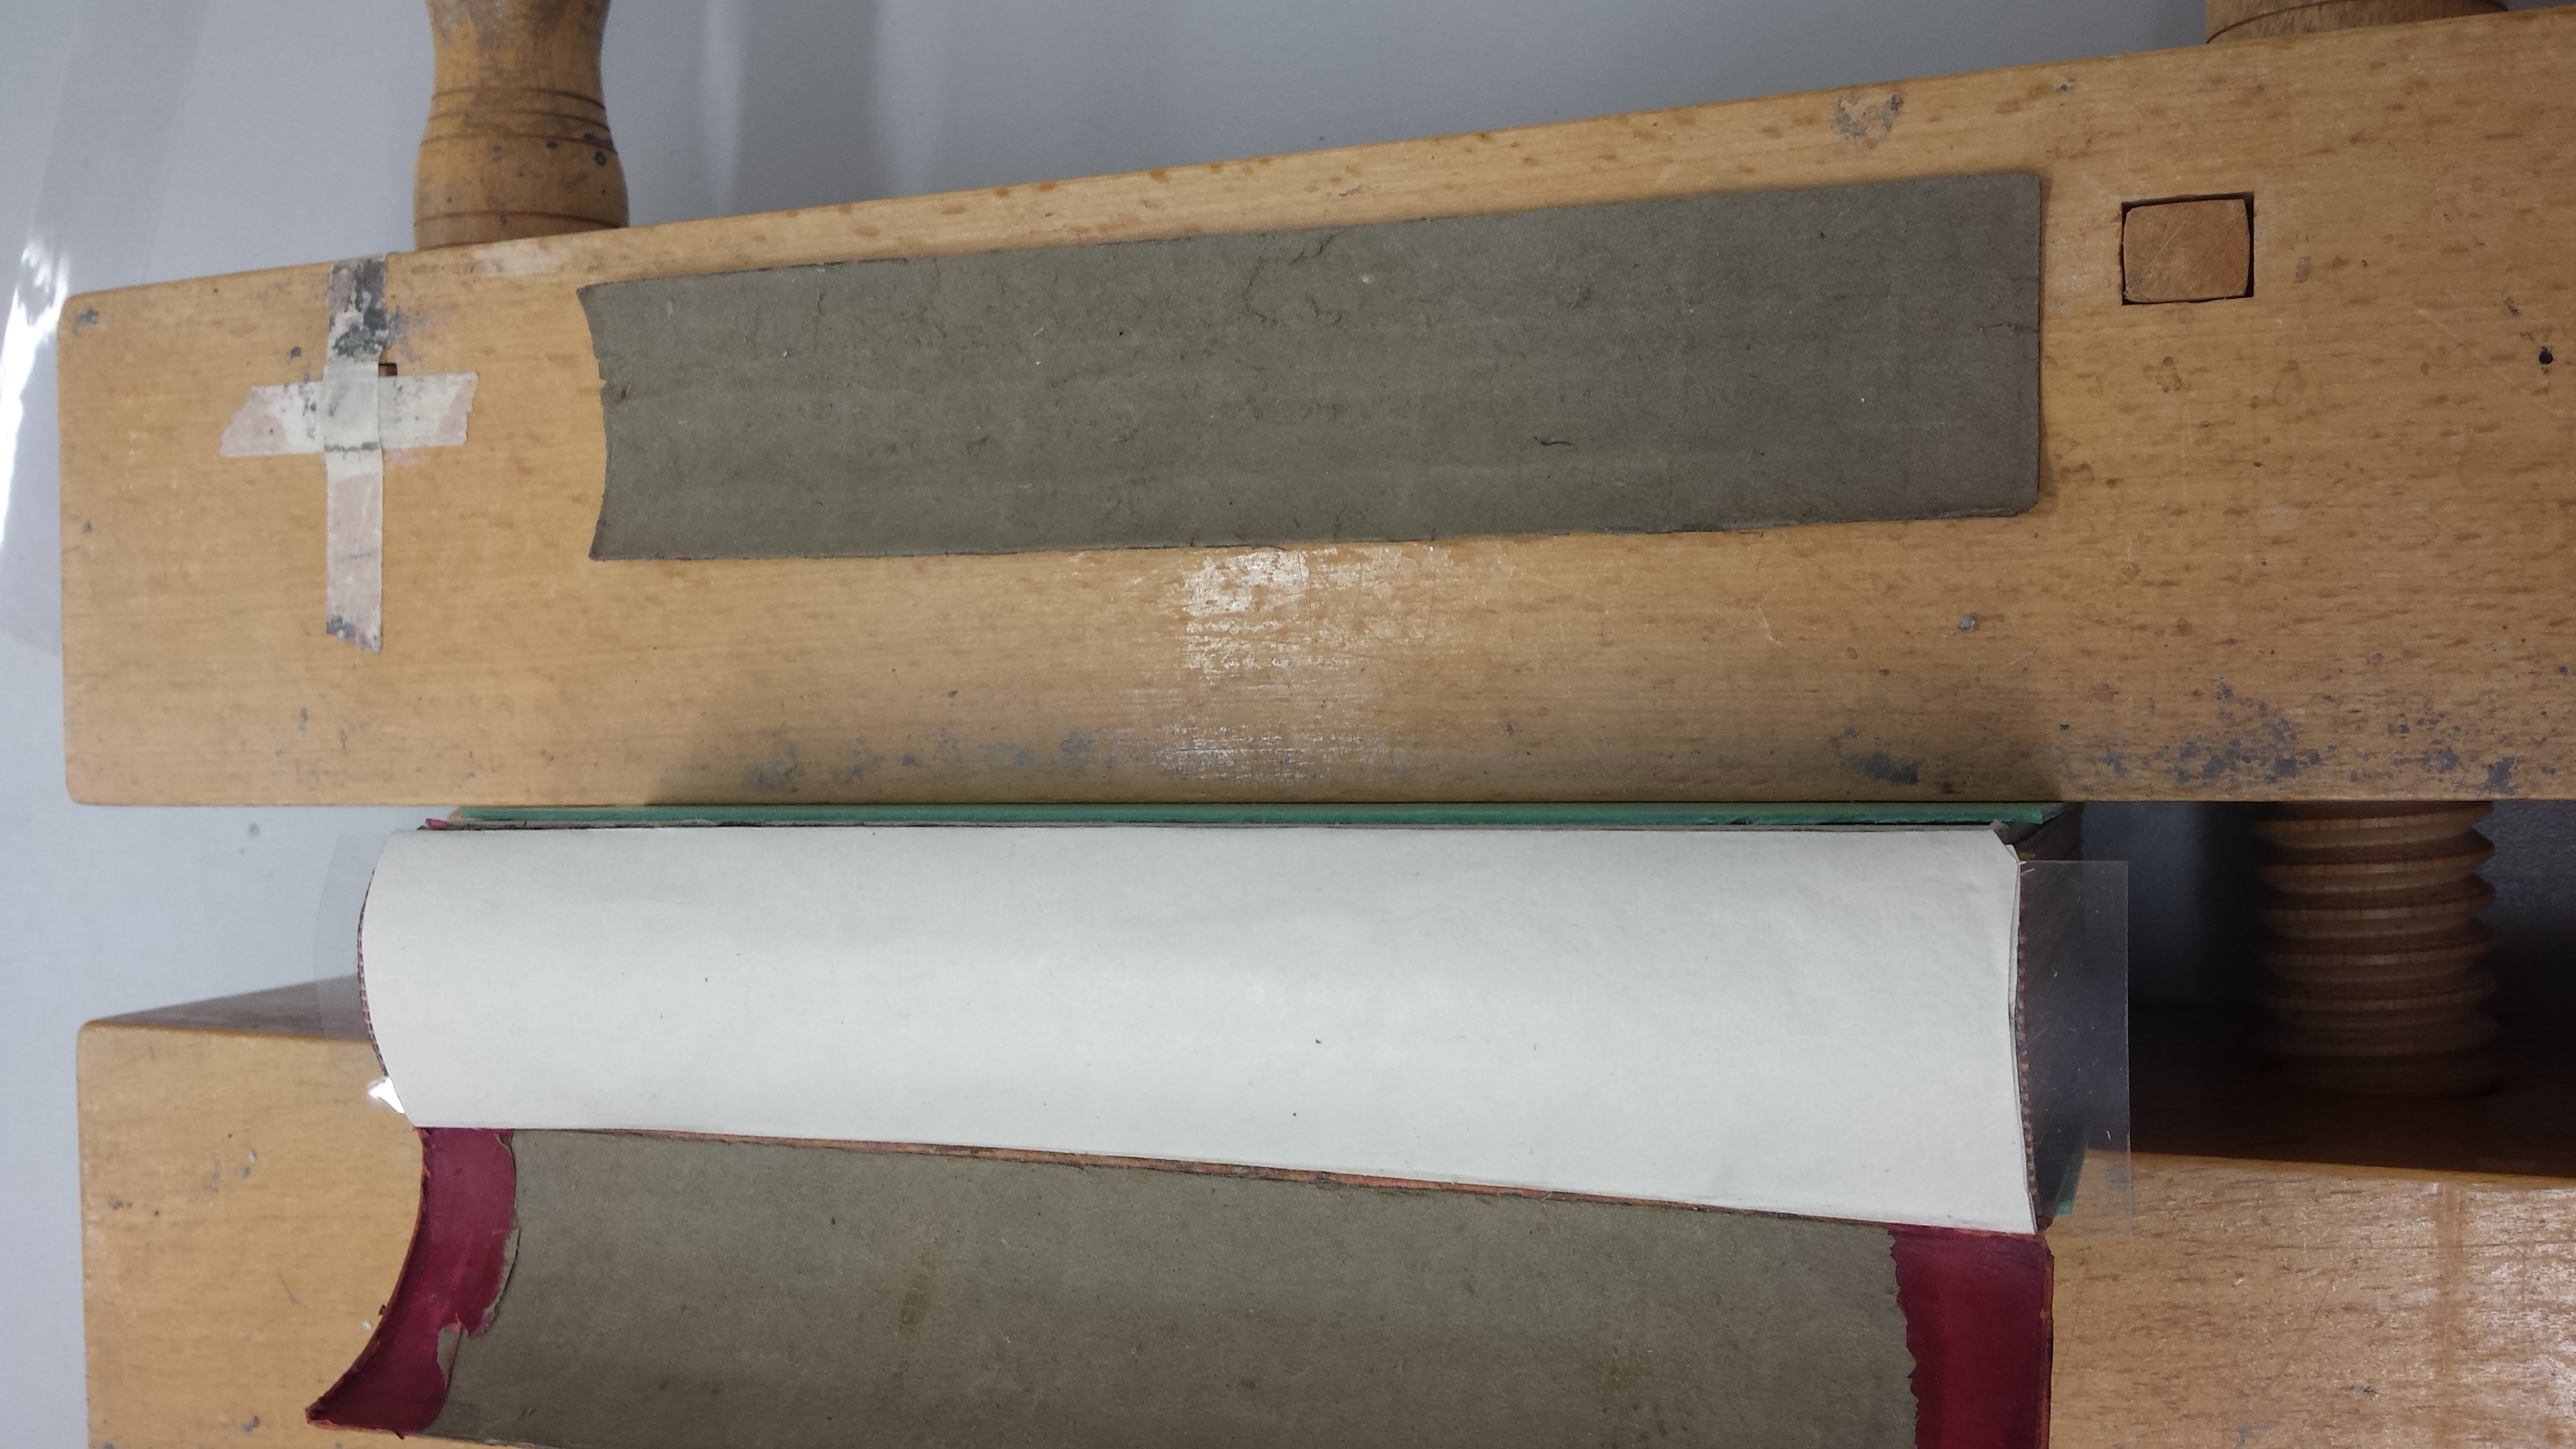
Upon closer inspection, I found that the hollow was coming away from the text-block-which made this a much trickier first project than I was expecting. I gently pried it away completely in order to replace it.
I had to be careful not to crush the leather spine piece as I worked on replacing the hollow.
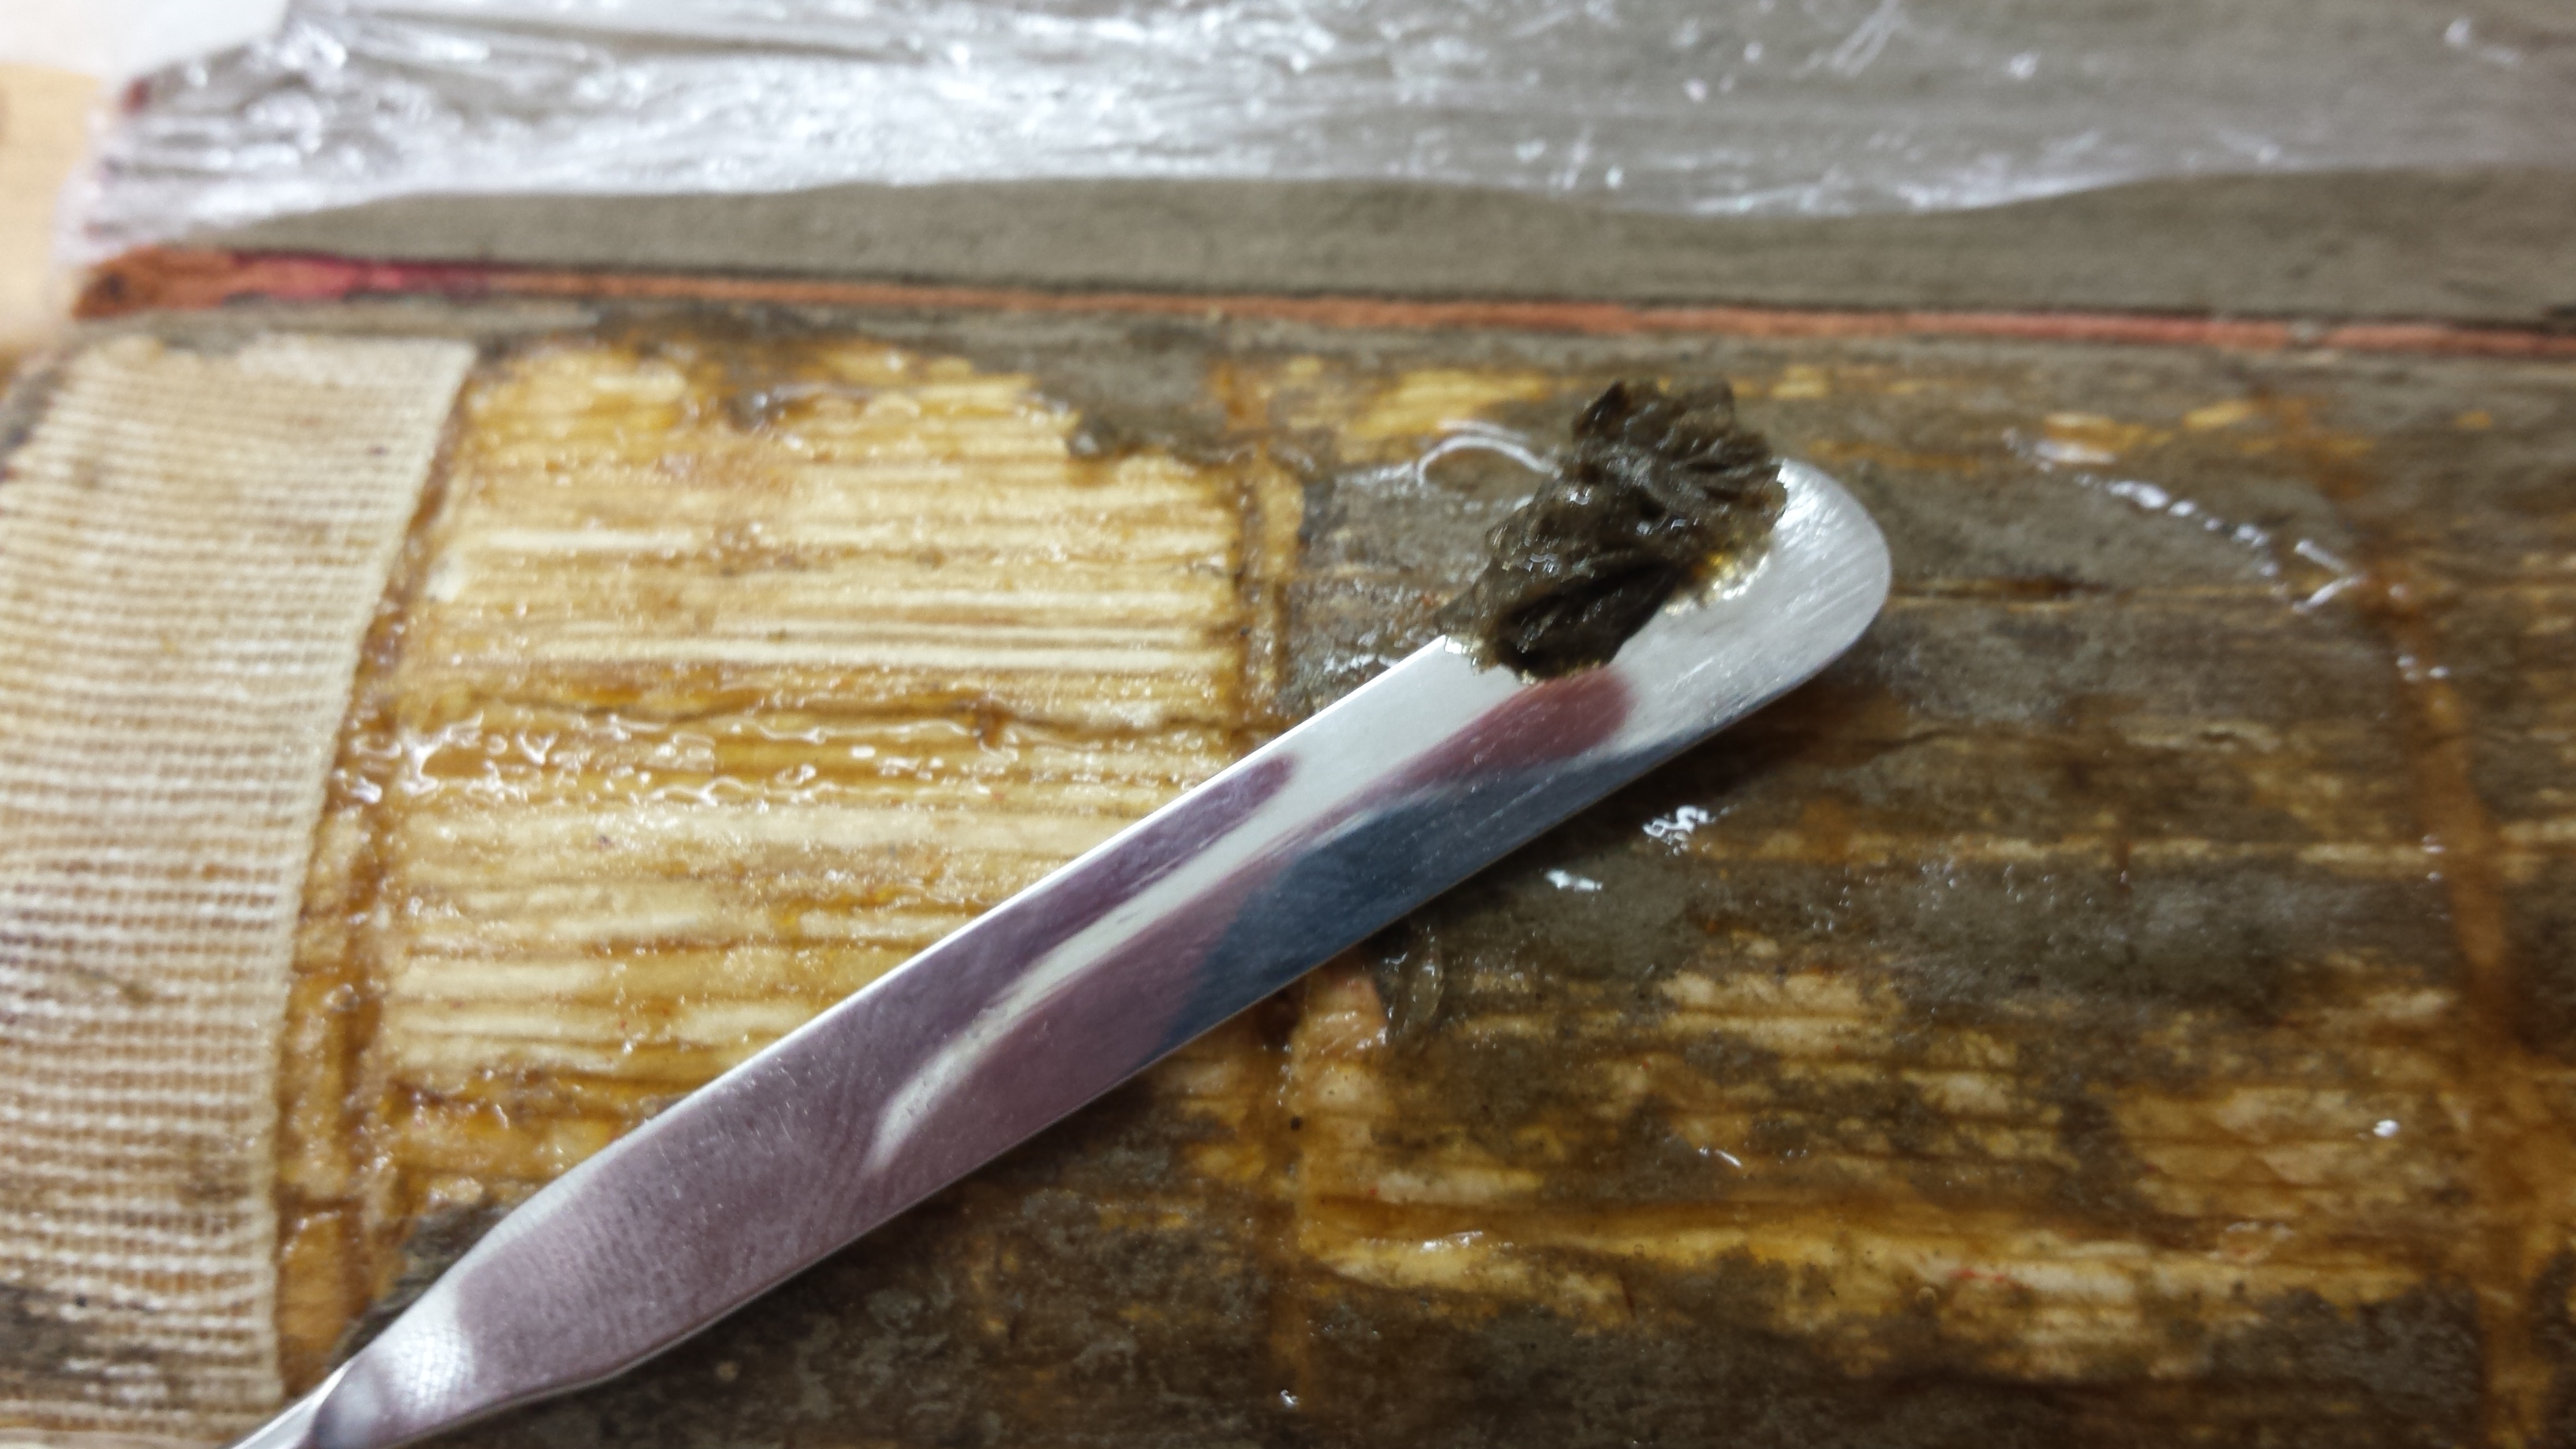
I removed the original adhesive and bits of the old hollow by applying a thick layer of Methylcellulose and letting it sit for a while. This softened both, so that I was able to easily scrape them away.
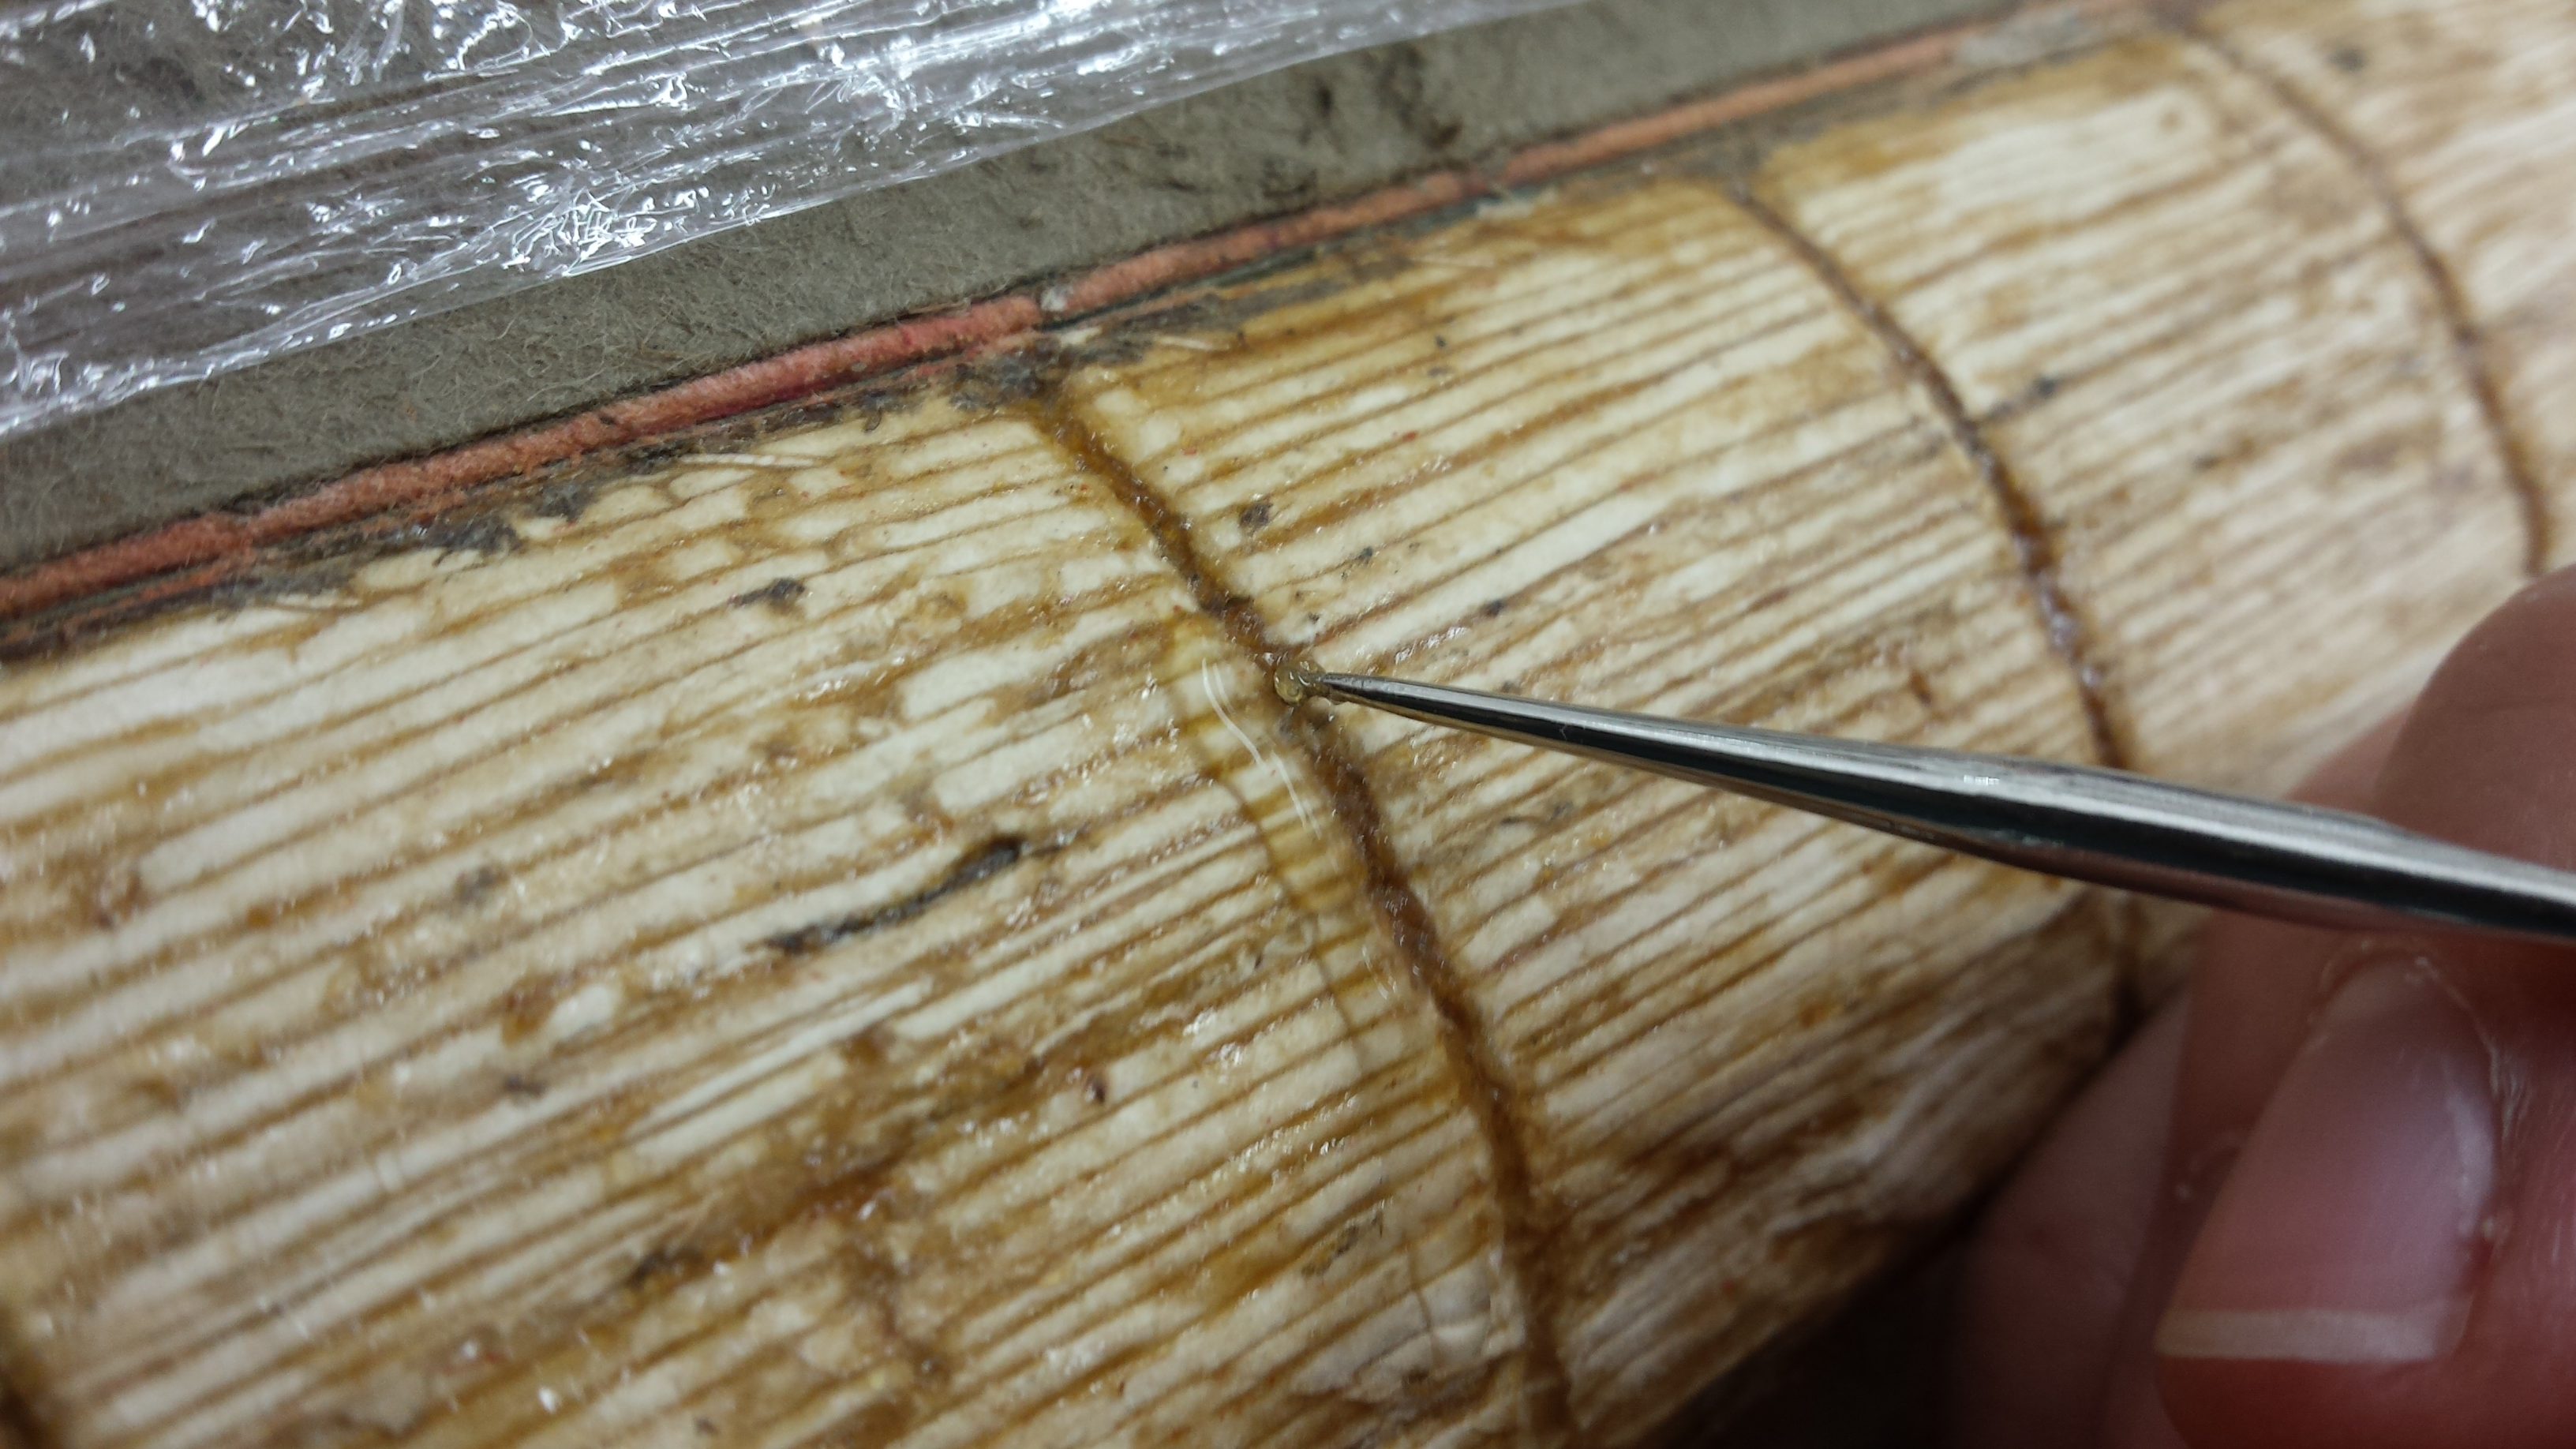
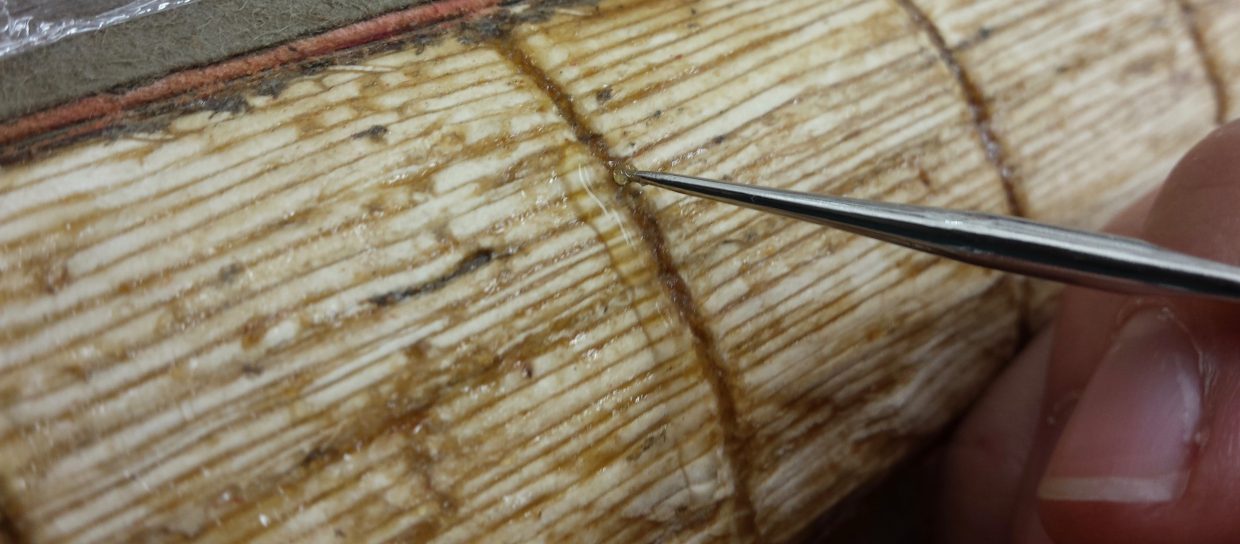
I used a very small crochet hook to remove the adhesive from around the sewing supports.
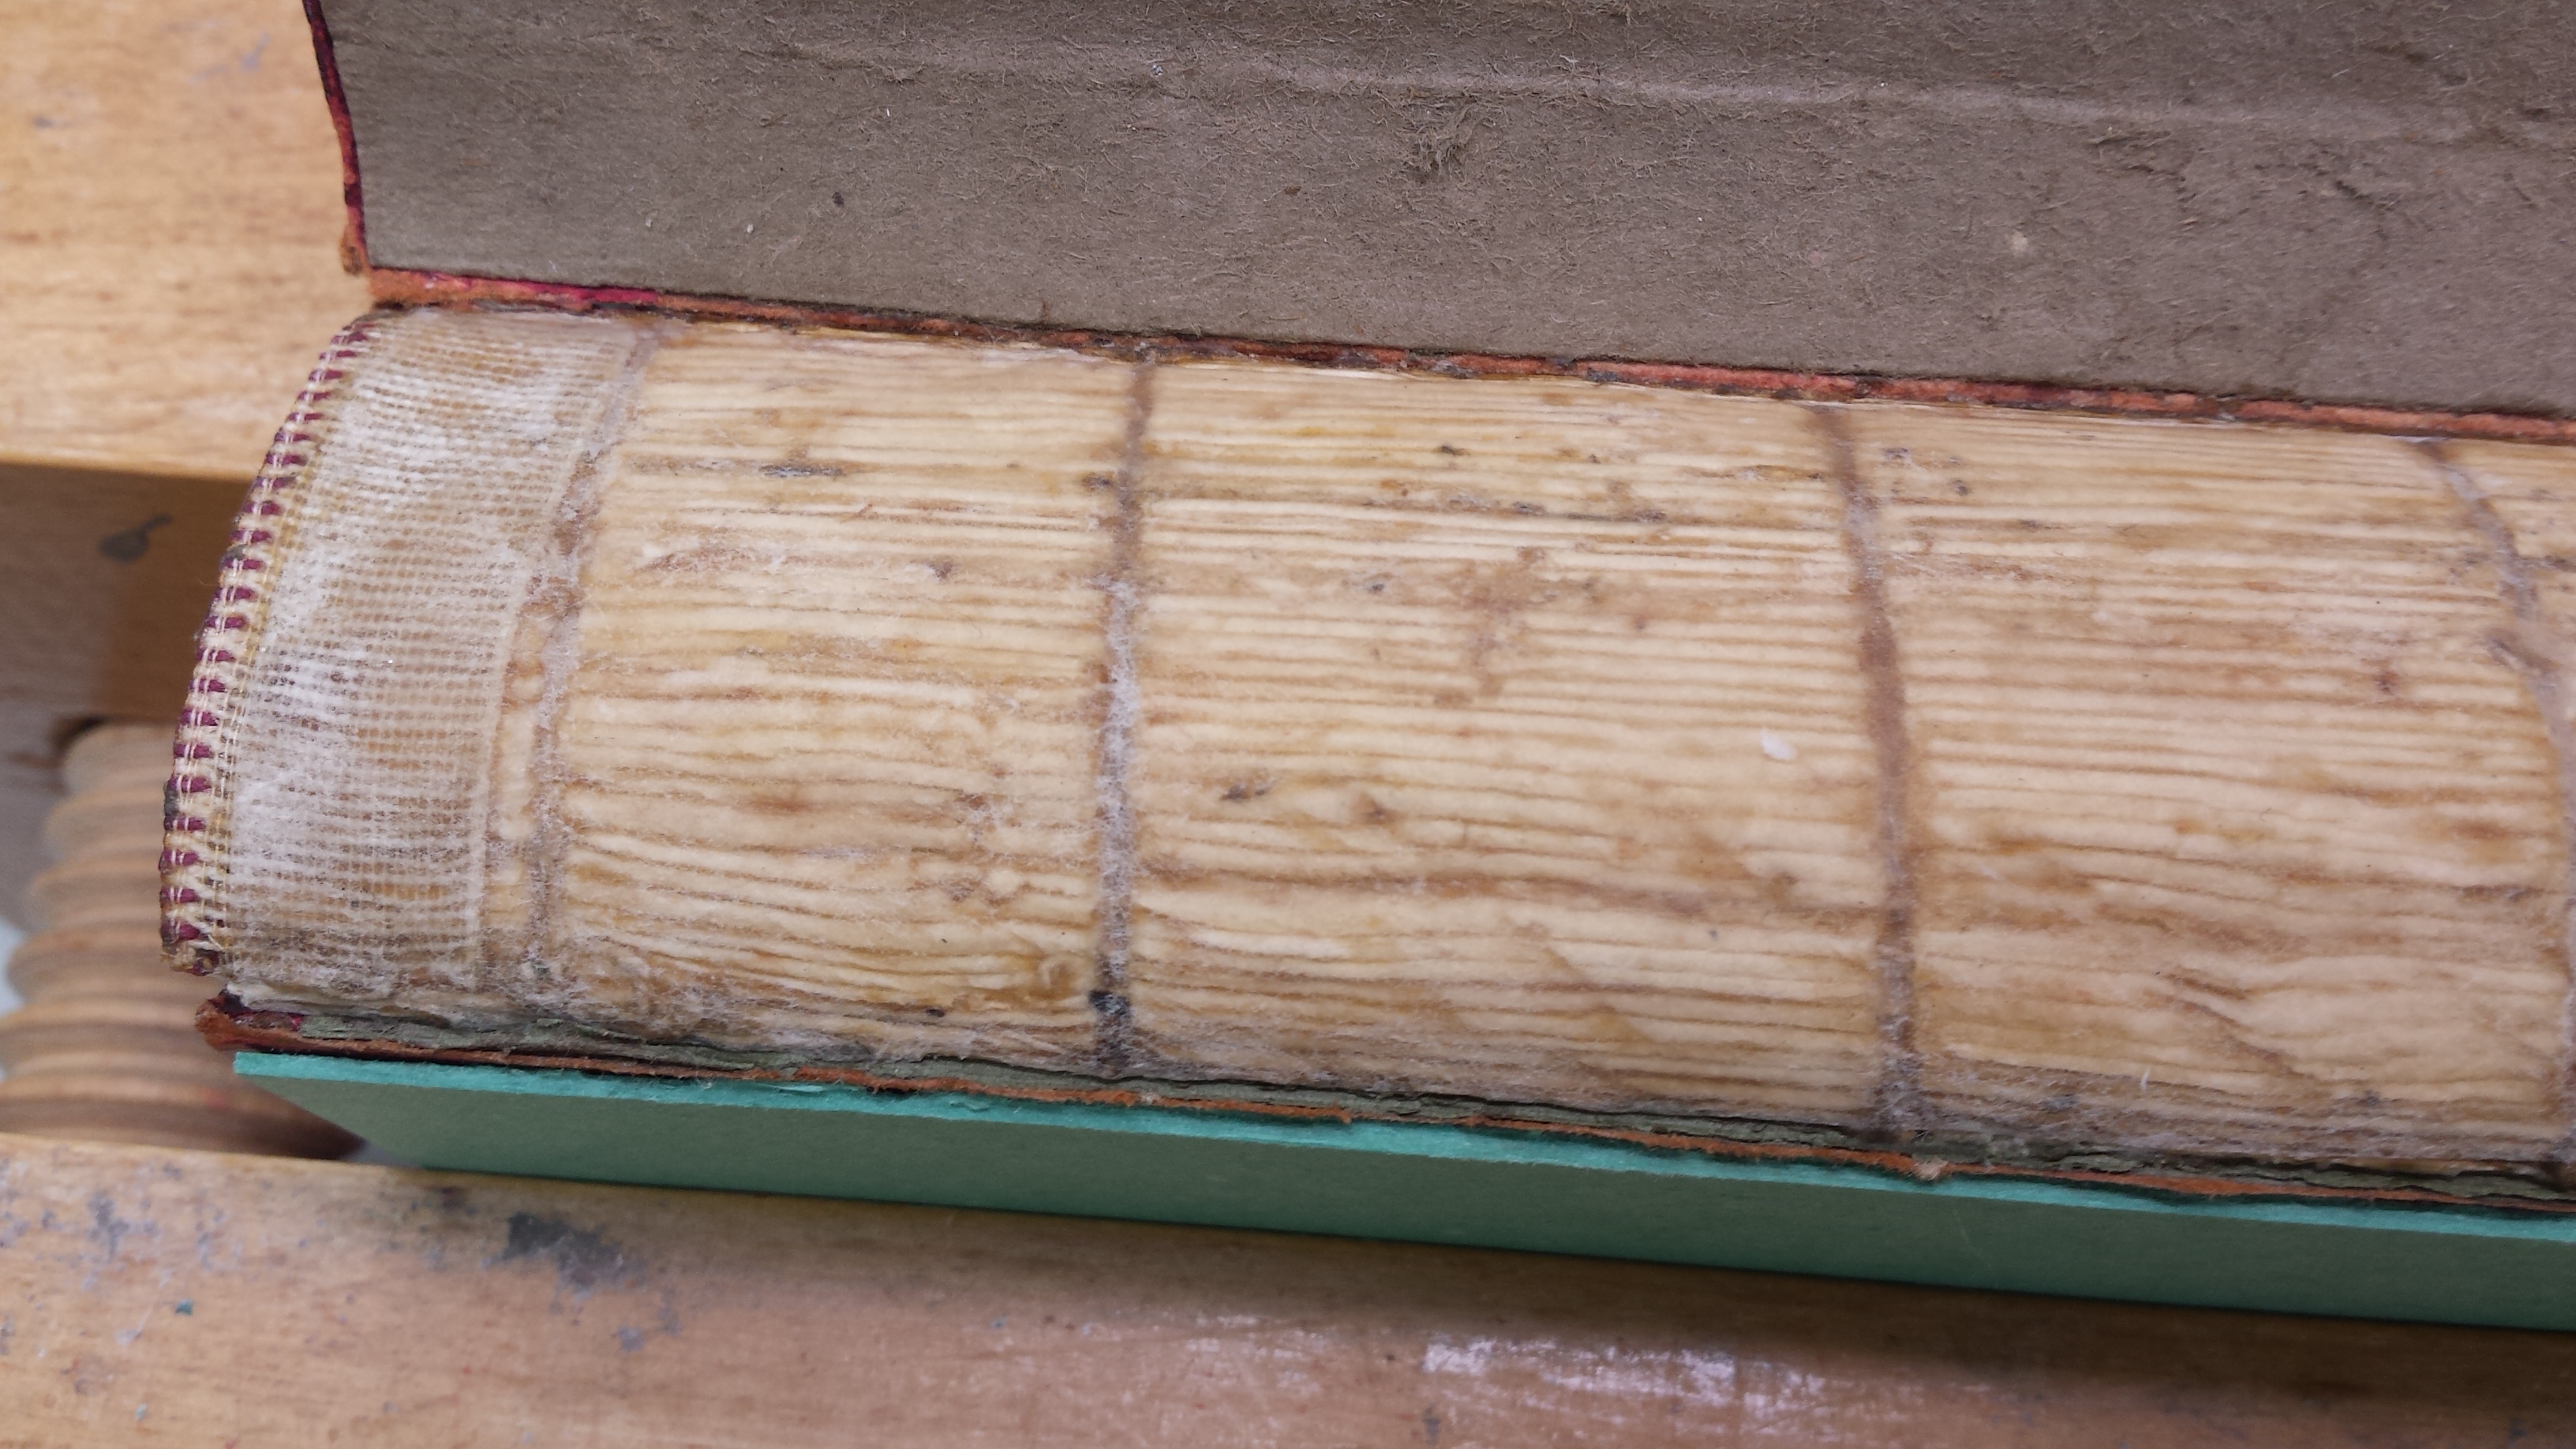
I put a 15 gms Japanese tissue lining down with wheat starch paste as a release layer to make the reset of the treatment easily reversible. I then added a thicker spine lining of Wester paper, before putting on the new hollow I’d made.
Here is the new hollow next to the original I had to remove.
Once the hollow was dry I turned my attention to the board attachment. I toned two different heavy-weight Japanese tissues: one to match the green endpapers and the other to match the red spine leather.
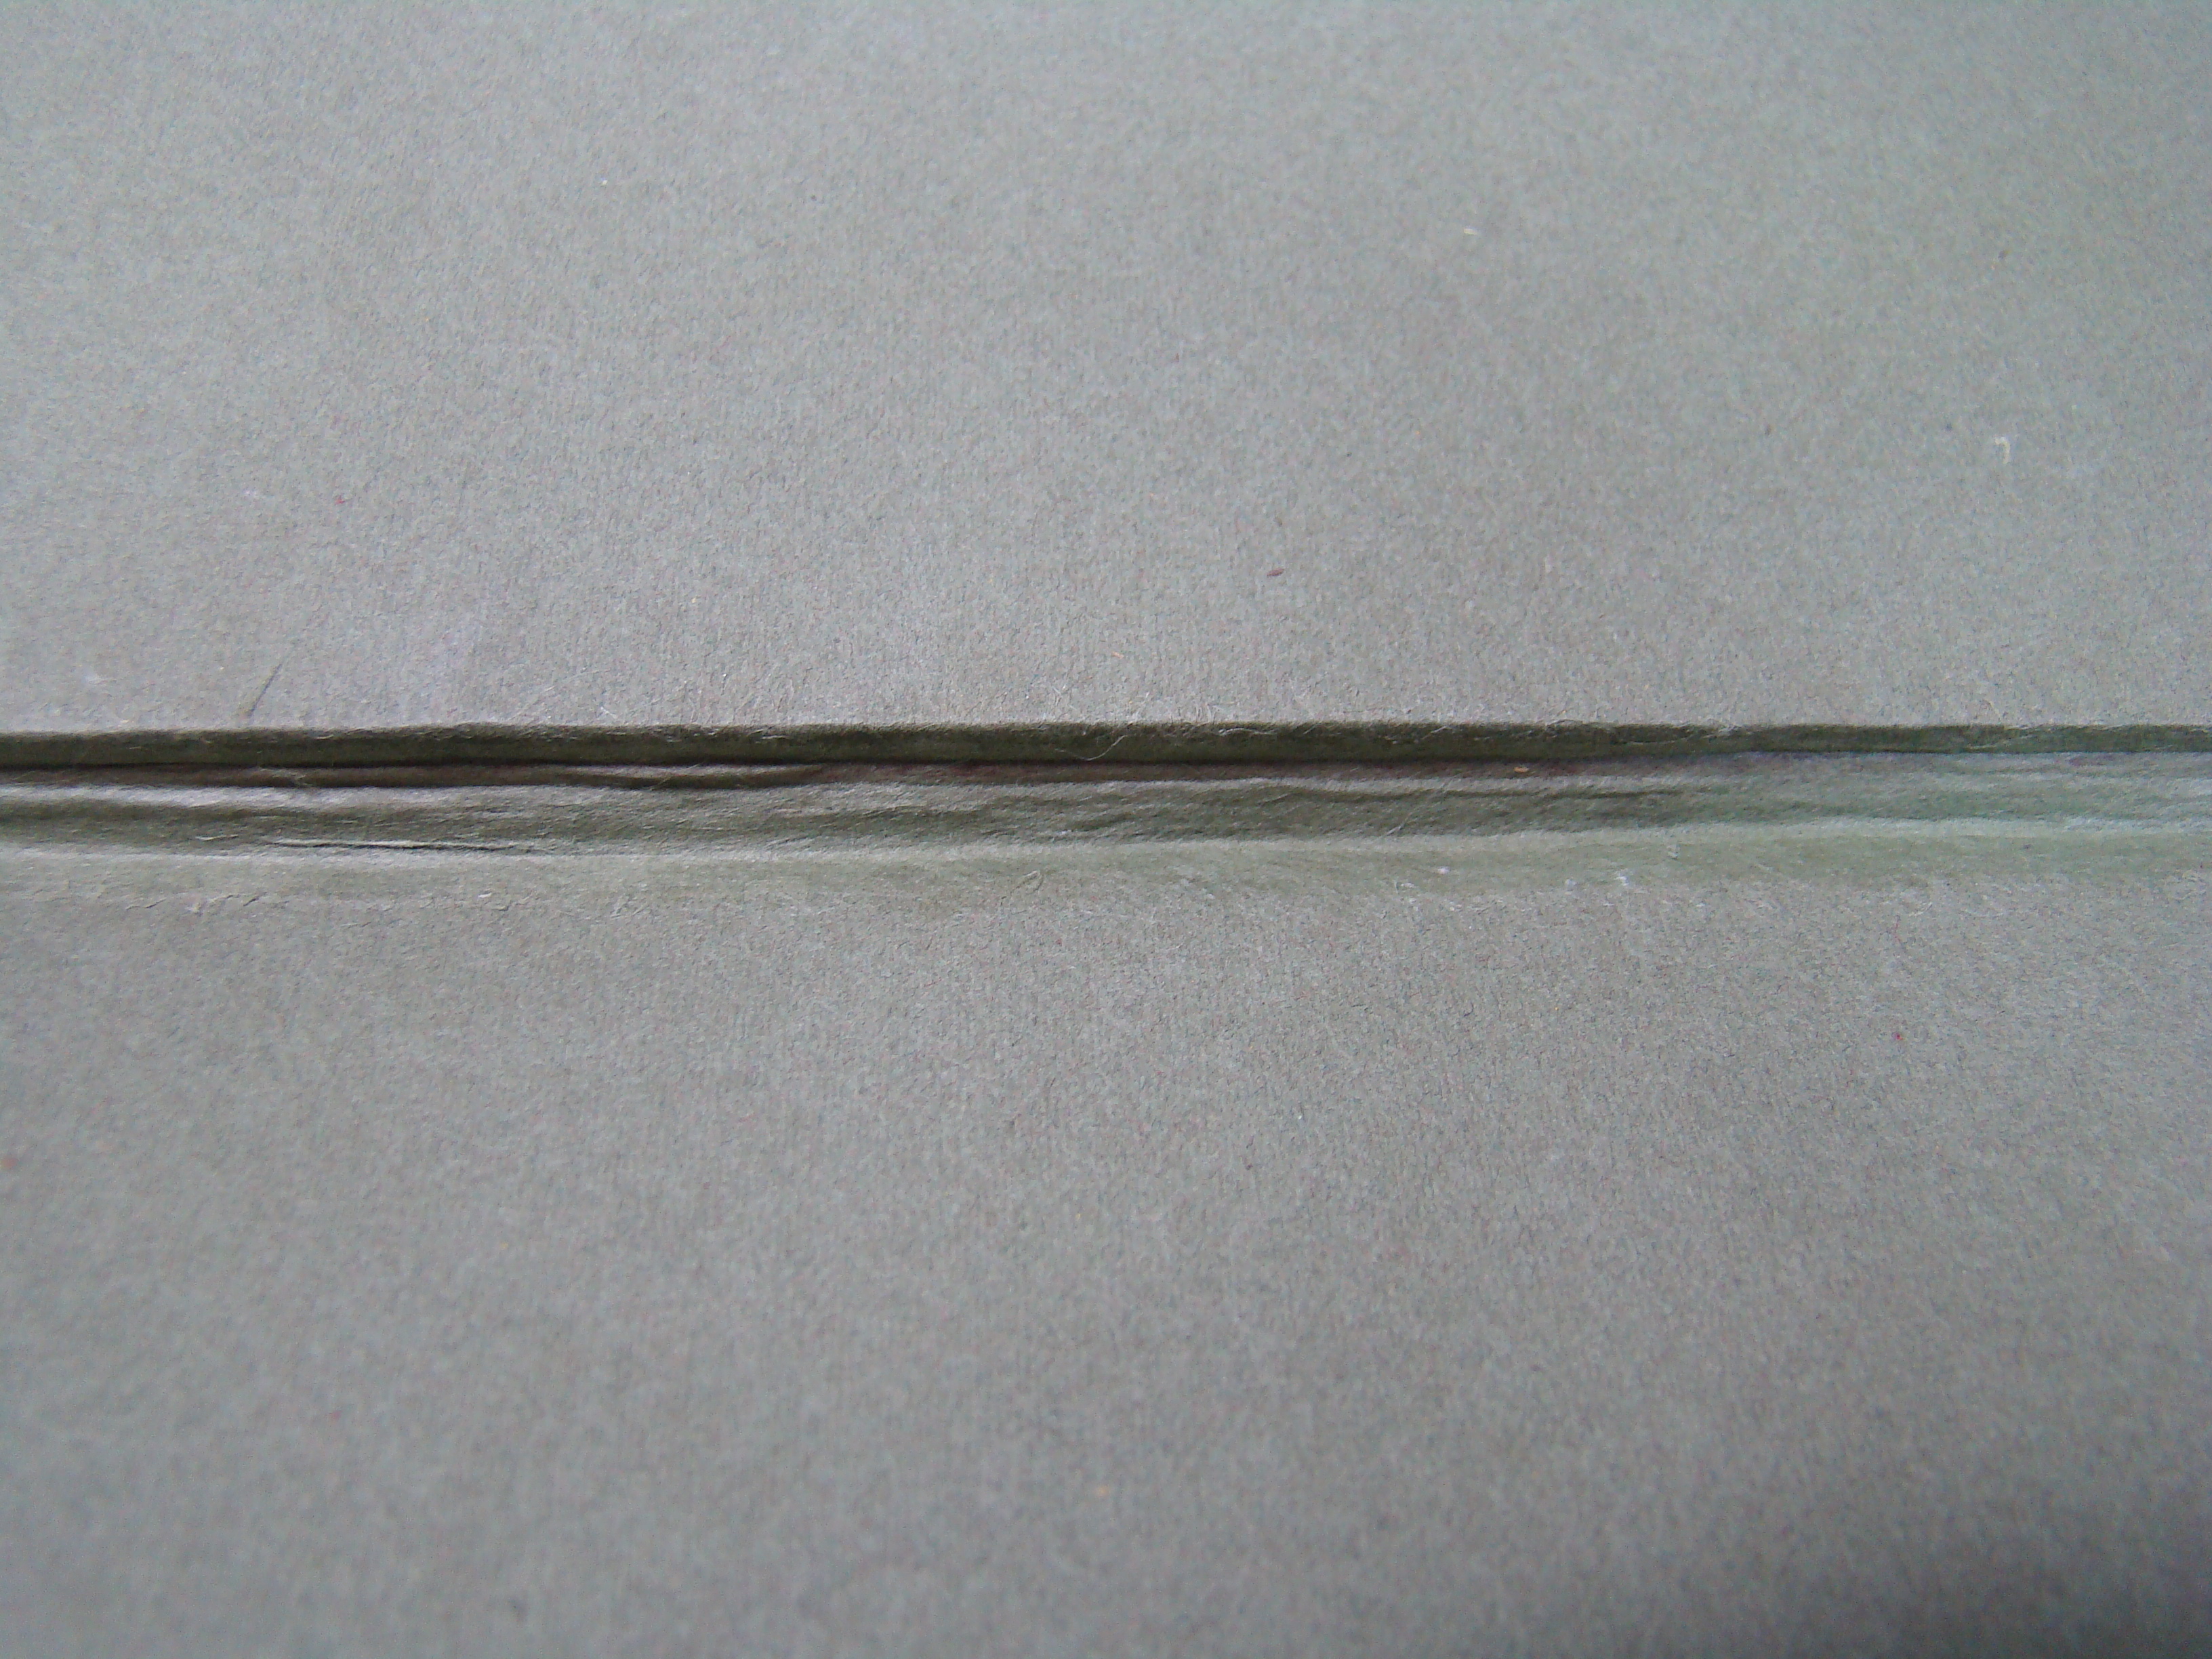
First, I used wheat starch paste to adhere a strip of the green tissue to the inside joint (the text-block side). This is the very important first step when using Etherington’s method–it ensures the joint will be able to function properly when the repair is complete.
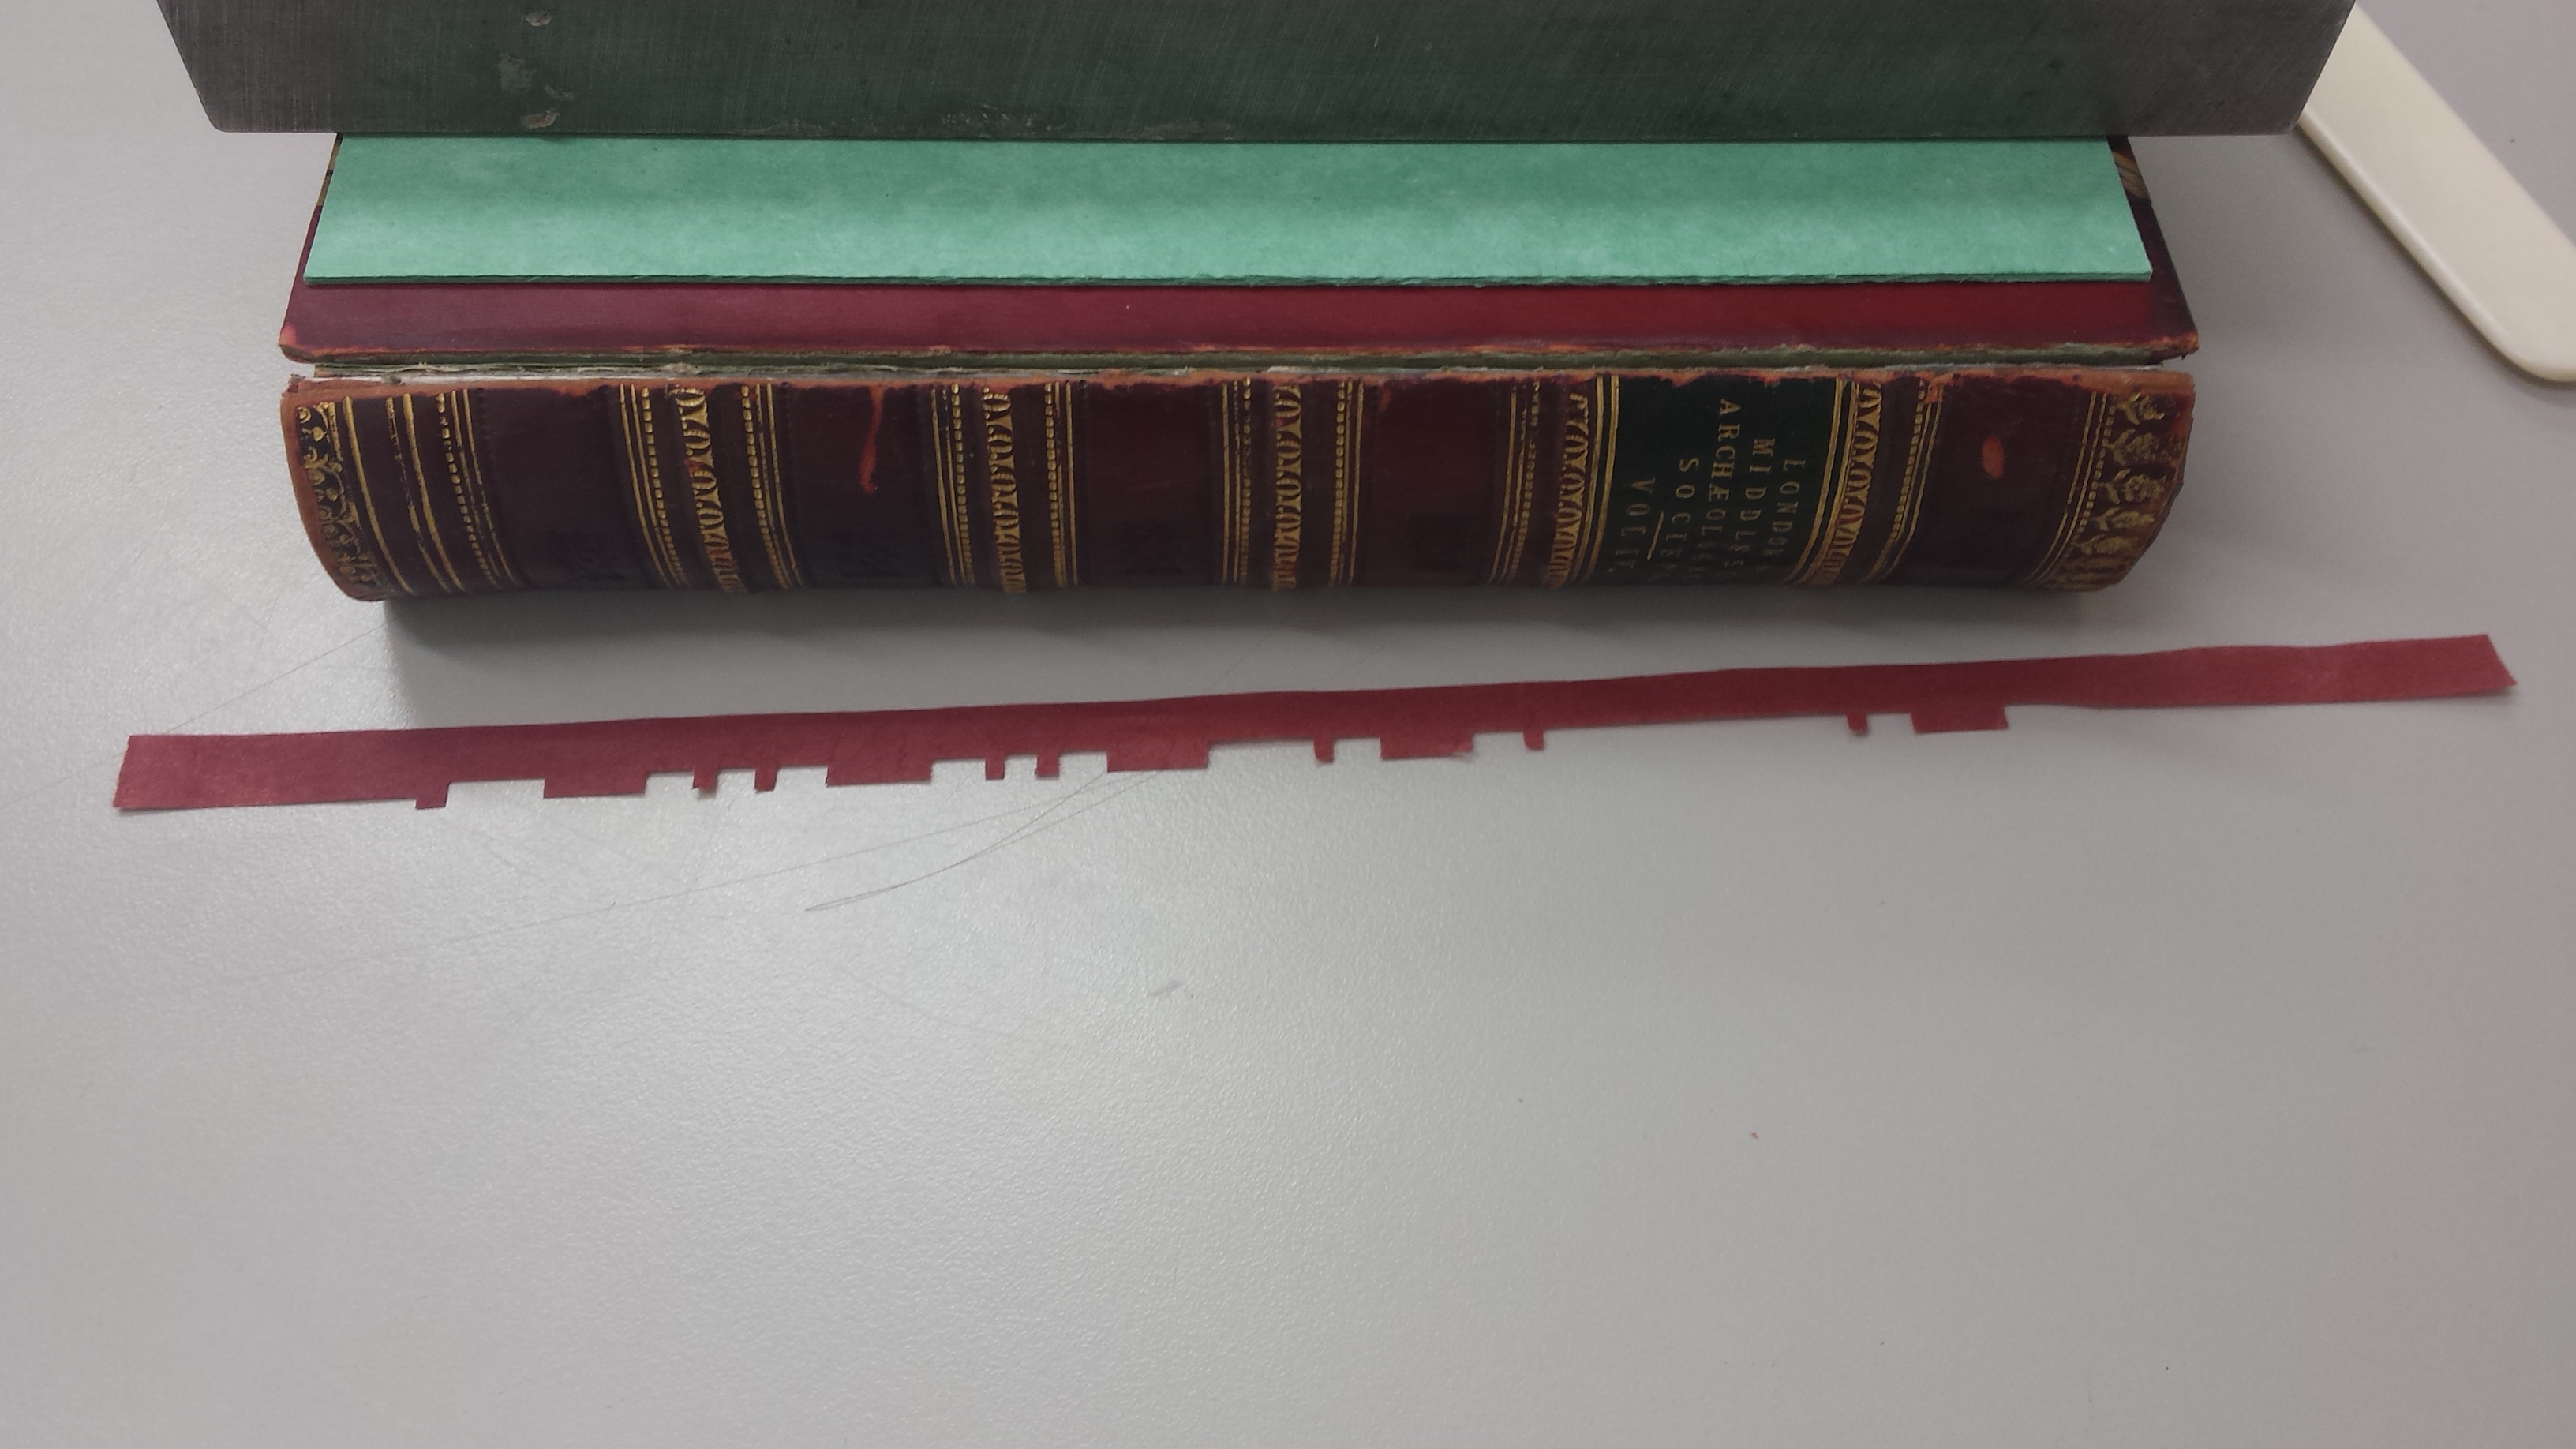
I then cut a strip of the red tissue to do the outer joint. I cut little notches out of the strip, before putting it on the spine, where it would have covered gold tooling. This makes the repair as unobtrusive as possible, while still retaining its strength.
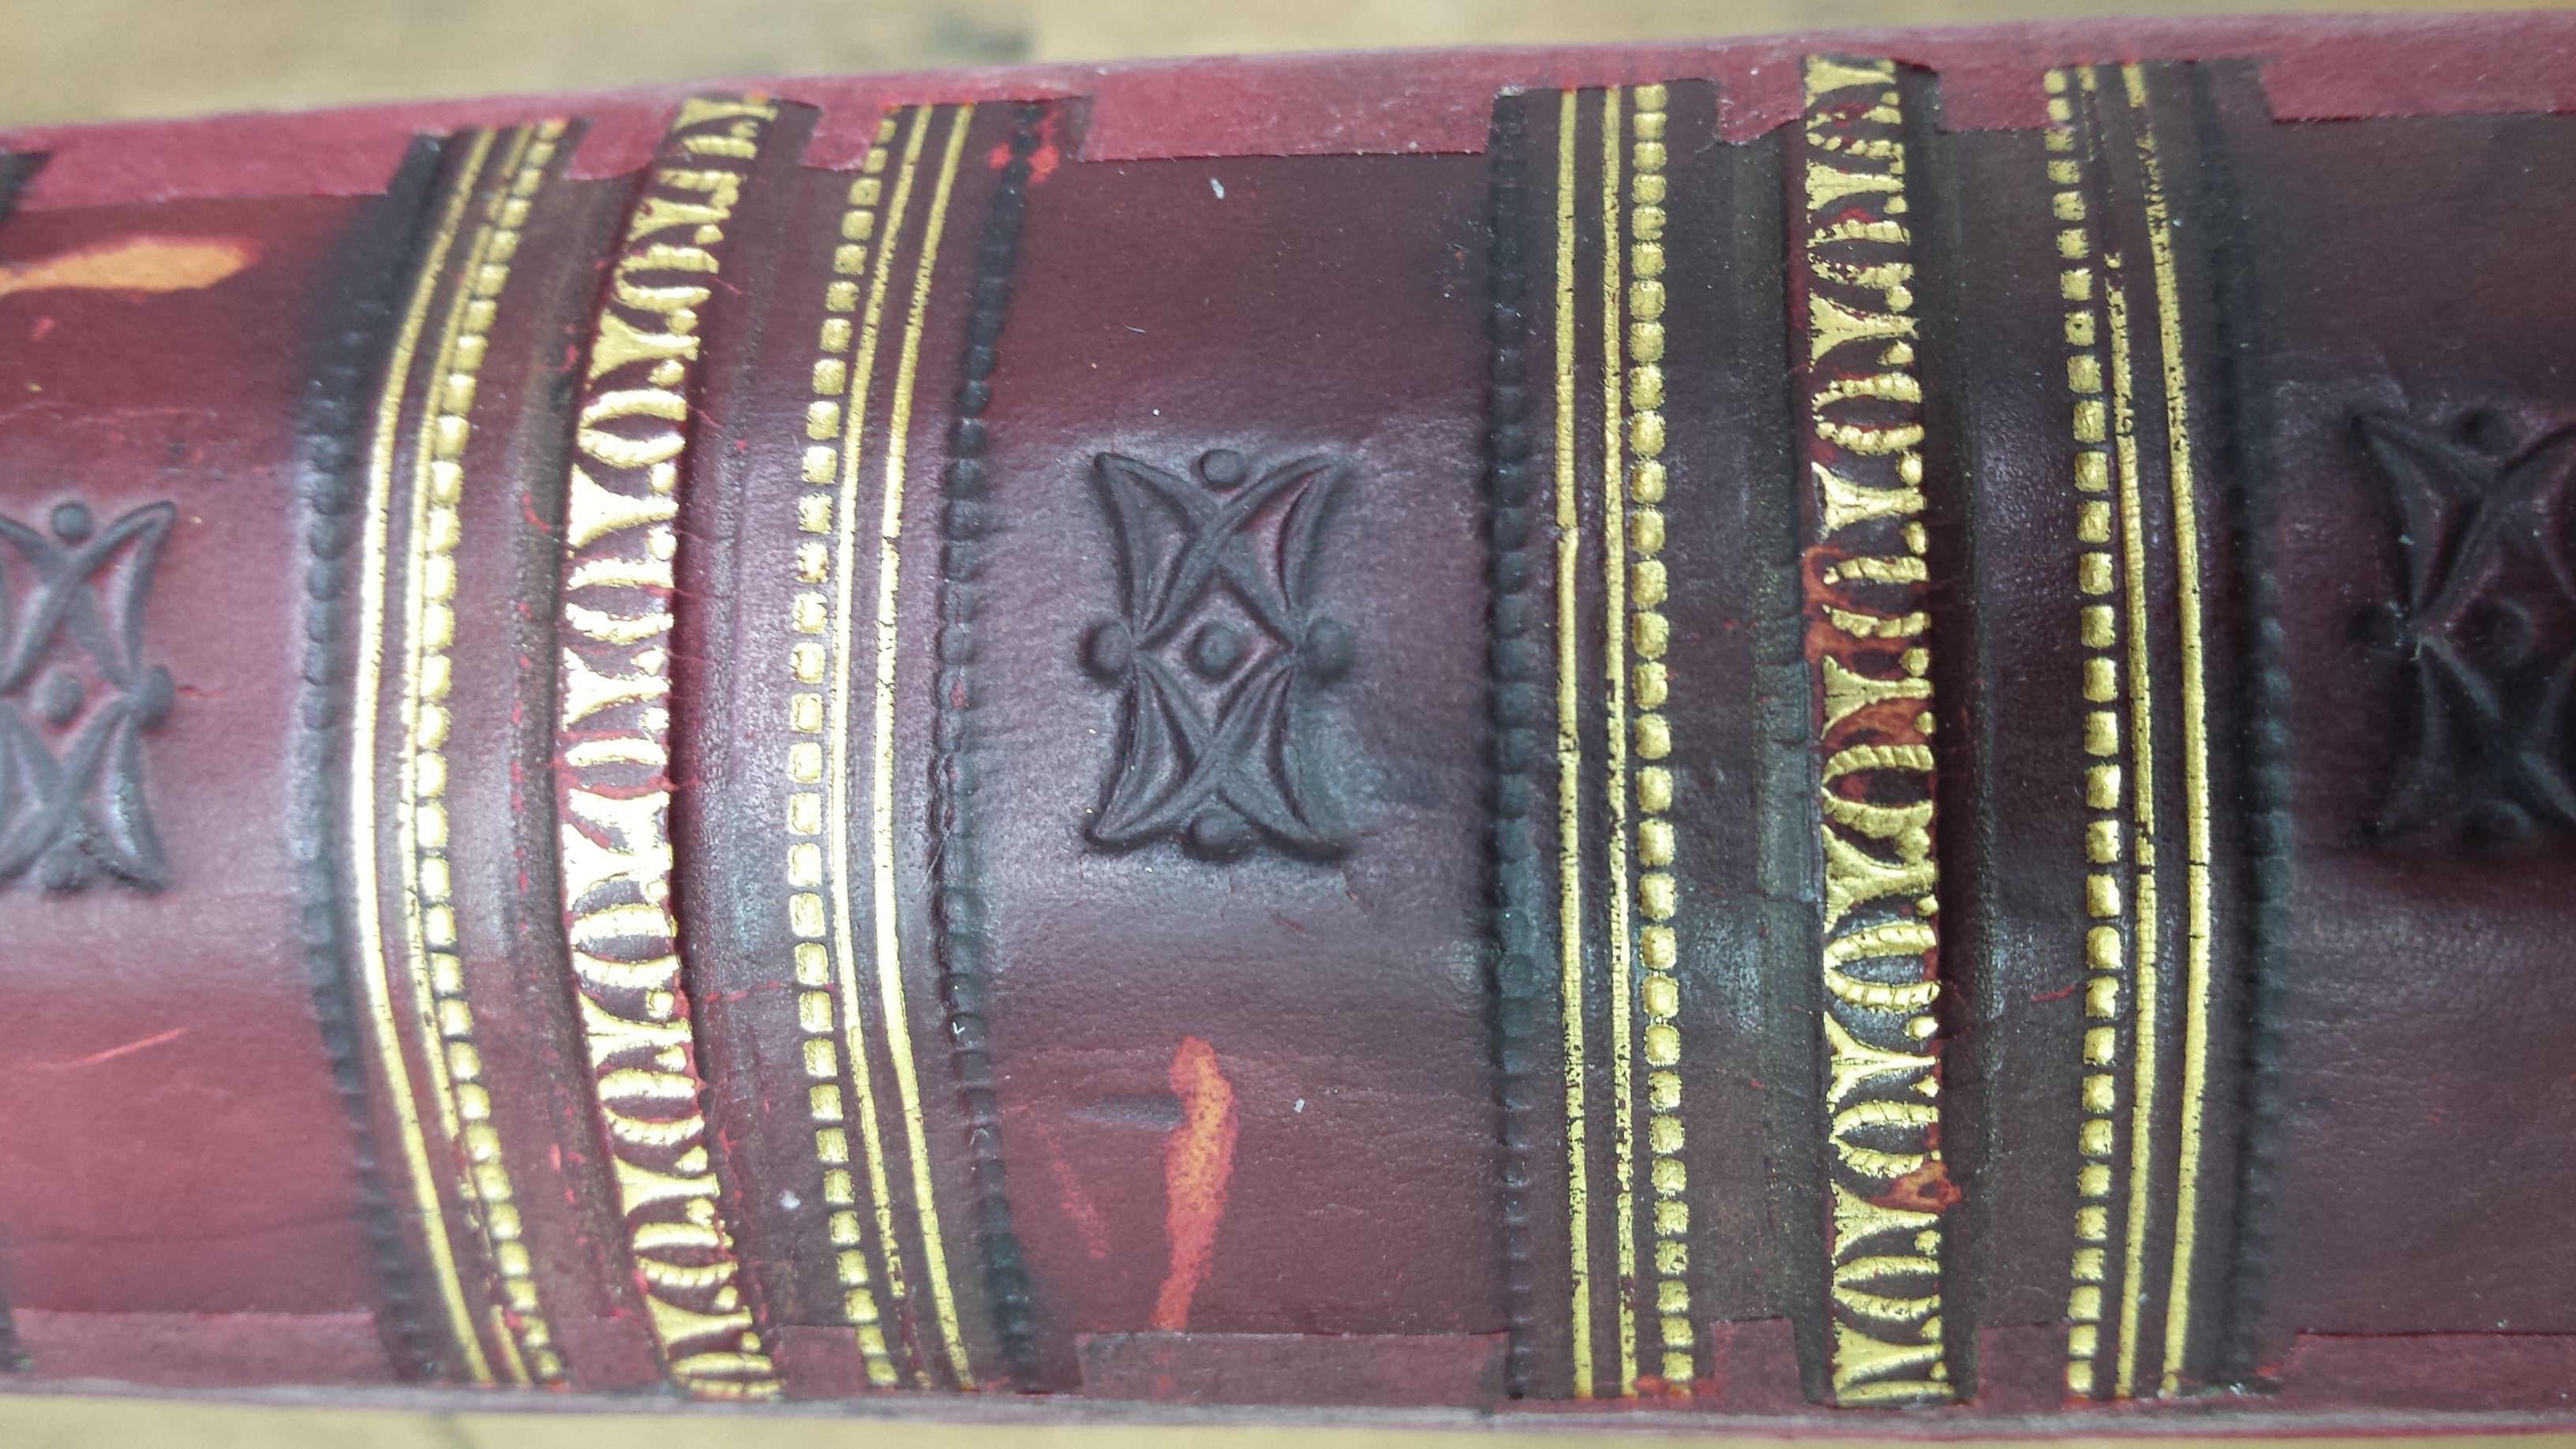
The leather on the edge of the spine was darker than the leather on the cover boards, so I toned the paper to the color of the lighter leather. Once the repair was dry, I applied the acrylic wax compound SC7400, in order to add durability to the tissue and a more leather-like shine. Then I used watercolor on top of that to darken the tissue so it would blend in better with the spine leather. I sealed the watercolor with more SC7400.
The upper strip in the above photo was the first color of red tissue I toned, while the lower strip has already been toned slightly darker.
The last step in the process is to complete the inner hinge. I’m very pleased with my color matching here!